GB
5
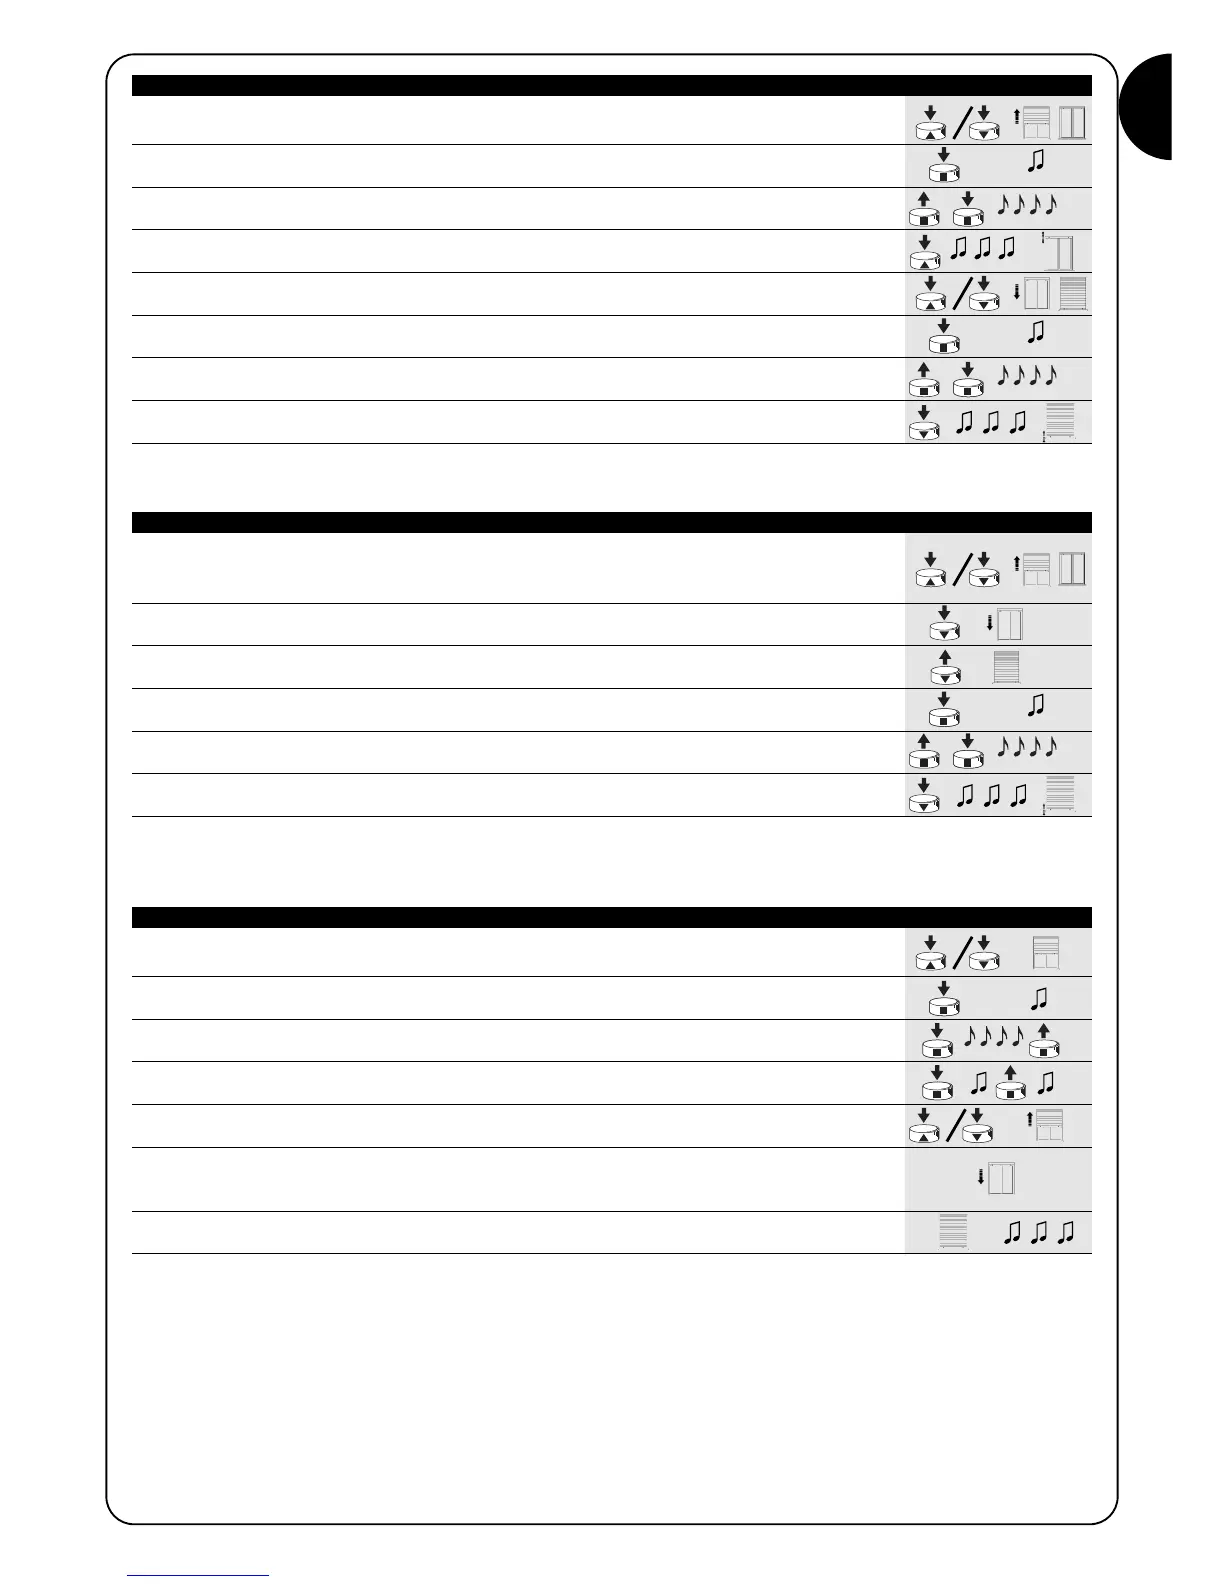
1. Press and hold down key ▲ or ▼ on a memorised remote control until the rolling
shutter has reached the required opening position.
2. Press and hold down key ■ on the transmitter until you hear a beep (approx. 5 seconds)
5s
3. Release and then press again key ■ for 5 more seconds until you hear 4 short beeps
5s
4. Press and hold down key ▲ until 3 beeps and a brief movement signal that the opening
position has been memorised.
5. Press and hold down key ▲ or ▼ on a memorised remote control until the rolling
shutter has reached the required closing position.
6. Press and hold down key ■ on the transmitter until you hear a beep (approx. 5 seconds)
5s
7. Release and then press again key ■ for 5 more seconds until you hear 4 short beeps
5s
8. Press key ▼ until 3 beeps and a brief movement signal that the closing “1” position has
been memorised.
N.B.: Key ▲ will now control upward movement while key ▼ the downward movement.
The upward and downwards movements will stop at the programmed positions.
Table “A3” MANUAL Programming the “0” and “1” positions (fig. 9) Example
1. Press and hold down key ▲ or ▼ on a memorised remote control until the rolling shutter has
opened up completely and the motor stops automatically on the rubber stops.
2. Press and hold down key ▼ to lower the shutter
3. Release key ▼ when the shutter has reached the desired position (“1”)
5s
4. Press and hold down key ■ on the transmitter until you hear a beep (approx. 5 seconds)
5s
5. Release and then press again key ■ for 5 more seconds until you hear 4 short beeps
5s
6. Press and hold down key ▼ until 3 beeps and a brief movement signal that the closing “1”
position has been memorised.
N.B.: Key ▲ will now control the upward movement while key ▼ the downward movement.
During ascent, the rolling shutter will stop in correspondence with the rubber stops, whilst during descent in correspondence with the
programmed position.
Table “A4” SEMIAUTOMATIC Programming the “0” and “1” positions (fig. 10) Example
1. Check that the rolling-shutter is at the mid travel stage, using the ▲ key or ▼ on a memorised
remote control if necessary to move the rolling-shutter.
2. Press the ■ key of a transmitter which has already been memorised, and keep it held down
until you hear a beeping noise (this will happen after about 5 seconds). Then release the key. 5s
3. Press the ■ key down for a further 5 seconds until you hear 4 quick beeps, and then
release the key. 5s
4. Press the ■ key once again and keep it held down until you hear the first of the two slow
beeps.
5. The rolling-shutter should move upwards, if it moves downwards, press the ▲ key or ▼ to
make the rolling shutter move upwards.
6. The procedure will continue automatically at this stage:
first the system will find position “0” in correspondence with the opening rubber stops;
following this position “1” in correspondence with the closing anti-burglar latches.
7. The procedure is complete when the rolling-shutter is completely closed and 3 beeps
have sounded.
N.B.: Key ▲ will now control the upward movement, while key ▼ the downward movement.
The upward and downward manoeuvres will stop just before the limits required.
Table “A5” AUTOMATIC Programming the “0” and “1” positions (fig 11) Example
 Loading...