14
Microscopy (Detailed Procedure)
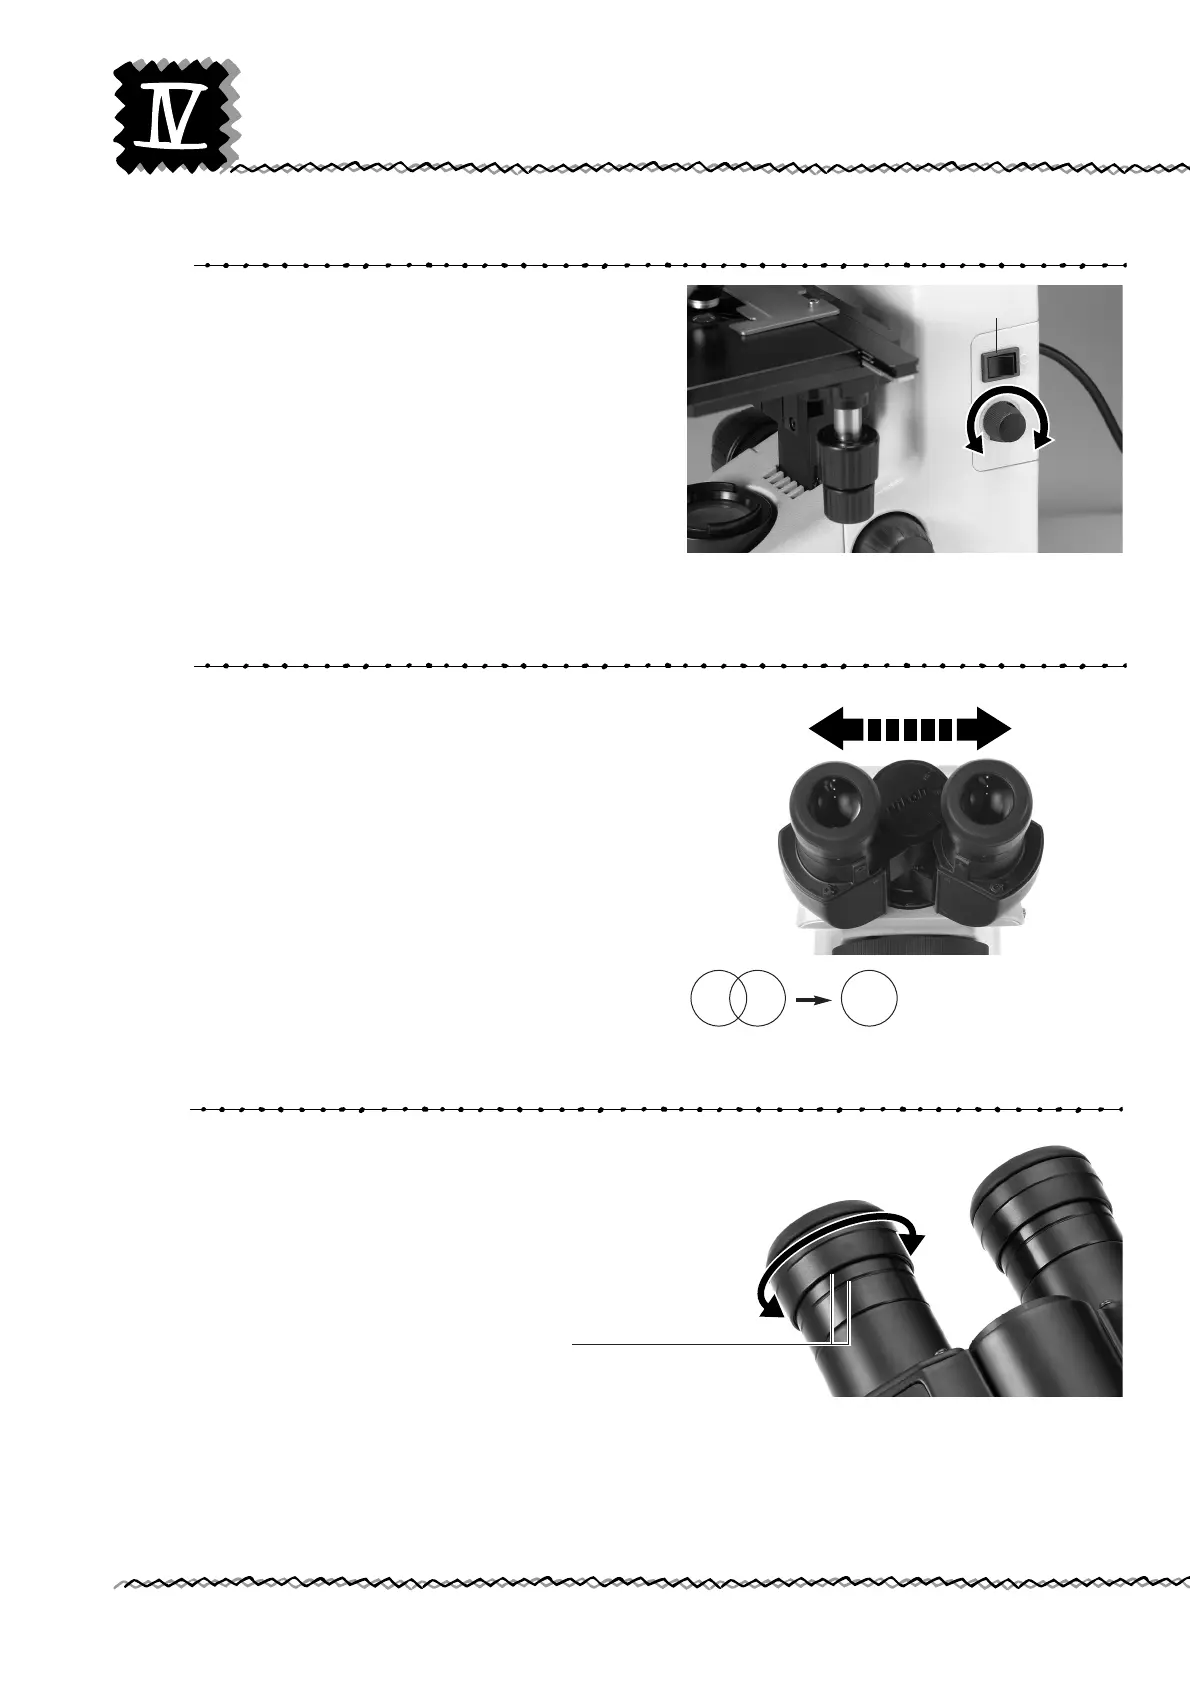
1) Lamp Illumination
3) Align the Diopter Ring with the Engraved Base Line
Turn on the power switch (turn to |) and the
lamp will come on. Turn the brightness control
dial to adjust the brightness of the viewfield.
(Turning the dial clockwise increases the
brightness; turning the dial counterclockwise
decreases it.)
Turn the diopter ring on the right eyepiece to
align its bottom edge with the engraved base
line. Turn and align the diopter ring on the left
eyepiece in the same way.
2) Interpupillary Distance
Adjustment
Adjust the distance between the eyepieces to
merge the right and left viewfields into one.
(This is an adjustment to match the distance
between eyepieces with the distance between
your eyes).
Power ON
Darkens. Brightens.
Merge the right and left
viewfields into one.
Match the bottom edge of the diopter ring
with the engraved base line.

 Loading...