Chapter 1 Part Names
1.4 Stage
18
1.4 Stage
The following stages can be attached to the product.
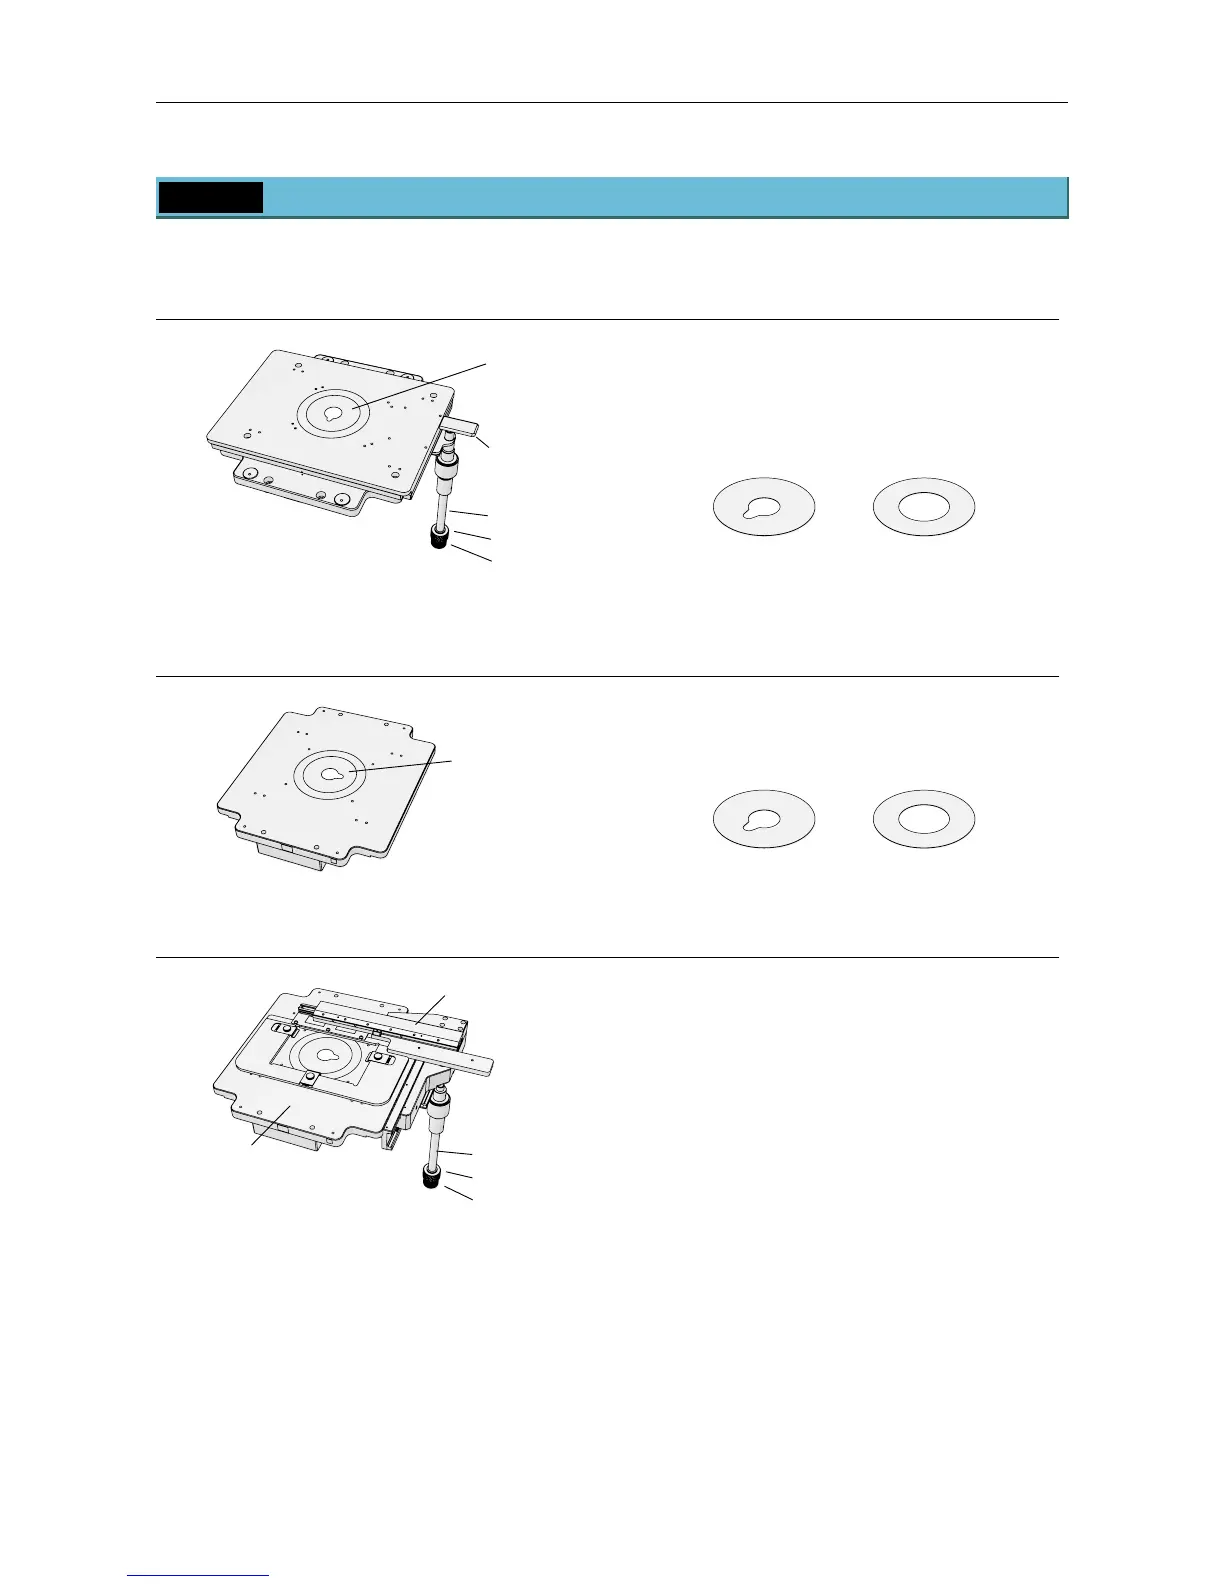
TI-SR Rectangular Mechanical Stage
Figure 1-14 Rectangular Mechanical Stage
The specimen can be moved in the X and Y
directions by operating the stage knob.
The rectangular mechanical stage comes with two
stage clips for culture vessels, and the following two
concentric rings.
25 mm bore
(with oiling notch)
40 mm bore
TI-SP Plain Stage
Figure 1-15 Plain Stage
Simple, fixed stage for easy operation of specimens.
The plain stage comes with the following two
concentric rings.
25 mm bore
(with oiling notch)
40 mm bore
TI-SAM Attachable Mechanical Stage
Figure 1-16 Attachable Mechanical Stage
(on Plain Stage)
This stage is attached to the plain stage when using
specimen holders. The specimen can be moved in
the X and Y directions by operating the stage knob.
Various specimen holders can be used by attaching
the following adapters to the provided microplate.
• MA60 microplate holder
• MA60 Petri dish holder
• MA glass slide holder
• 35 Petri dish holder
Stage knob
・Y-axis direction
・X-axis direction
Plain stage
 Loading...


