Scanning > 57
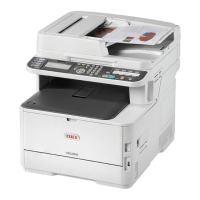
3. When the balloon message saying that the installation is complete is displayed on
the task bar, click the balloon to check the details, and click Close.
Check the device installation on the machine as follows.
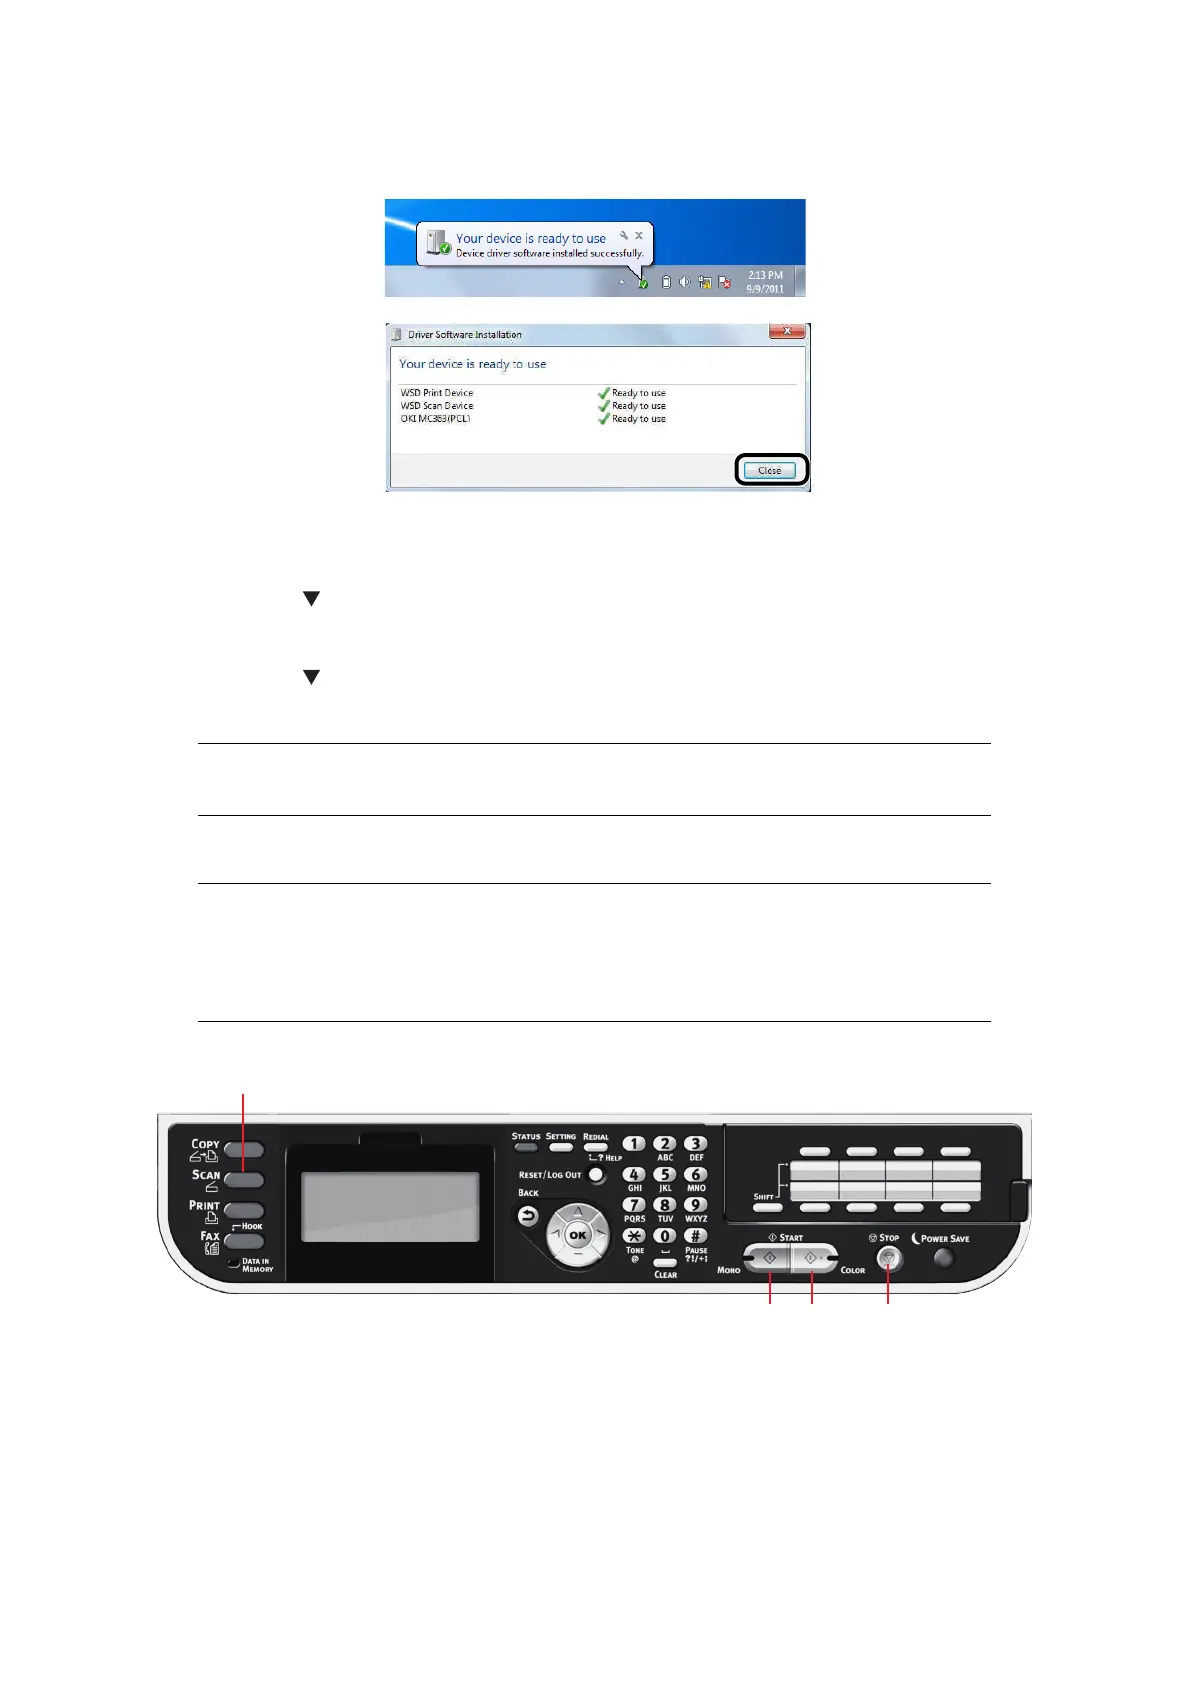
4. Press the SCAN key on the operator panel.
5. Press the
to select Computer and then press OK.
6. Check that Select A Connecting PC is selected, and press OK.
7. Press the to select From WSD Scan, and press OK.
8. Make sure that the device installation PC is displayed as the destination PC.
S
CANNING
METHODS
1. Place your document(s) with text face UP in the ADF or face DOWN on the glass.
2. Press the Scan button (1) on the control panel to prompt the Scan Menu screen.
3. Select the scan destination from the following options:
> E-mail
> Computer
MEMO
A maximum of 50 PCs can be registered.
NOTE
If your Administrator has enabled access control on your machine, it will
automatically start up in access control mode. You will not be able to use it
until you have provided valid login information. Refer to “User authentication
and access control” on page 38 for details.

 Loading...