- 90 -
Scanning to Computer
4
Scanning
8 When the balloon message saying that
the installation is complete is displayed
on the task bar, click the balloon to
check the details, and click [Close].
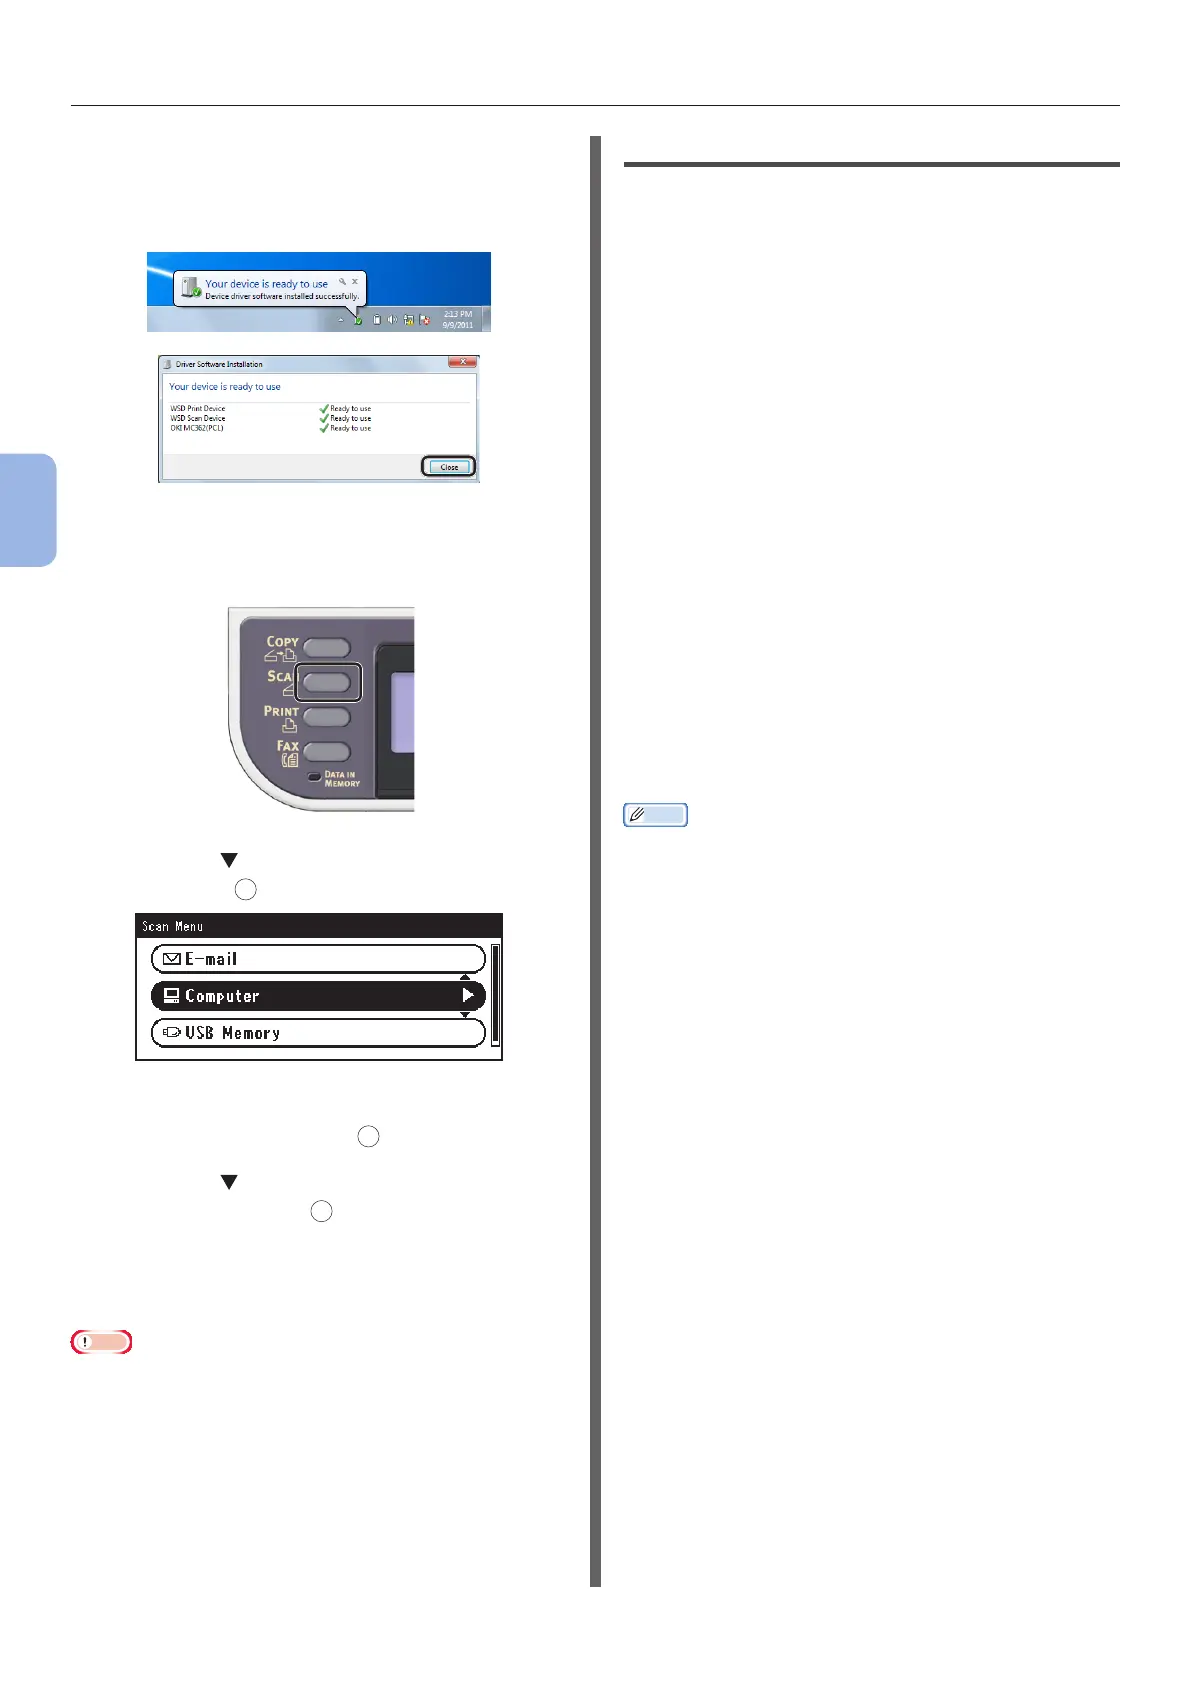
9 Press the <SCAN> key on the operator
panel.
10 Press the to select [Computer] and
then press
OK
.
11 Check that [Select A Connecting PC]
is selected, and press
OK
.
12 Press the to select [From WSD
Scan], and press
OK
.
13 Check that the computer on which your
machine has been installed is displayed
as the destination PC.
Note
● If the machine’s IP address is changed after the
installation, uninstall the machine from the computer by
following the same procedure as in “Step 2 Installing Your
Machine to the Computer” P.89, and then reinstall it.
For Mac OS X
Overview
Connecting Methods
You can select either of the following connection
methods:
● Network Connection
● USB Connection
Product Requirements
Your machine supports Mac OS X 10.6 to 10.8.
Steps to Go
To congure the Scan to Computer function with
Mac OS X, follow the 3 steps below:
● “Step 1 Connecting Your Machine and
Computer” P.91
● “Step 2 Installing a Scanner Driver” P.95
● “Step 3 Registering Your Computer in Network
Scanner Setup Tool” P.96
Memo
● For the network connection, you can skip step 1 if the IP
address is already set on your machine.
● You can skip step 2 if the scanner driver is already
installed on your computer.
● For the USB connection, skip step 3.
 Loading...