30
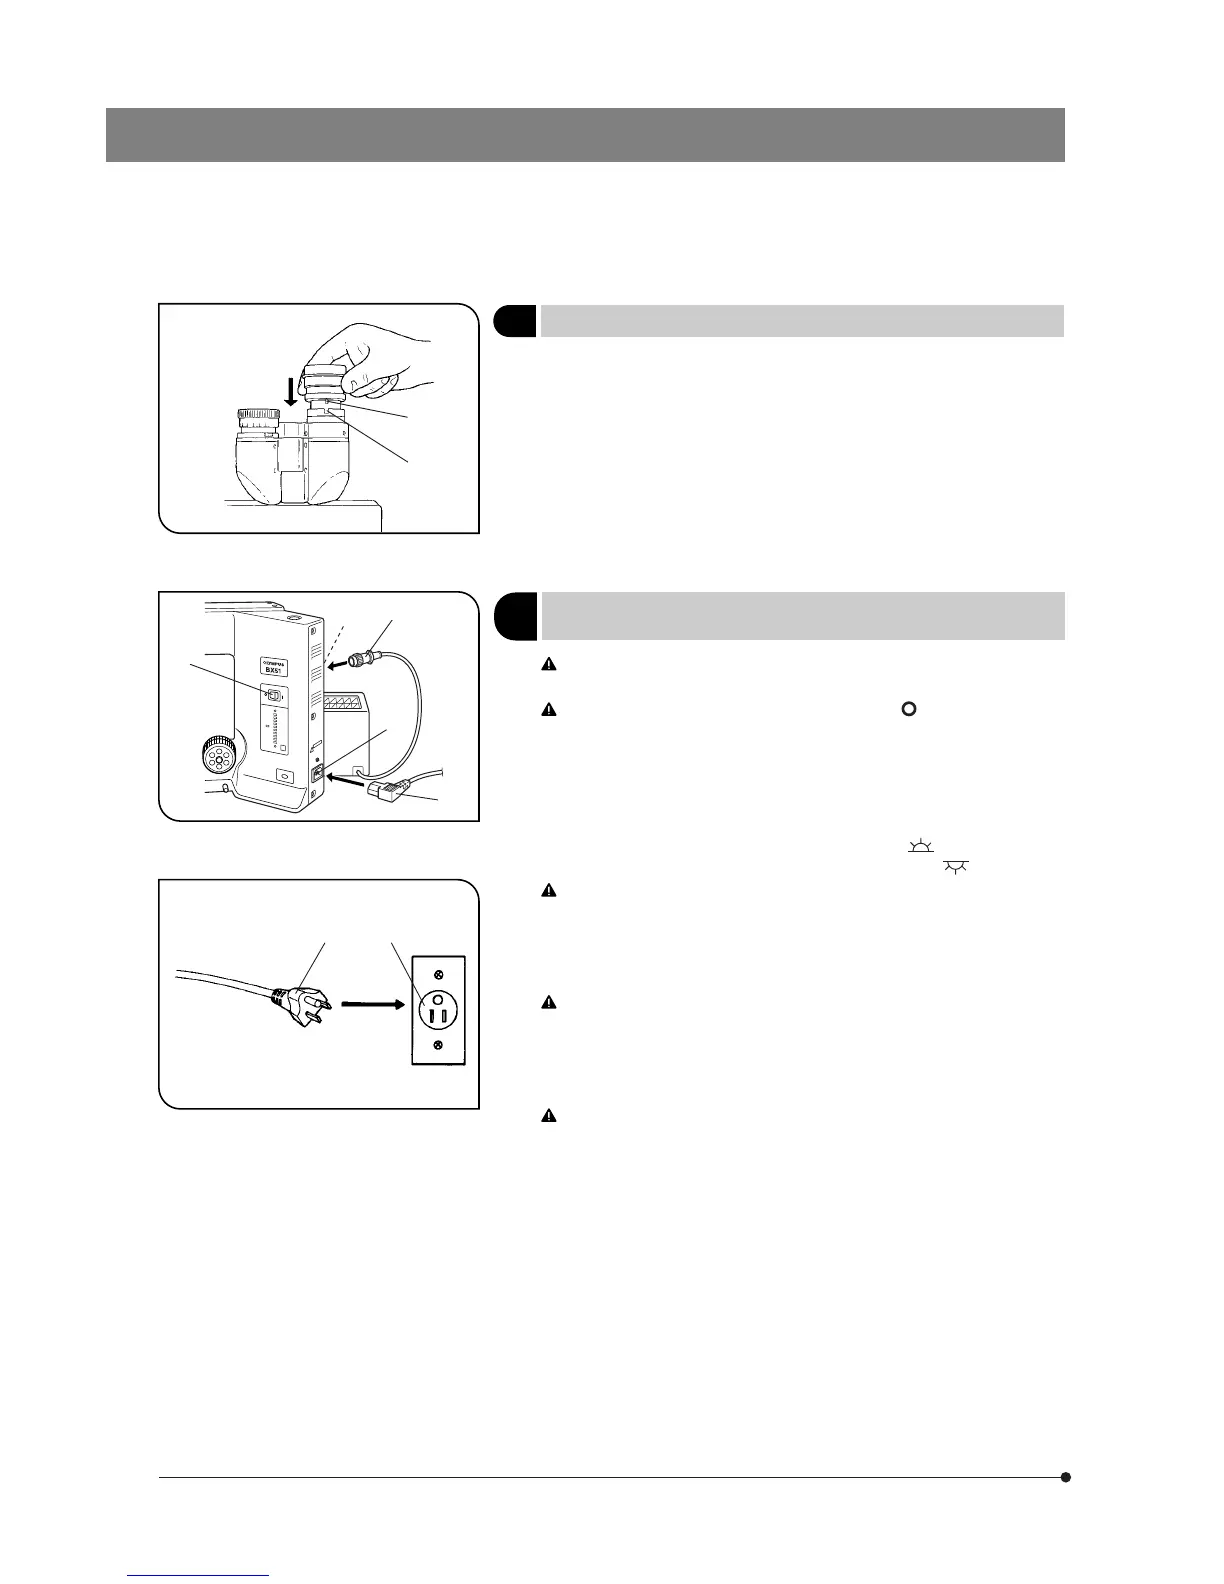
Cables and cords are vulnerable when bent or twisted. Never sub-
ject them to excessive force.
Make sure that the main switch @ is set to “ ” (OFF) before con-
necting the power cord.
1. Connect the lamp housing cable connector ² into the connector ³ on
the rear of the microscope.
(The BX51TRF/BX52TRF have two connectors on the rear panel. With
these models, the connector from the transmitted light lamp housing
should be connected to the connector marked and that from the
reflected light lamp housing to the connector marked .)
Always use the power cord provided by Olympus. If no power cord
is provided with the microscope, please select the proper power
cord by referring to section “ PROPER SELECTION OF THE POWER
SUPPLY CORD ” at the end of this instruction manual.
2. Connect the power cord plug | to the AC receptacle 5.
The power cord should be connected to a grounded/earthed ,3-
conductor power outlet. If the power outlet is not grounded/earthed
properly, Olympus can no longer warrant the electrical safety perfor-
mance of the equipment.
3. Plug the power cord plug 6 into the wall outlet 7.
Should the power cord come in contact with the hot lamp housing,
the power cord could melt and cause electric shock. Be sure to
route the power cord away from the lamp housing.
Fig. 39
Fig. 40
Fig. 41
@
²
@
|
5
6
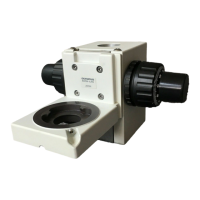
9 Attaching the Eyepiece
(Fig. 39)
#When using the U-BI30-2 binocular tube, eyepieces with built-in mi-
crometer disk cannot be attached.
#When using a finder eyepiece or an eyepiece with micrometer disk,
attach it to the right-hand eyepiece sleeve.
When doing so, make sure that the eyepiece positioning pin @ fits
into the notch ² on the eyepiece sleeve.
#The super-widefield trinocular observation tube is equipped with a
positioning notch on both eyepiece sleeves. Make sure that the
positioning pins on both eyepieces fits into the respective notches.
Attaching the Lamp Housing Cable
and Power Cord
10
(Figs. 40 & 41)
7
²
³
 Loading...