31
EN
Using the one touch white balance
Using the one touch white balance
1 Select the white balance option in the function menu.
2 Use HI to select [] or [], and face the camera
toward white paper.
● Set the paper to fi ll the entire screen, and make
sure that there is no shadow area.
● Perform this procedure under the light where the
pictures are actually taken.
3 Press the button.
● The camera releases the shutter and the white
balance is registered.
● The registered white balance is stored in the
camera. The data will not be cleared by turning off
the power.
● When the [] or [] whose white balance has
already been registered is selected in Step 2, new
white balance will be registered.
When the white area is not large enough or when the
color is too bright, too dark, or loud, the white balance
cannot be registered. Return to Step 2. Or, set the
other white balance.
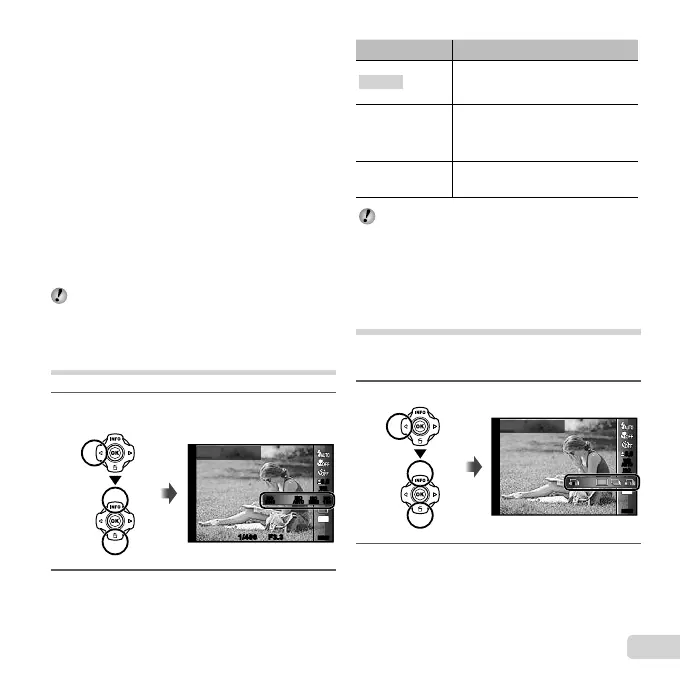
Selecting the ISO sensitivity
1
Select the ISO setting option in the function
menu.
1/400 F3.3
0.00.0
MENUMENU
12M
1/400 F3.3
AUTO
WB
AUTO
WB
AUTO
ISO
AUTO
ISO
6400
ISOISO
100
ISOISO
100
HIGH
ISOISO
HIGH
6400
ISO Auto
2
Use HI to select the setting option, and
press the A button to set.
Option Description
ISO Auto
The camera automatically adjusts
the sensitivity according to the
shooting scene.
High ISO Auto
The camera uses a higher sensitivity
compared to [ISO Auto] to minimize
blur caused by a moving subject or
by camera shake.
Value
The ISO sensitivity is fi xed to the
selected value.
In the ISO setting, although smaller values result in
less sensitivity, sharp images can be taken under fully
lit conditions. Larger values result in higher sensitivity,
and images can be taken at fast shutter speeds even
under low light conditions. However, high sensitivity
introduces noise into the resulting picture, which may
give it a grainy appearance.
Sequential shooting (Drive)
Pictures are taken sequentially while the shutter button
is held down.
1
Select the drive option in the function menu.
0.00.0
MENUMENU
12M
AUTO
WB
AUTO
WB
AUTO
ISO
AUTO
ISO
22
Single
2
Use HI to select the setting option, and
press the A button to set.

 Loading...