44
EN
Erasing images [Erase]
q (Playback Menu) Erase
Submenu 2 Application
All Erase
All images in the internal memory or
card will be erased.
Sel. Image
Images are individually selected and erased.
Erase Deletes the image displayed.
When erasing pictures in the internal memory, do not
insert the card into the camera.
Protected images cannot be erased.
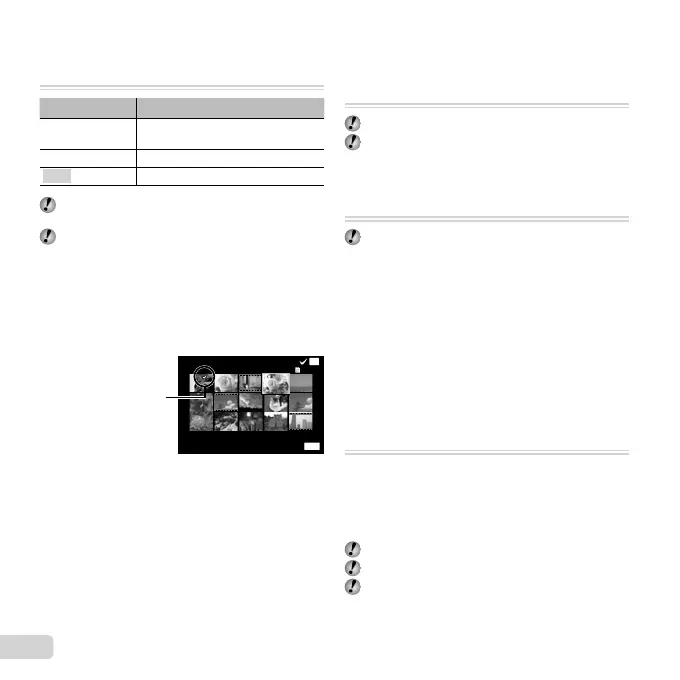
To individually select and erase images
To individually select and erase images
[Sel. Image]
1 Use FG to select [Sel. Image], and press the
A button.
2 Use HI to select the image to be erased, and press
the A button to add a R mark to the image.
OK
MENU
Erase/Cancel
Sel. Image
(1)
4/304/30
R mark
3
Repeat Step 2 to select the images to be erased,
and then press the button to erase the selected
images.
4 Use FG to select [Yes], and press the A button.
● The images with a R mark are erased.
To erase all images [All Erase]
To erase all images [All Erase]
1 Use FG to select [All Erase], and press the
A button.
2 Use FG to select [Yes], and press the A button.
Saving print settings to the image data
Saving print settings to the image data
[Print Order]
q (Playback Menu) Print Order
“Print reservations (DPOF)” (p. 57)
Print reservation can be set only for still images that
are recorded to the card.
Protecting images [
R
]
q (Playback Menu) R
Protected images cannot be erased by [Erase] (p. 22,
44), [Sel. Image] (p. 44), or [All Erase] (p. 44), but all
images are erased by [Memory Format]/[Format]
(p. 45).
1 Use HI to select an image.
2 Press the A button.
● Press the A button again to cancel the settings.
3 If necessary, repeat Steps 1 and 2 to protect other
images, and press the button.
Select images for upload to the Internet
Select images for upload to the Internet
using the supplied OLYMPUS Viewer 2
using the supplied OLYMPUS Viewer 2
software [Upload Order]
q (Playback Menu) Edit Upload Order
1 Use HI to select an image.
2 Press the A button.
● Press the A button again to cancel the settings.
3 Repeat Steps 1 and 2 as required.
4 Press the button.
Only JPEG fi les can be selected for upload.
See on-line help for upload instructions.
GPS data recorded with images can not be deleted.
Select [Off] for [GPS Settings] if you do not wish to
reveal the locations where photographs were taken.
 Loading...