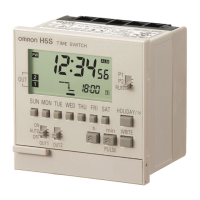
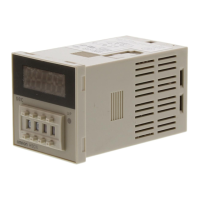
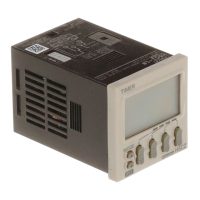
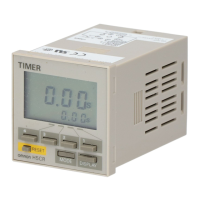
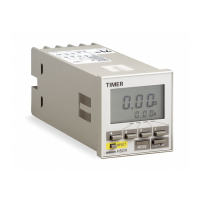
Digital Time Switch H5S 13
■ EN/IEC Standards
• The insulation system between the power supply circuit and input-
output terminals provides basic insulation.
Therefore connect the output terminals only to circuits without
exposed conductive parts. If a connection to a Safety Extra Low
Voltage (SELV) circuit is desired, supplementary insulation must be
provided.
• Use crimp type cable lug terminals with insulating sleeves for
wiring.
• Be sure to mount a surface-mounting model (H5S-@FB@) in an
enclosure.
• The relationship between load current and ambient air temperature
is shown by the range below for 2-circuit models.
If wires with a temperature rating of 105 °C or higher are used, refer
to the derating curve in Specifications on page 3.
• Control system: Electronic
Types of automatic operation: Weekly models - Type 1 BSTU
Yearly models - Type 2 BSTU
Protective class: Class 0
Rated impulse withstand voltage: 2,500 V AC
Ball-pressure test temperature (enclosure material): 125°C
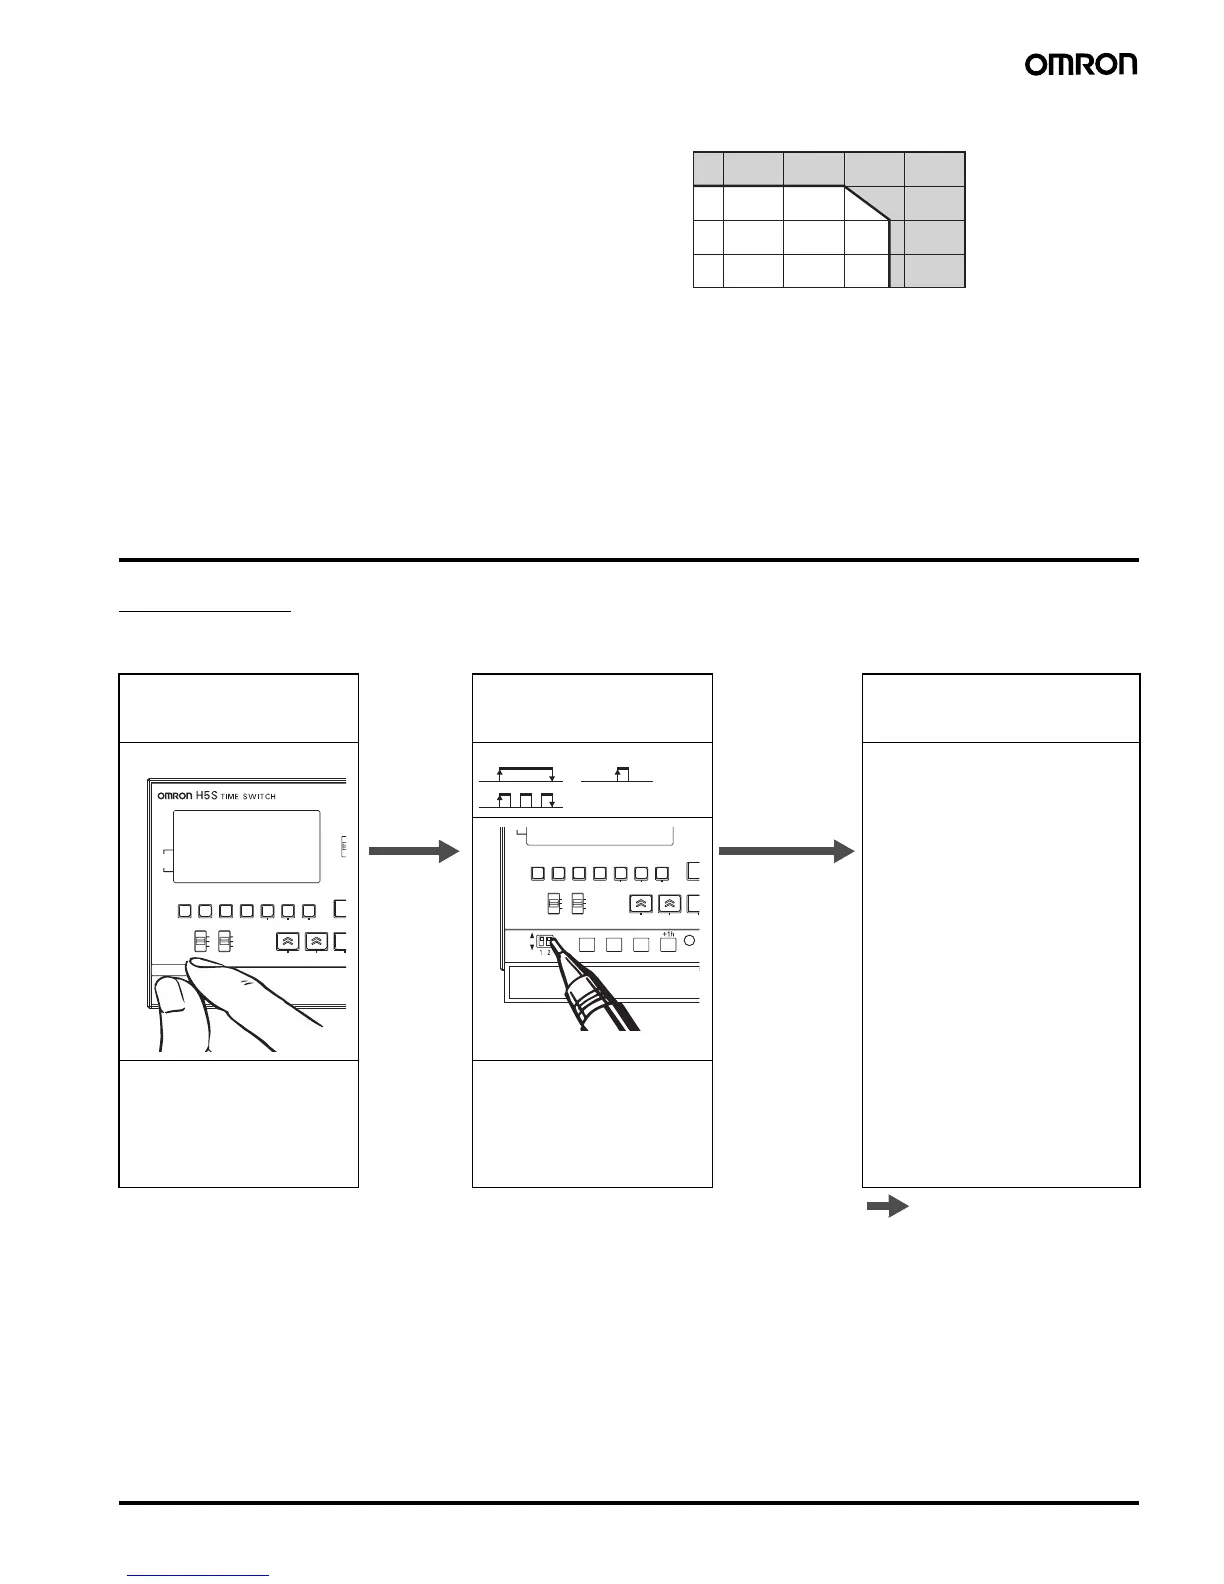
Basic Use
Prior to Using
Before setting the parameters necessary for each operation, the operation of each circuit (output) must be determined. Begin by setting initial
setting mode as required.
40
30
20
10
0
10 0 20 40 55 60 80
Ambient temperature (˚C)
Total current (A)
Open the front cover. Determine and set the
operation of each circuit
(output).
Set initial setting mode.
The Initial Setting mode must be set to
use the following functions.
Common to all models:
• Next Operation Display Switching
Weekly models:
• Time Counter/Total Counter Display
• Time Adjustment Input
• Manual Operation on Recovery from
Power Failure
• Bank Switching
Yearly models:
• Time Counter/Total Counter Display
(See note.)
• Time Adjustment Input (See note.)
• Manual Operation on Recovery from
Power Failure (See note.)
• Season Switching
• Date Format Selection
• Summer Time (DST) Adjustment
Note: 2-circuit models only
Set as necessary:
Note: Pull the front cover open
with your fingertips.
Note: Use the tip of a ball-point
pen, or other sharp
instrument, to make the
settings.
For details, refer to Using
Advanced Functions on
page 23.
HOLID
 Loading...