3 Getting Started with AutoVISION
3-2
MicroHAWK F320-F / F330-F / F420-F / F430-F Smart Camera User Manual
3-1 Setting Up a Job in AutoVISION
AutoVISION is a critical component of the camera’s functionality. Designed for use with MicroHAWK
Smart Cameras, AutoVISION provides an intuitive interface, step-by-step configuration, and a library of
presets that allow easy setup and deployment. For more complex vision applications, the system can
be upgraded from AutoVISION to Visionscape.
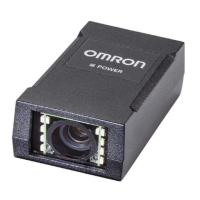
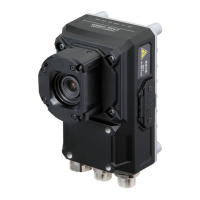
The MicroHAWK F430-F Smart Camera is used as an example in the following procedure.
• Mount the camera as required by the application.
• Connect the Ethernet cable from "B" on the camera to the network.
• Connect the power supply to "3" on the QX-1.
• Connect the photo sensor to "T" on the QX-1.
• Connect the "Common" cable to "2" on the QX-1 and "A" on the camera.
• Plug in the power supply.
Item Part Number Description
1 F430-F[XXX][Y][ZZZ]-[L][C][P] F430-F
2 97-000012-01 Power Supply, 100-240VAC, +24VDC, M12 12-Pin Socket
3 98-000103-02 QX-1 Interface Device
4 61-000162-02 Cordset, Common, M12 12-Pin Socket (Screw-On) to M12 12-Pin Plug
5 61-000160-03 Cordset, Host, Ethernet, M12 8-Pin Plug (Screw-On) to RJ45, 1 m
6 99-9000016-01
Photo Sensor, M12 4-Pin Plug, NPN, Dark On or Light On (Selectable), 2 m
1. Configure Hardware
