20
1
Getting to know your system
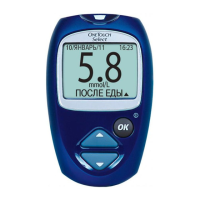
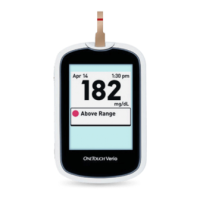
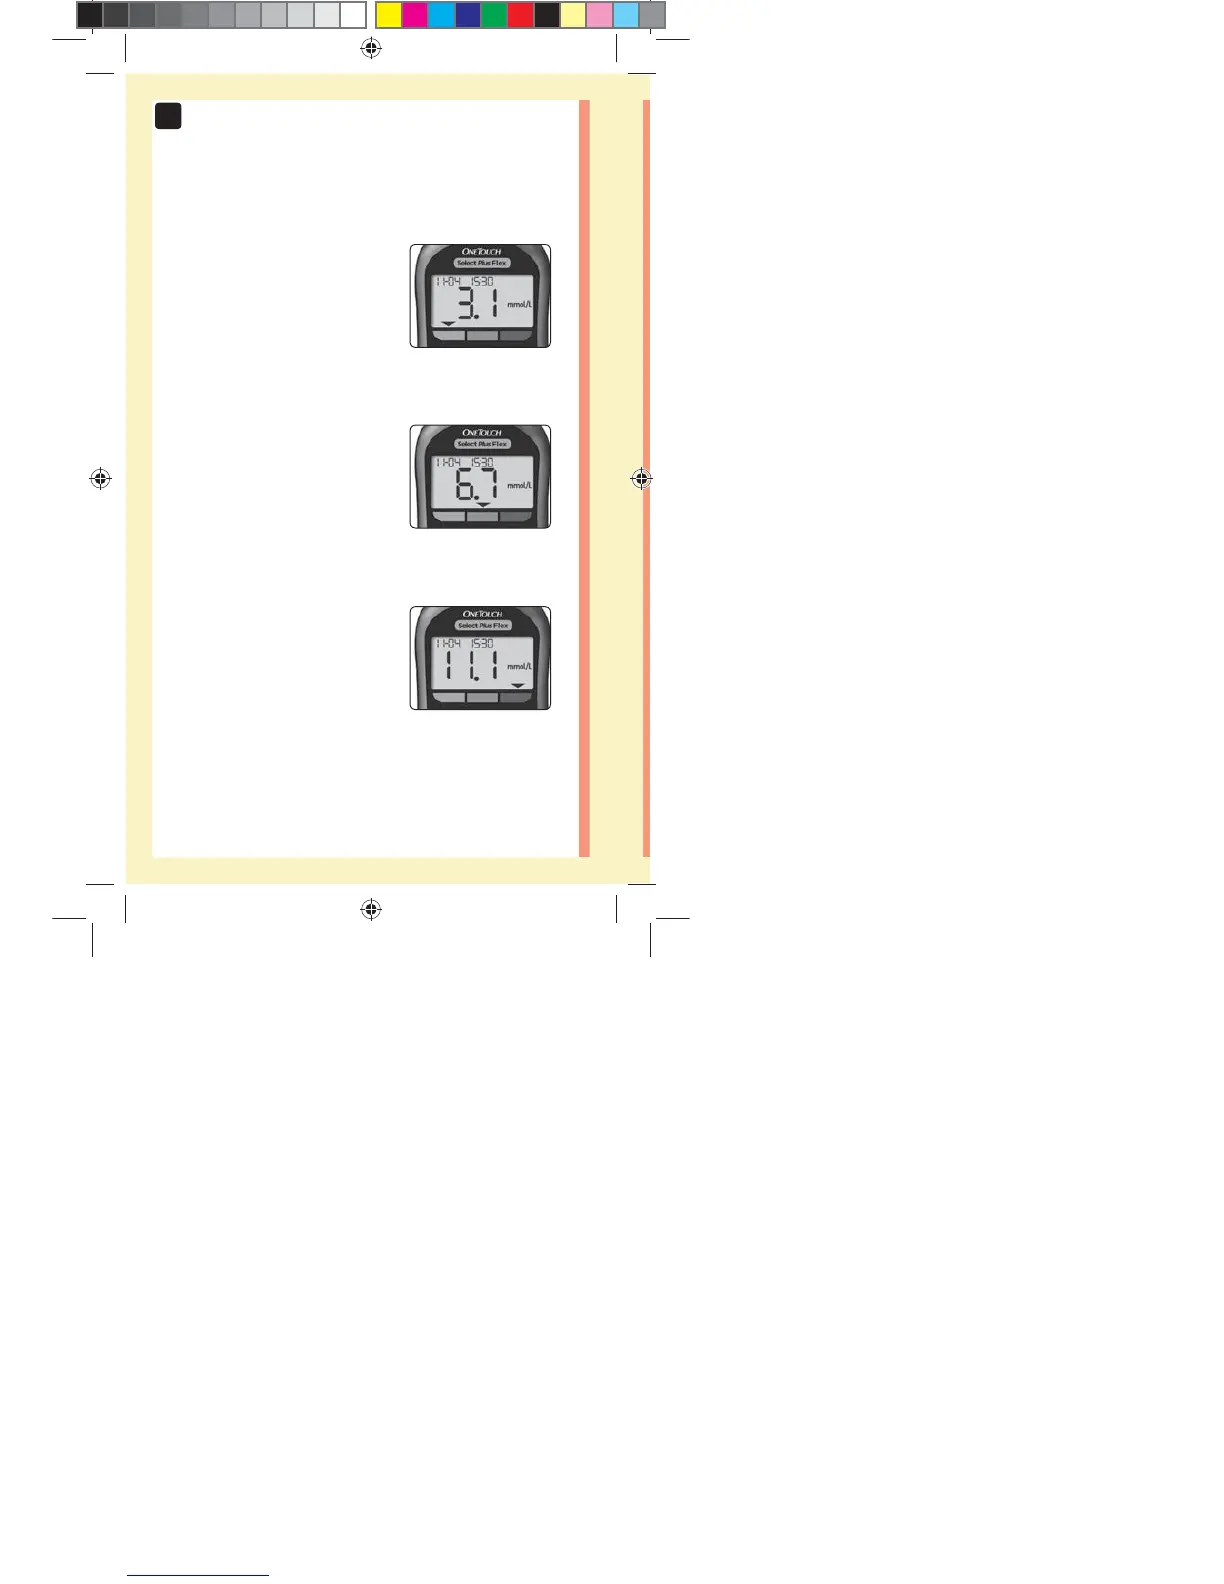
3 Possible Range Indicator Displays
A Range Indicator Arrow will
appear just below your result
after each test depending upon
how you set your low and high
range limits in the meter.
Things you should know before
using the Range Indicator feature:
đƫ The meter comes with pre-set
range limits. The pre-set low
range limit is 3.9mmol/L and
the pre-set high range limit is
10.0mmol/L. You can change
these limits as needed to meet
your needs. See page77 for
details on the pre-set range
limits and on editing your
range limits.
đƫ If you decide to change
your range limits, the Range
Indicator Arrows stored with
previous results in meter
memory will not change.
However, any new tests will
display Range Indicator Arrows
which reflect your changes.
Example
Below Range Result
Example
In Range Result
Example
Above Range Result
in
PF3130451Rev1_OTSPF_OB_I_GB_en_zug_R2.indd 20 3/12/15 11:35 AM
Statement of Use: Verify status before each use
Effectivity Date: Mar 18 2015 Status: Current State: Released
Type: Project File Name: 3130451 Revision: 1
 Loading...