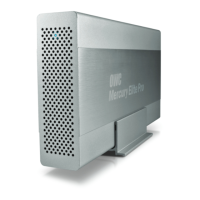
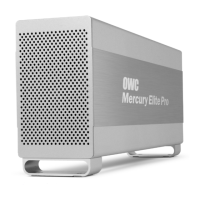
MERCURY ELITE PRO DUAL
DEVICE SETUP
11
2.4.1 Drive Replacement
If the drive was part of a RAID 1, it can be replaced and the array will be rebuilt. In the
meantime, the data will remain accessible through the other drive in the RAID 1. If the
Mercury Elite Pro Dual was purchased with drives already installed and it is still under
warranty, see Section 3.6 for information on how to contact OWC technical support to
arrange for replacement.
If the warranty has expired or if the Mecury Elite Pro Dual was purchased without drives,
follow the assembly instructions in Section 2.2 to access and replace the failed drive.
If the HDD2 LED is blinking red, the failed drive is the one on the bottom, connected
directly to the black SATA connector on the circuit board (see Section 2.2, step 4). If the
HDD1 LED is blinking red, the failed drive is the one on the top, connected using cables
(see Section 2.2, step 5).
NOTE: The failed drive must be replaced with a drive of identical model and capacity if
being used in a RAID 0 or RAID 1.
If the Mercury Elite Pro Dual is set up as a span or as a RAID 0, the array must be reformatted
before it can be used again. If the device is set up in independent drive mode, you do
not need to reformat the existing drive or the new drive. If the new drive had data on
it before being installed in the Mercury Elite Pro Dual, that data will remain intact. See
Section 2.4.2 for information on rebuilding after drive replacement in a RAID 1.
2.4.2 Rebuilding a RAID 1
After the failed drive is replaced, if the device is configured as a RAID 1, the array will
automatically begin the rebuild process when it is turned on. This process may take
from several hours up to more than a day, based on the capacity of the drives. During
the rebuild process, the power LED will pulse blue slowly. It is recommended to leave
the Mercury Elite Pro Dual turned on during the entire rebuild process, but if power is
interrupted, the unit will continue rebuilding automatically when power is restored. Once
the rebuild process is complete, the power LED will resume normal activity. See Section
1.4 for more information on the behavior of the LEDs on the front of the Mercury Elite
Pro Dual.
NOTE: The Mercury Elite Pro Dual needs an active data signal to remain on. If it goes to
sleep, if it is disconnected from the computer, or if the computer goes to sleep or turns
off, the device will turn off. To minimize the total rebuild time, it is recommended to keep
the device connected to the computer (with the computer powered on), and disable
any hard drive sleep settings on the computer for the duration of the rebuild process.
 Loading...