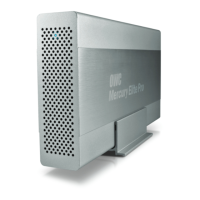
MERCURY ELITE PRO DUAL
DEVICE SETUP
4
DEVICE SETUP
2.1 QUICK START
If you purchased the OWC Mercury Elite Pro Dual as an empty enclosure, proceed to Section
2.2, Assembly. If you purchased the enclosure with drives already installed, the OWC Drive
Guide formatting utility has been installed. Follow these steps to use the OWC Drive Guide
to format your drives for Mac (OS X 10.4 and later) or Windows (XP and later).
1. Plug in the device, then connect it to your computer using the proper cable. If you prefer
to use a different formatting utility, do so at this time, skipping the remaining instructions.
2. Your drive will show up as “OWC SETUP”. Open your drive to view its contents.
3. Double-click the OWC Drive Guide application.
4. Follow the simple on-screen instructions to complete the formatting process.
5. Once the formatting is finished the drive is ready to use.
2.2 ASSEMBLY
NOTE: The following assembly instructions are written for users who purchased the Mercury
Elite Pro Dual as an empty enclosure. The instructions show how to open the Mercury Elite
Pro Dual in order to install drives. If you purchased the Mercury Elite Pro Dual with drives
already installed, opening the Mercury Elite Pro Dual before the expiration of the
original warranty will VOID the warranty. If you wish to remove or replace the drives
after the expiration of the original warranty, you may do so at that time.
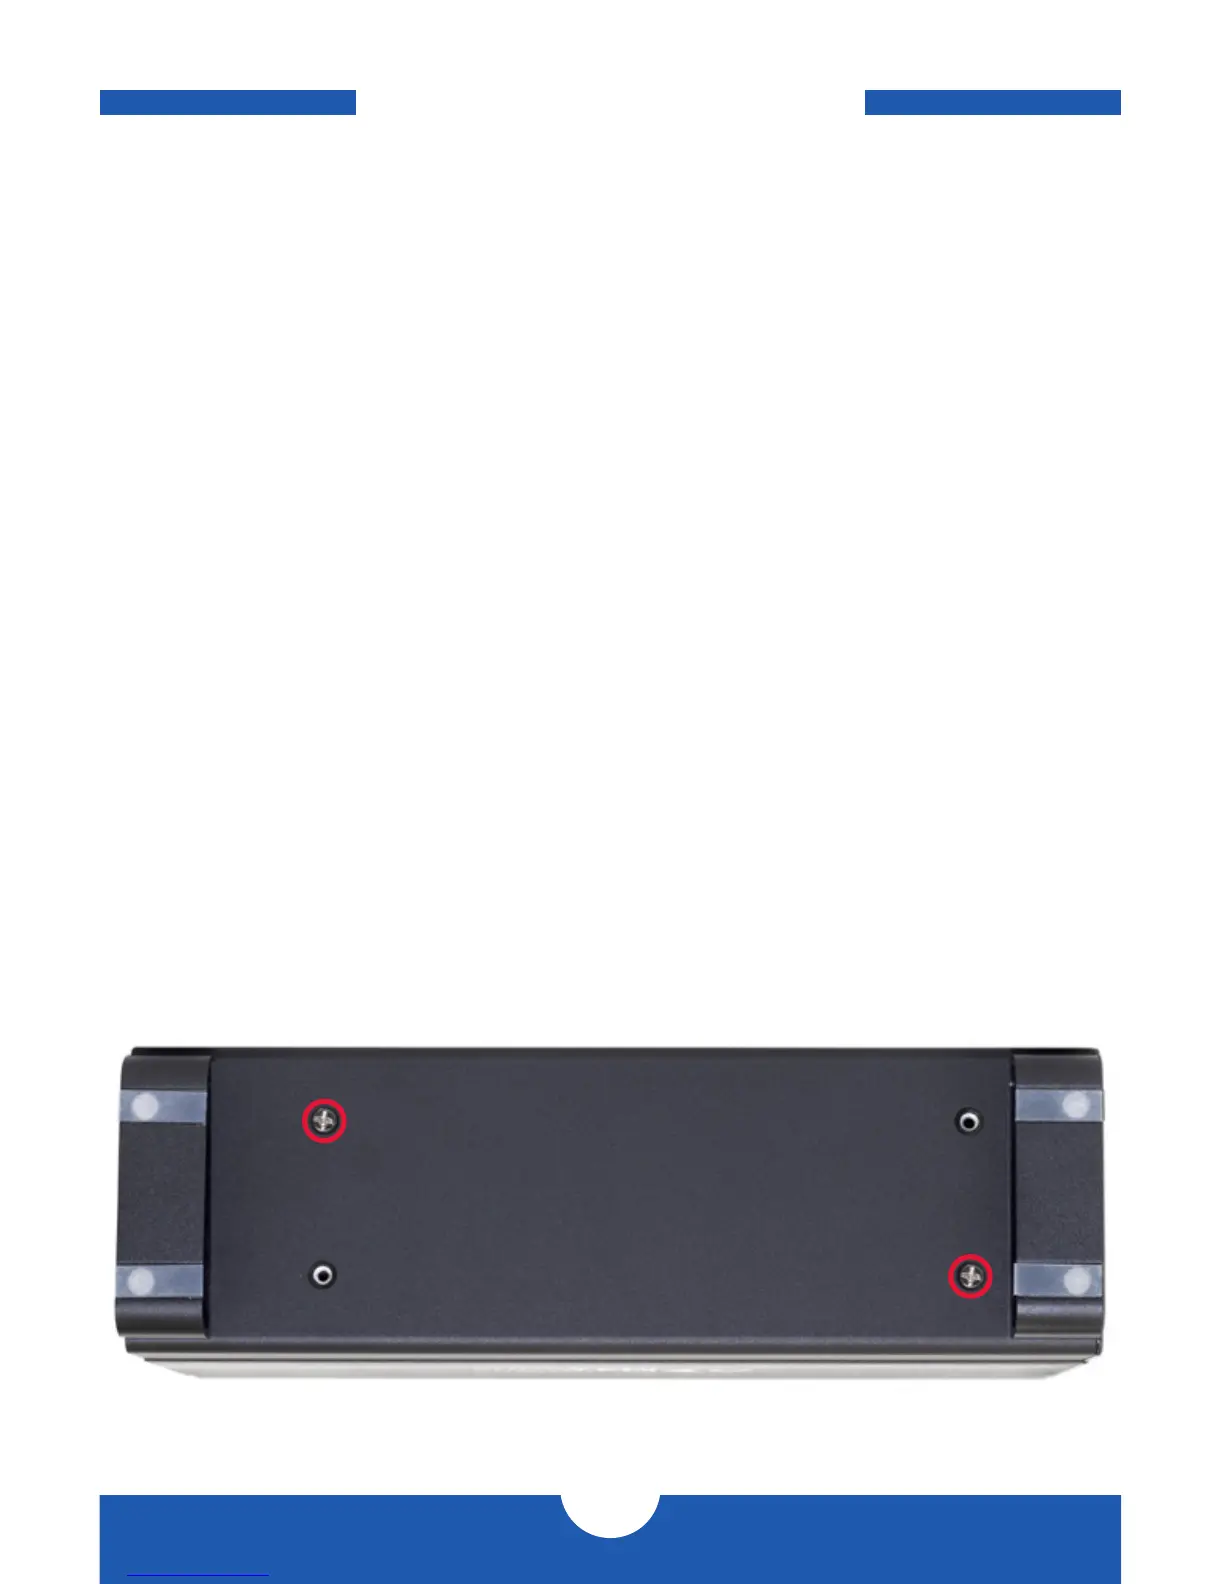
1. Remove the Mercury Elite Pro Dual from the retail box and the protective plastic bag.
Set the Mercury Elite Pro Dual on its side and look at the bottom of the enclosure. Use a
Phillips screwdriver to remove the two screws, as circled below in red.
 Loading...