11
3
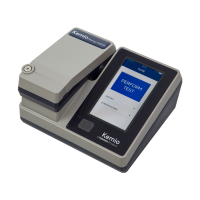
Photometer 7500 BT
The default start-up screen on power up is the
‘Choose a Test’ screen.
To access the Mode menu press the left arrow
key to highlight ‘Menu’ and OK.
To choose a test use the up/down arrows to scroll
through the list and press OK on the desired parameter.
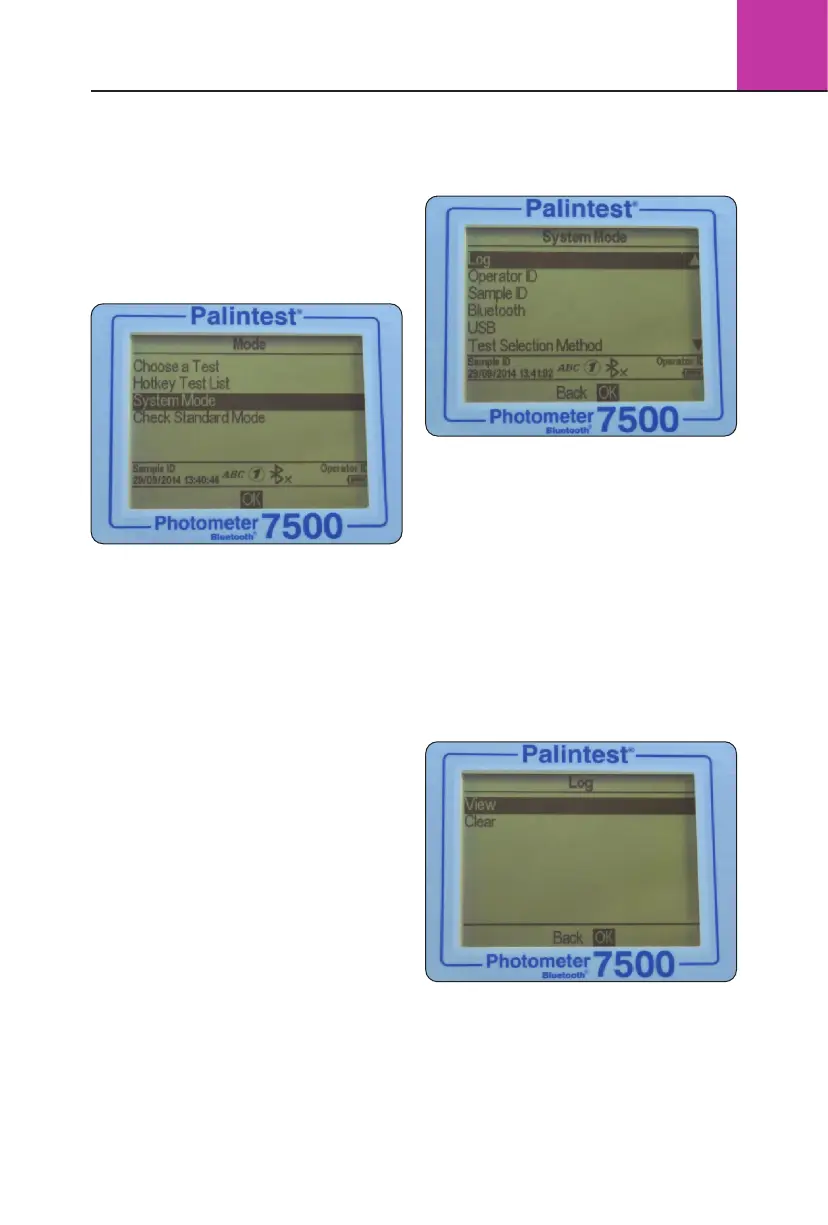
Mode Screen
The Photometer 7500 has four operating modes
as follows:
Choose a Test
The Choose a Test mode is the standard operating
mode for taking photometer readings and is the
default start-up screen on power up. See Section
3.5 for more information.
Hotkey Test List
Assign up to 10 of the most frequently used tests
for single button access when in Hotkey mode,
indicated by the icon in the Info Panel. More
information on how to set up and use Hotkey
mode can be found in Section 3.4.
System Mode
Personalise your Photometer 7500 Bluetooth and
manage stored data within the System mode.
Options include setting Operator/Sample IDs,
interrogating the result log and defining the
instrument operating conditions. See Section
3.4 for further information.
Check Standard Mode
Validate performance of your Photometer 7500
Bluetooth using Palintest Check Standards.
See Section 3.7 for more information.
3.4 System Mode
Personalise your Photometer 7500 Bluetooth
and access the data log via the System Mode.
Scroll up or down using the appropriate keys to
see all available options. The options and available
settings are as follows:
Log
The Photometer 7500 Bluetooth has an internal
data log for up to 500 data points. The data is
stored automatically upon completion of the test
and automatically overwrites the oldest result when
the memory is full. The data log is unaffected by
power on/off.
Each data point is stored in a comma-separated
values (CSV) format and consists of date,
time etc.
Selecting Log offers two choices:
View - to view individual data points use the
up/down keys. Data is stored in chronological order
with the most recent result shown by default.
Scroll through results using the up/down arrows.
Select Back to return to the previous menu.
 Loading...