12
Top
Using the printer with
Easy-Mark Plus
Troubleshooting
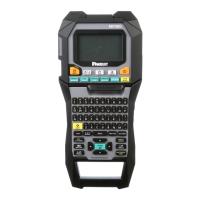
Part Names and
Functions
Start Here
Cleaning
Initializing the
Settings
Label Functions
Key Menu Index
Frame and Table Lists
Symbol List
Specications
Technical Support
Start Here
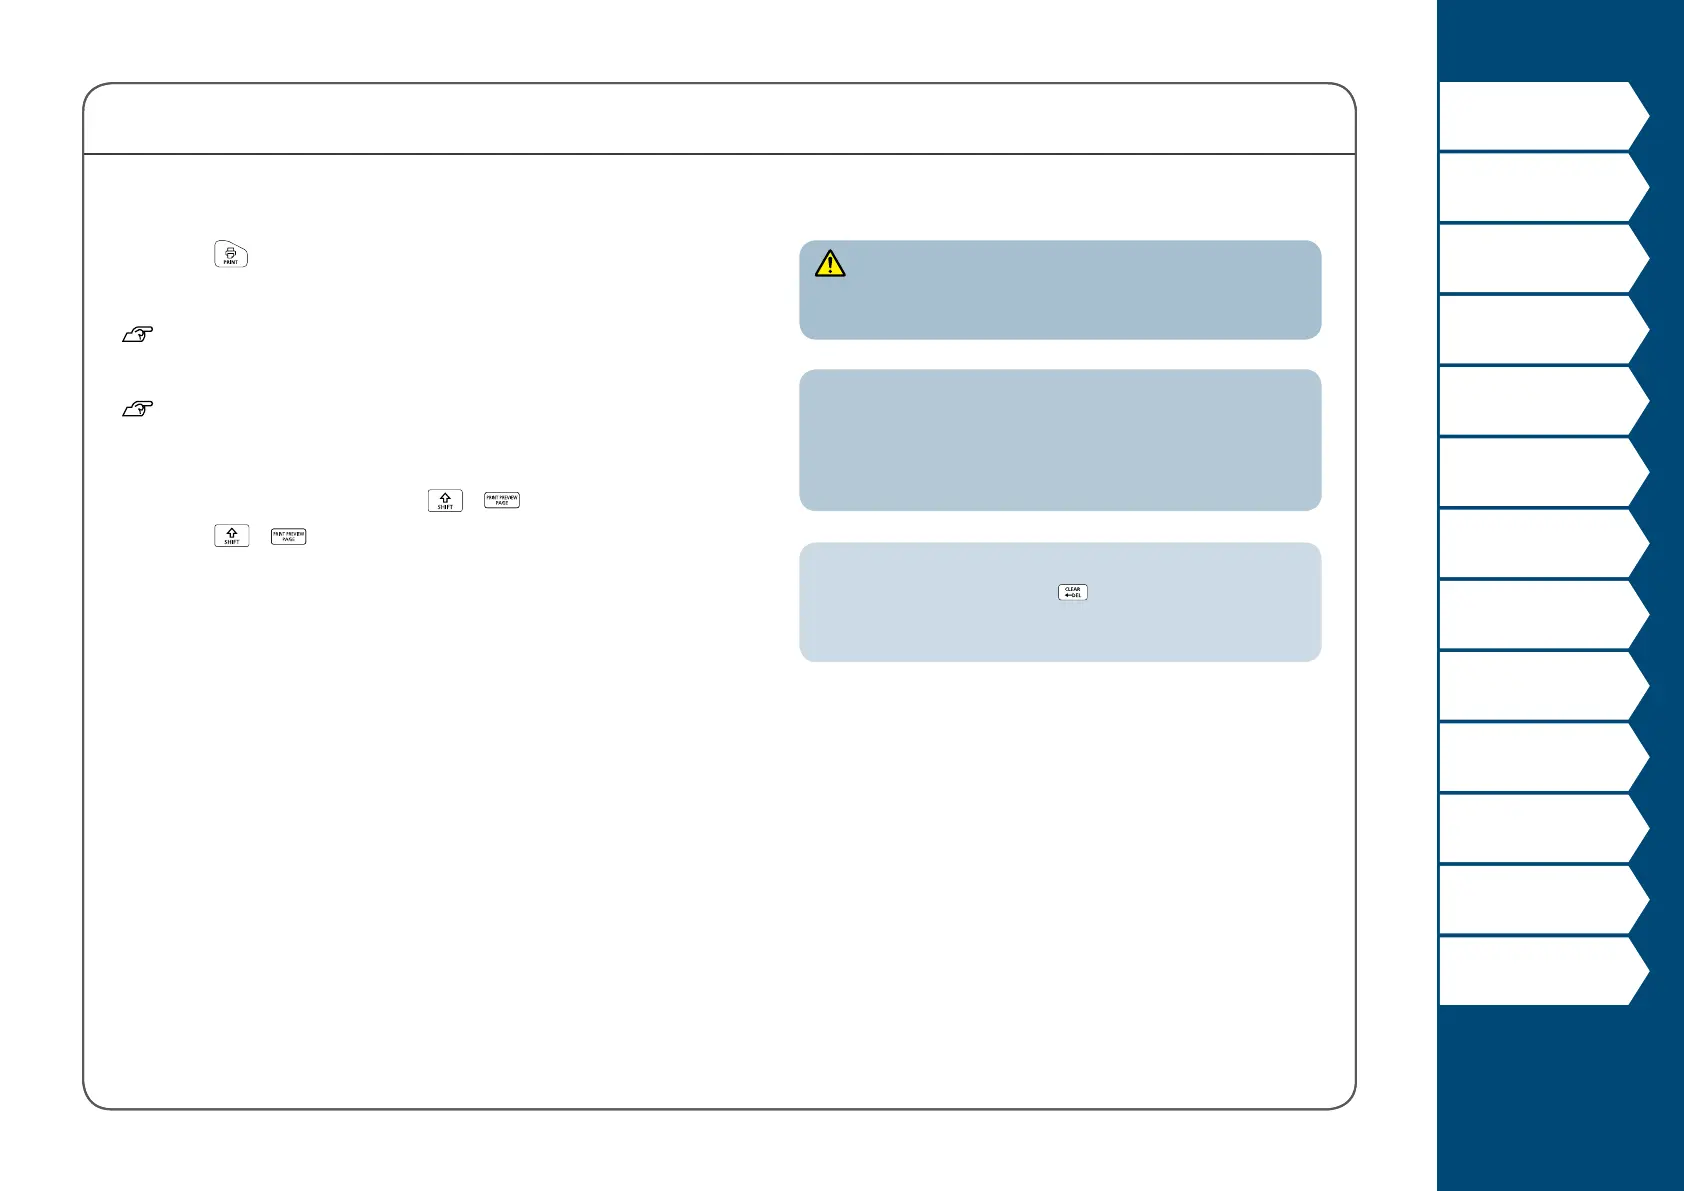
5. Printing label
1. Press .
Setting the label auto cut to O
"Auto cut"
Printing with special print functions
"Enlarge print"
Checking the print image
+
1. Press
+ .
The print image scrolls on the entire screen.
When the preview ends, the editing screen reappears.
CAUTION
• Do not insert your ngers into the tape eject slot.
• Do not pull the tape until the printing is completed.
Attention
• "Insert tape" will appear on the display if the tape cartridge
is not loaded or not correctly set.
• Length of the label shown on the display is a guide and
may not match the length of the printed label exactly.
MEMO
• To cancel the printing, press .
• Depending on your margin setting or the label type, tape
may be fed and cut before printing.
 Loading...