28
Top
Using the printer with
Easy-Mark Plus
Troubleshooting
Part Names and
Functions
Start Here
Cleaning
Initializing the
Settings
Label Functions
Key Menu Index
Frame and Table Lists
Symbol List
Specications
Technical Support
Network Mode
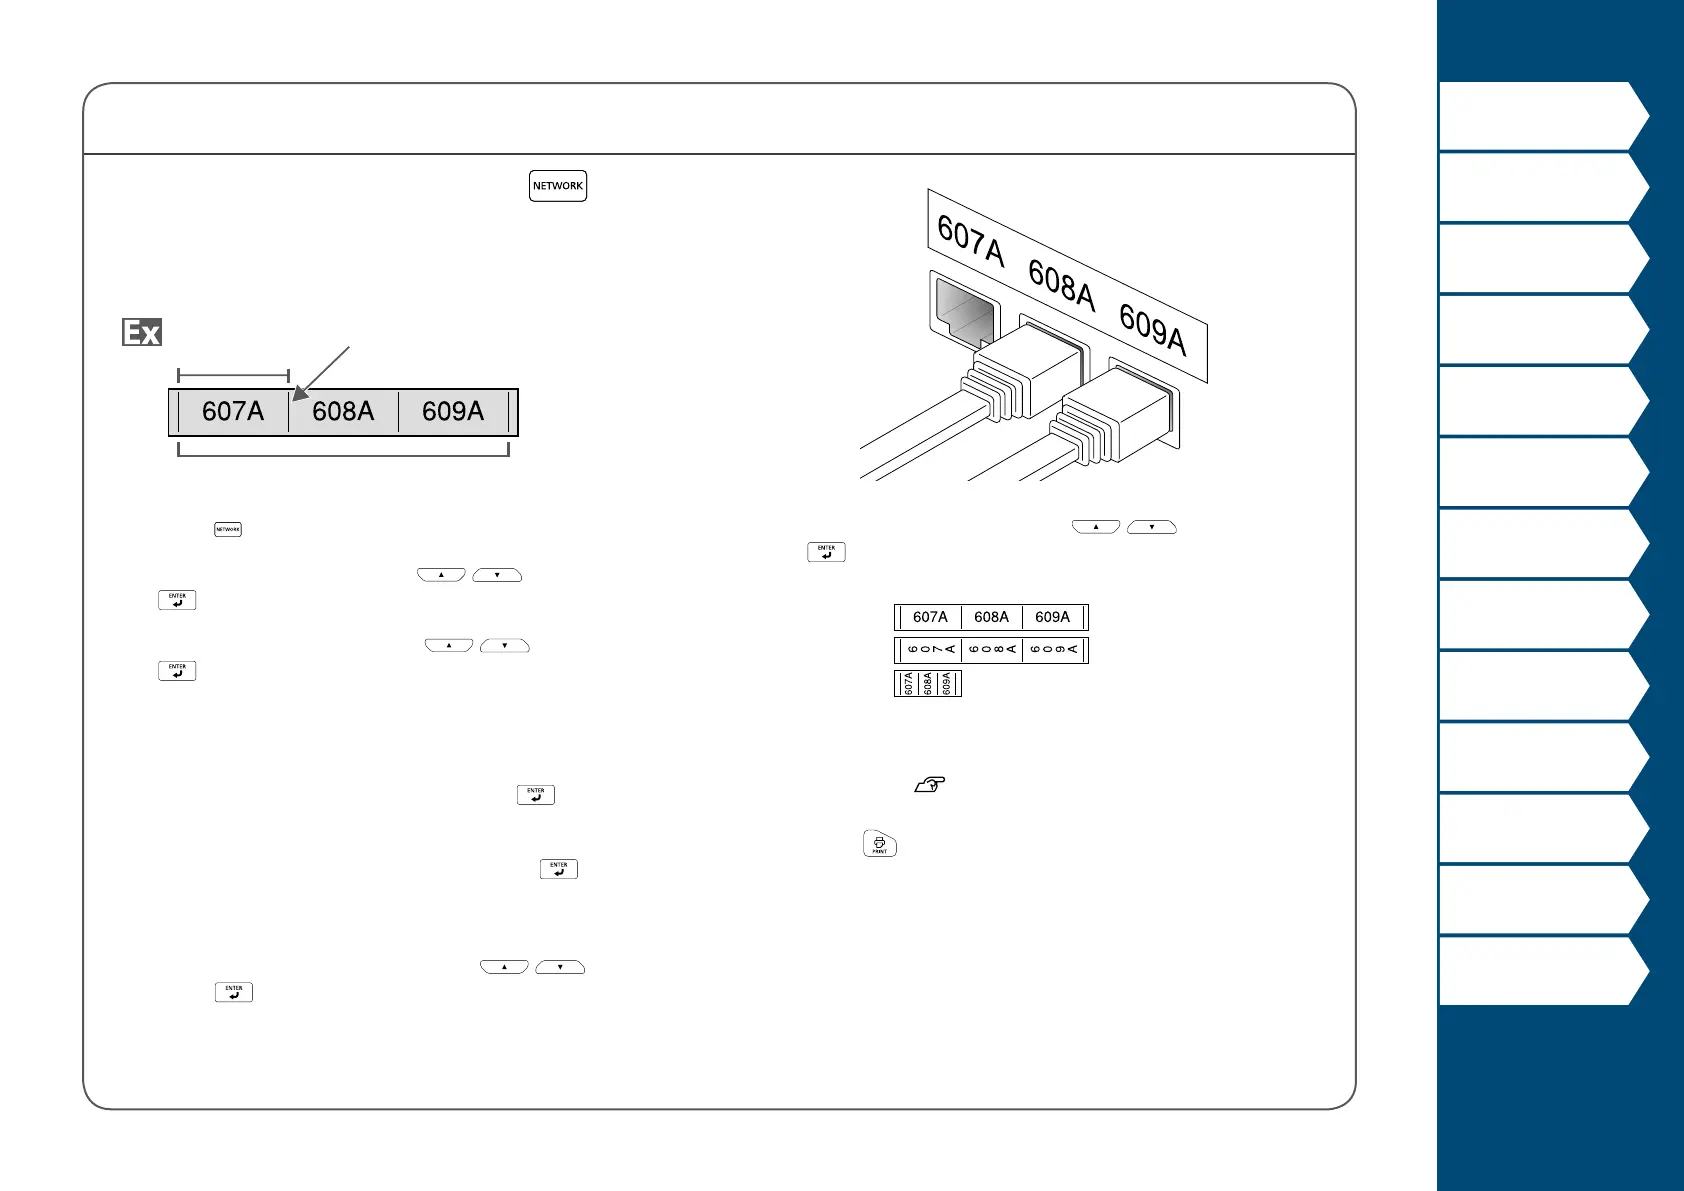
Creating Labels for Patch Panel
You can create the optimal labels for your patch panel by
setting the label length and number of ports.
Ports number
Separator
Port length
1. Press .
2. Select "P.Pan/F.Plate" with
/ and then press
.
3. Select the length type with
/ and then press
.
In this example, we will select "Ports".
Ports: Sets the length by port length.
Label: Sets the length by label length.
4. Enter the port length and then press
.
Setting range: 0.1 to 11.81" (0.25 to 30.00 cm)
5. Enter the ports number and then press
.
In this example, we will enter "3".
Setting range: 1 to 50
6. Select the type of separator with
/ and then
press
.
In this example, we will select "Line".
7. Select the orientation with
/ and then press
.
In this example, we will select "Hori.".
Hori.
Vert.1
Vert.2
8. Enter the text.
You can create labels with sequence numbers.
For details,
"Creating Labels with Advanced
Serialization"
9. Press
.
 Loading...