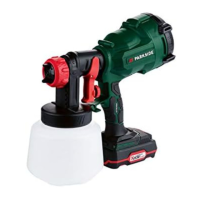
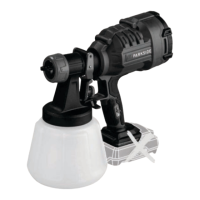
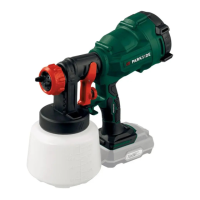
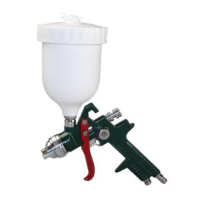
PAFS 550 A1
GB
│
IE
│
9 ■
WARNING! HAZARDS CAUSED
BY MATERIALS AND SUBSTANCES!
► There is a risk of coming into contact with or
absorbing coating materials and/or cleaning
fluids. There is also a risk of inhaling vapours
from liquids. This can cause permanent dam-
age under certain conditions.
► Always wear personal protective equipment
when working on the appliance!
► Ensure sufficient technical or natural ventila-
tion.
► Follow the manufacturers’ safety instructions
for the respective coating materials and
cleaning liquids.
► If you experience any symptoms, seek medi-
cal advice!
Working procedures
NOTE
► Ensure that the spray material and thinning
agent are compatible. Using an unsuitable
thinning agent may cause clots that clog the
appliance.
► To find out which thinning agent is suitable
for your spray material (water, paint thinner),
refer to the manufacturer's notes provided
with the spray material.
► Granular products and products containing
solids must not be sprayed. Their abrasive
effect will shorten the service life of the
appliance.
Preparing the spray surface
WARNING!
► Risk of electric shock due to penetrating spray
material! Be sure to mask any sockets and
switches.
♦ Cover any surfaces around the spray area ex-
tensively and thoroughly. Any surface that is
not masked could become contaminated.
♦ Make sure that the spray surface is clean, dry
and free of grease.
♦ Polished surfaces should be lightly sanded and
the sanding dust removed.
Spraying technique
♦ Always hold the paint spray gun at the same
distance and at a right angle to the object. The
ideal spraying distance is approx. 20–25cm.
Move the paint spray gun evenly with your
whole arm (see fig. J).
♦ Determine the appropriate settings in each
case by experimenting, e.g. on a piece of
cardboard.
♦ Do not switch the appliance on/off above the
spray area, but start and stop the spraying
process approx. 10 cm outside the spray area.
Before use
Assembly
NOTE
► You can assemble the appliance using two
adjustable spanners (not supplied).
► Alternatively, you can also use a 16mm and
19mm wrench (not supplied).
♦ Fit the high-pressure hosew onto the connect-
ing thread r on the appliance. Tighten the nut
using an adjustable spanner. Counter the nut
of the connection thread r with a second ad-
justable spanner (see fig. A).
♦ Fit the other end of the high-pressure hose w
to the connecting thread of the paint spray
gun0. Tighten the nut using an adjustable
spanner. Counter the nut of the connection
thread of the paint spray gun with a second
adjustable spanner.
Selecting/changing the nozzle
Nozzle Use
Nozzle 311 low viscosity spray material
Nozzle 517 viscous spray material
♦ Insert the corresponding nozzle5 with the
arrow tip in the spraying direction into the
nozzle chamberp.
 Loading...
