EasyManua.ls Logo

Philips HD8829 User Manual

Philips HD8829
76 pages
To Next Page IconTo Next Page
To Previous Page IconTo Previous Page
Page #11 background imageLoading...
Page #11 background image
2
1
5 Insert mains plug into a wall socket (1) and insert the small plug into the
socket located on the back of the machine (2).
6 Set the main switch to the ON position to switch on the machine.
7 Insert the hot water dispensing spout.
8 Press the ON/OFF button to switch on the machine.
Circuit priming
During the initial heat-up process, fresh water flows through the internal
circuit to heat up the machine. This takes a few seconds.
1 Place a container under the hot water dispensing spout.
Espresso
Memo Memo
Calc
clean
Coffee
Memo
Cappuccino
2 The no water light and the general warning light flash simultaneously.
-
The ESPRESSO button light lights up.
11
English

Table of Contents

Question and Answer IconNeed help?

Do you have a question about the Philips HD8829 and is the answer not in the manual?

Philips HD8829 Specifications

General IconGeneral
TypeEspresso machine
Coffee Bean Capacity250 g
Pump Pressure15 bar
Milk FrotherYes
GrinderYes
Weight7.2 kg
Appliance PlacementCountertop
Product TypeEspresso machine
Water Tank Capacity1.8 L
Built-in GrinderYes
Adjustable Grinder SettingsYes
Number of Grinder Settings5
Milk TankNo
Adjustable Coffee StrengthYes
Adjustable Coffee VolumeYes
Adjustable TemperatureYes
Hot Water SystemYes
Self-cleaningYes
Removable Brewing UnitYes
Removable Water TankYes
Power1850 W
AC Input Voltage230 V
AC Input Frequency50 Hz
ColourBlack
Capacity1.8 liters
Coffee Maker TypeFully automatic
Coffee Input TypeCoffee beans
Cord Length0.8 m

Summary

Introduction to Your Coffee Machine

Important Safety Information

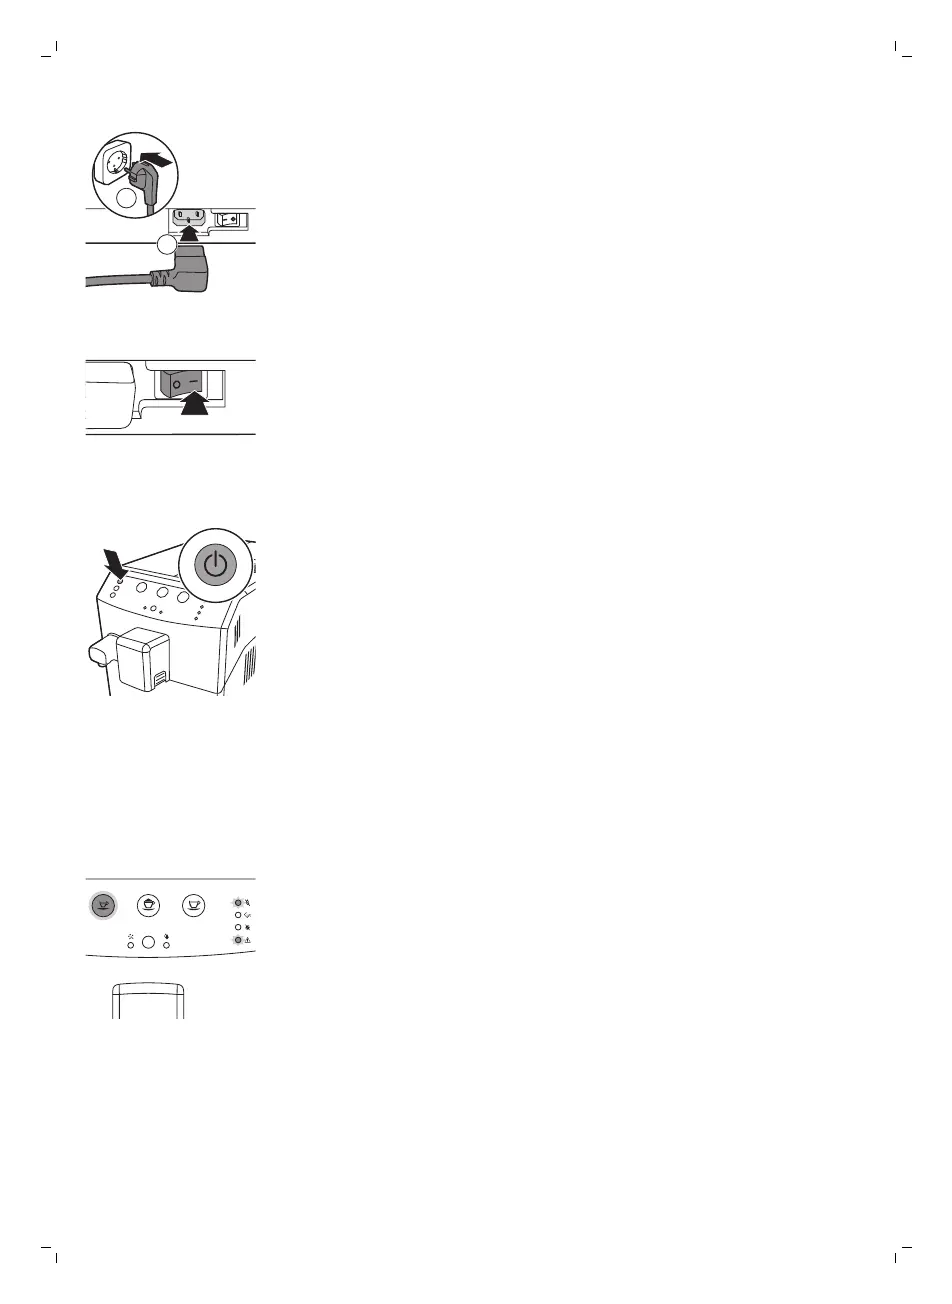
General advice on reading and following safety instructions for machine use.

Safety Warnings

List of critical safety precautions for electrical connections, water, and hot surfaces.

Cautionary Advice for Use

Electromagnetic Fields (EMF) Compliance

Machine Overview and Components

Initial Machine Setup

Circuit Priming Procedure

Automatic Rinsing Cycle

Manual Rinsing Cycle Instructions

Measuring Water Hardness

Installing the Intenza+ Water Filter

Operating the Coffee Machine

Beverage Types and Lengths

Details on available coffee types, their descriptions, and standard brewing lengths.

Adjusting the Coffee Dispensing Spout

Brewing Coffee

Brewing 1 Cup of Espresso and Coffee

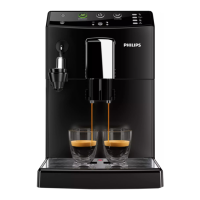
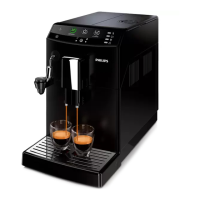
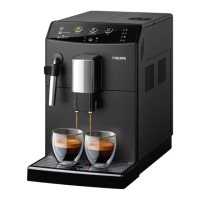
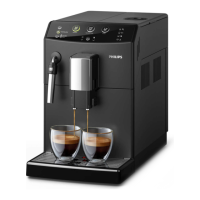
Steps to brew a single cup of espresso or coffee, including button presses and stopping.

Brewing 2 Cups of Espresso and Coffee

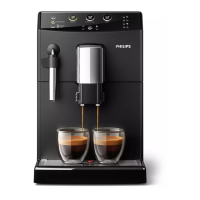
Steps to brew two cups of espresso or coffee, involving double button presses and automatic cycles.

Installing and Removing the Milk Frother

Brewing a Cappuccino

Frothing Milk

Inserting and Removing the Hot Water Spout

Dispensing Hot Water

Adjusting Coffee Quantity and Taste

Saeco Adapting System Explained

Explanation of the machine's self-adjustment system for optimal coffee taste.

Activating the Aroma Plus Function

How to activate the Aroma Plus function for a stronger coffee.

Adjusting Coffee Length with MEMO Function

Adjusting Cappuccino Volume with MEMO Function

Adjusting the Grinder Settings

Maintenance and Care

Cleaning Drip Tray and Grounds Container

Instructions for daily cleaning of the drip tray and coffee grounds container.

Cleaning the Water Tank

Procedure for rinsing the water tank periodically with fresh water.

Cleaning Coffee Compartments

Guidance on cleaning the bean hopper with a dry cloth monthly.

Cleaning the Brew Group

Detailed steps for weekly cleaning and maintenance of the brew group.

Quick Clean Milk System

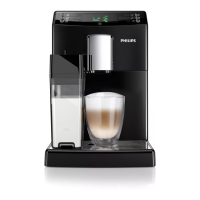
Procedure for a quick rinse of the milk system after brewing milk-based beverages.

Daily Cleaning of the Automatic Milk Frother

Steps for daily cleaning of the automatic milk frother with hot water and steam.

Monthly Cleaning of the Automatic Milk Frother

Procedure for monthly deep cleaning of the automatic milk frother using cleaner.

Cleaning the Automatic Milk Frother Components

Detailed disassembly and cleaning steps for the automatic milk frother parts.

Brew Group Lubrication

Descaling the Machine

Descaling Procedure

Step-by-step guide for performing the descaling cycle using the descaling solution.

Interruption of the Descaling Cycle

Meaning of Light Signals

Troubleshooting Common Issues

Recycling and Product Disposal

Guarantee and Support Information

Ordering Maintenance Products

List of official maintenance products and where to purchase them.

Technical Specifications

Detailed technical data and dimensions of the coffee machine.

Related product manuals