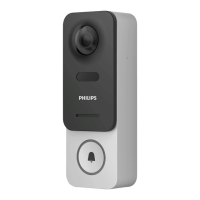
WelcomeEye / Link
10
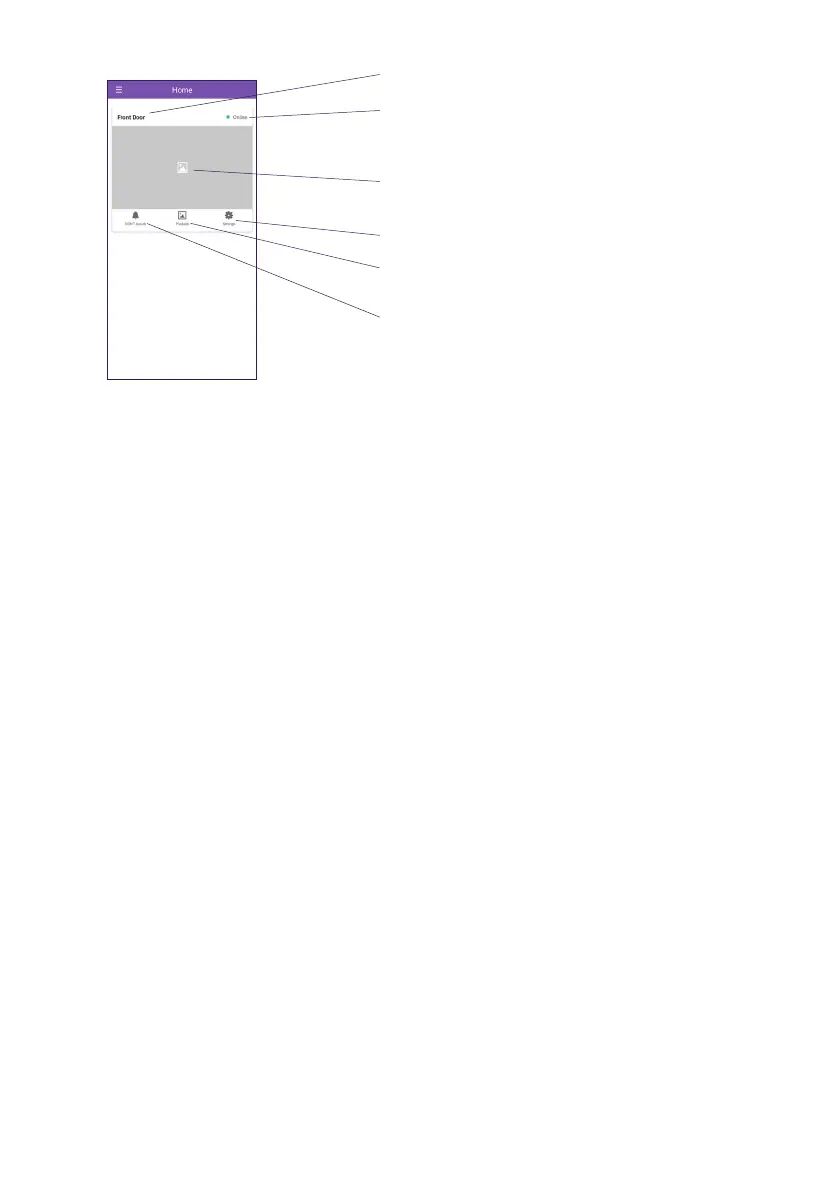
Customised name for your intercom panel
Status of your intercom panel (in this case,
online – the intercom panel is connected
to the Internet and is operational)
Preview (updated regularly during calls)
“Do not disturb” button: mutes ringtones
and notications from the app on your
smartphone when activated
Intercom panel settings
Access to videos taken automatically by
the intercom panel
We suggest you make a test call to check that the authorisations the application needs
are activated.
5. Resetting
In the event of an error, or if you wish to reset the intercom panel, press the black button
(next to the micro SD card) and hold for approximately 10 seconds, then resume the
procedure from step I.
The call button ashing red indicates that the reset has been successful.
6. Installation and wiring
Before placing the intercom panel in its permanent position, we recommend that you check
the WiFi connection.
If the panel connects to your WiFi network, you can then proceed with the permanent
installation.
If you are positioning the device outside the range of your Internet router, it might be
necessary to use an external WiFi terminal.
Important: do not expose the camera to direct sunlight or position it facing a reective
surface.
Tip: we recommend that the control wires for a motorised gate be passed through a sheath
to protect them from impacts and bad weather.
 Loading...