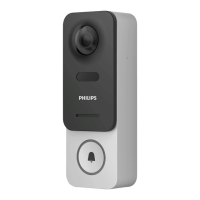
WelcomeEye / Link
14
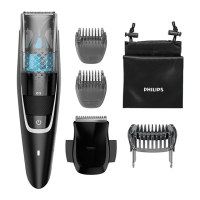
Step 4:
Attach the front, positioning the top (A) rst, then the bottom (B). Use the anti-
theft screw provided (C) to complete installation.
A B C
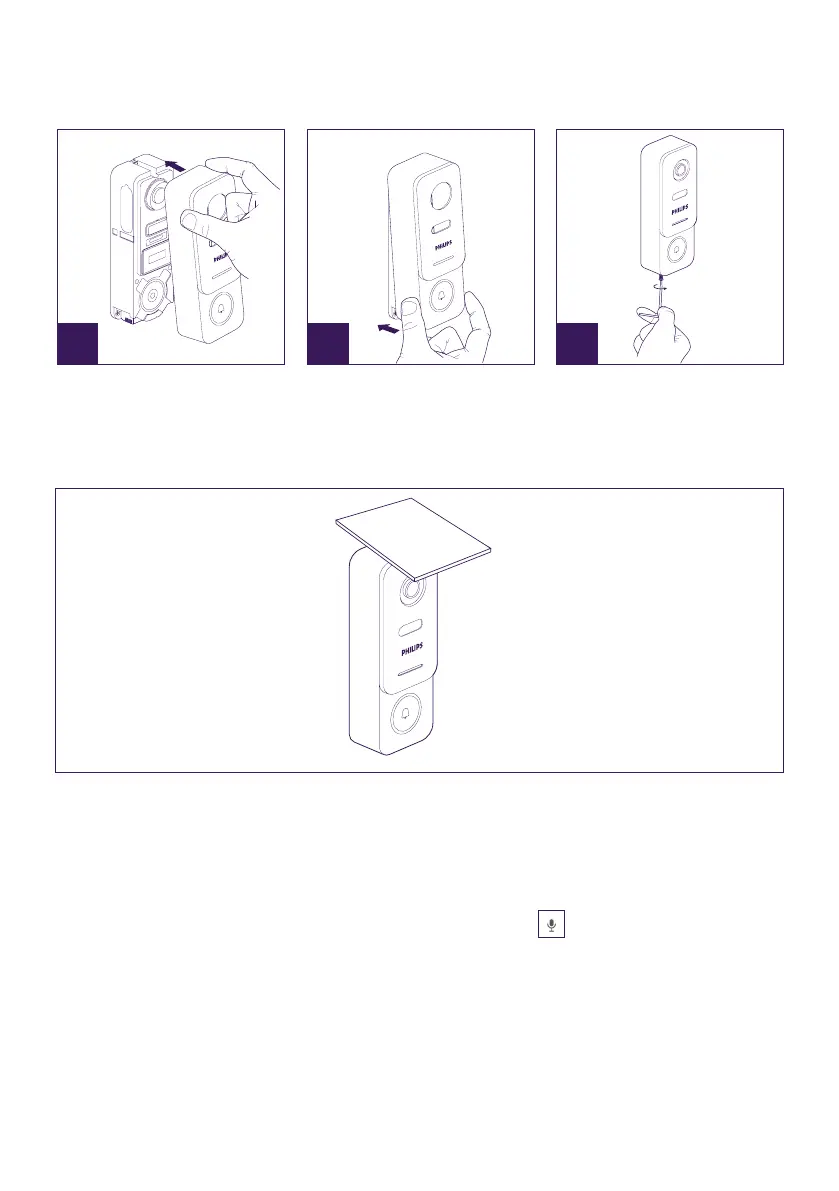
Step 5: The intercom panel is designed for outdoor use. However, applying a protective
silicone seal may prevent the front from opening when the battery needs to be recharged.
A suitable shield or hood is preferable for preventing the inltration of rain water along the
wall or pillar.
7. User manual
A. Each call from the intercom panel sends a call notication to the smartphone application.
Remember to authorise calls and notications from the app in your smartphone settings.
B. Once you have accepted the call, you will be able to see and respond to your visitor. The
sound on your smartphone is deactivated by default. Click on to activate the microphone
on your smartphone and talk to your visitor.
Warning: you need to press only once to activate or turn o the microphone, the loudspeaker
and the opening control.
 Loading...