7 . DISASSEMBLY
. CROSS-FADER SECTION
(Fig. 1)
1. Remove the fader knob,
2. Remove the two screws CD fixing the slider paneL.
3, Raise the C,F, assy at the front and then raise the entire
unit.
.,
. CONTROL PANEL SECTION
(Fig. 2)
i. Remove all knobs from the control panel suriace,
2. Remove the six screws CD,
3. Remove the two screws (g fixig the microphone jack,
Screw (g
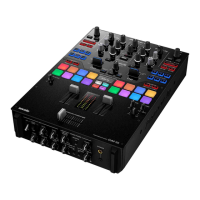
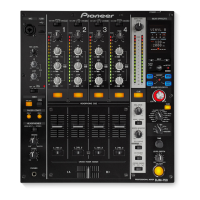
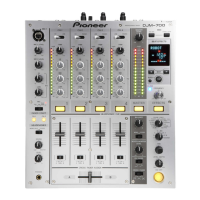
DJM-500
. EQUALIZER SECTION
. Removal of the CH1 to CH4 Meter Unit
(Fig.
3)
i. Remove the contrl paneL. (Refer to the preceding item.)
2, Remove the four screws CD fixing each meter assy,
3, Slide the meter assy to the front and raise it,
4. Proceed in the same way for CH2 to CH4,
~7
Meter Assy
. Removal of Shield Plate (Fig. 4)
i, Remove the contrl panel, (Refer to the preceding item.)
2. Remove the meter assy. (Refer to the preceding item,)
3. Remove the two screws CD fixing the shield plate.
4. Remove the nut and washer (g fixing the VR, and then
remove the shield plate,
5, Proceed in the same way for CH2 to CH4.
53

 Loading...