EURO
mini
User Guide
Page: 4
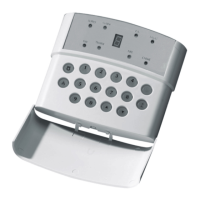
2.2 Proximity Tags
Your EURO mini system may have been enabled
for use with proximity tokens, or ‘Tags’.*
You can use your Tag in place of a pin code for
all operations of the alarm system, i.e. setting,
unsetting, and entering the Manager and User
Menus.
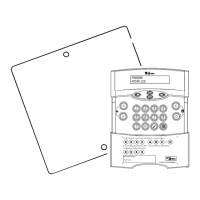
2.3 LED Indication
All keypads and readers have LEDs to clearly indicate what is
happening.
The ‘Alert’ (orange) LED will flash if there is information to display for
you. Enter your code to see the information. After a code has been
entered, one of the following lamps will light: Alarm, tamper or fault.
The relevant detail of the problem will be shown on the display. To
clear the display, press the ‘Yes’ key (or the display will clear
automatically after 3 minutes.)
The ‘Alarm’ (red) LED will flash after code entry if an alarm occurs.
The ‘Tamper’ (red) LED will flash after code entry if the wiring or
equipment is tampered with.
The ‘Fault’ (orange) LED will light after code entry to indicate if a
technical fault occurs.
The ‘Unset’ (green) LED will light for 5 seconds after unsetting any
part of the system. It will also light during the setting procedure, going
off once set.
 Loading...