3. Press the “▲” & “▼” buttons simultaneously, press the “*” button until the
LCD displays “CAL” to enter the calibrating temperature mode.
4. When the 100’s digit starts to flash, select the value by pressing “▲” or “▼”
button according to the reading of the thermometer and then click “*” button
to confirm it. Input the 10’s digit and 1’s digit as the method, after that, click
“*” button. Here, the calibration operation has been finished. If temperature is
successful, the LCD will display “
” and then return to the work state.
5. Repeat the above steps if there’s any difference between the thermometer and
soldering station.
NOTE:
(1) Recommend using the tip thermometer to measure the tip’s temperature.
(2) If locked by password, it will not be able to calibrate the temperature and
it must input the right password.
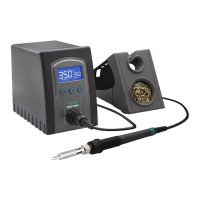
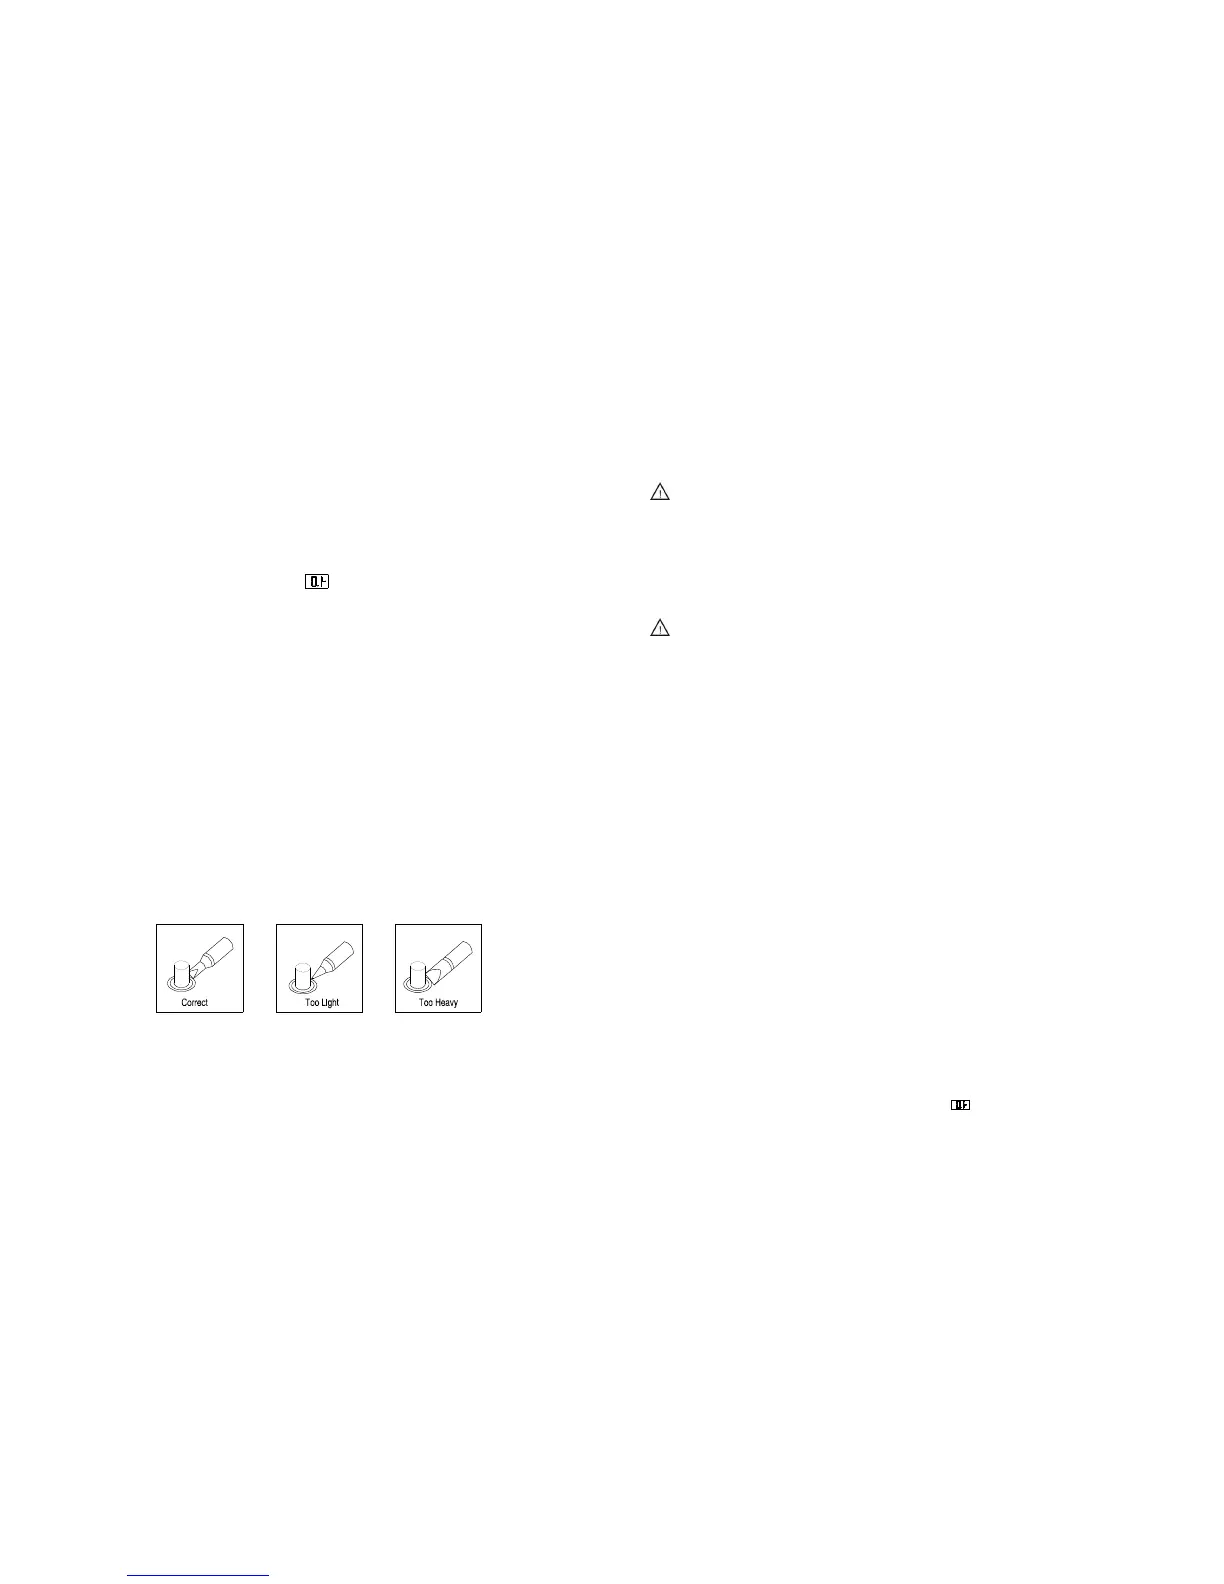
Ⅶ. Select a Correct Tip
1. A tip which can contact surface of the soldering joint effectively will conduct
heat effectively.
2. Select a tip which can conduct heat to the solder joint quickly and effectively.
A short tip can control the process more precise, and a long or angled tip will
be more suitable for components-intensive PCBs.
4.3 Operation of the Soldering Station
NOTE:
When the password is 000 or it has inputted right password, it can set
the temperature real-time, or else, it cannot do the temperature setting
and calibration.
If the power supply is cut off when setting temperature, the setting value
cannot be stored into the unit.
CAUTION:
Before operation, please check whether the voltage is according
with the rated voltage on the unit’s nameplate.
4.3.1 Favorite Temperature Setting
1. There are three favorite temperature states in each working mode. After into
the working state, it can set and save the favorite temperature, the method of
coming into the favorite temperature setting state is as followings:
(1) In the working state, it can switch among the three favorite temperature
state by clicking the “*” button and then loosen it.
(2) In the selected favorite temperature interface, the LCD displays the set
temperature (Set Temp) and real temperature (Real Temp).
2. If the unit is locked by the password, it only can select the favorite
temperature value, but cannot set and save the favorite temperature value.
3. If the password is 000 or the inputting password is right, it can set and save
the favorite temperature value.
(1) SET FAVORITE TEMPERATURE VALUE: after selecting the favorite
temperature mode, click the “▲” or “▼” button to set the favorite
temperature value (The setting method can refer to the “4.3.2 temperature
setting”).
(2) SAVE FAVORITE TEMPERATURE VALUE: If need to save the set
favorite temperature value, after setting, it must press the “*” button and
not loosen until the LCD displays “
”, which means the favorite
temperature saving is successful. Or else, the temperature is not saved.
Page 6 Page 13
 Loading...