3.
1Toolsrequired
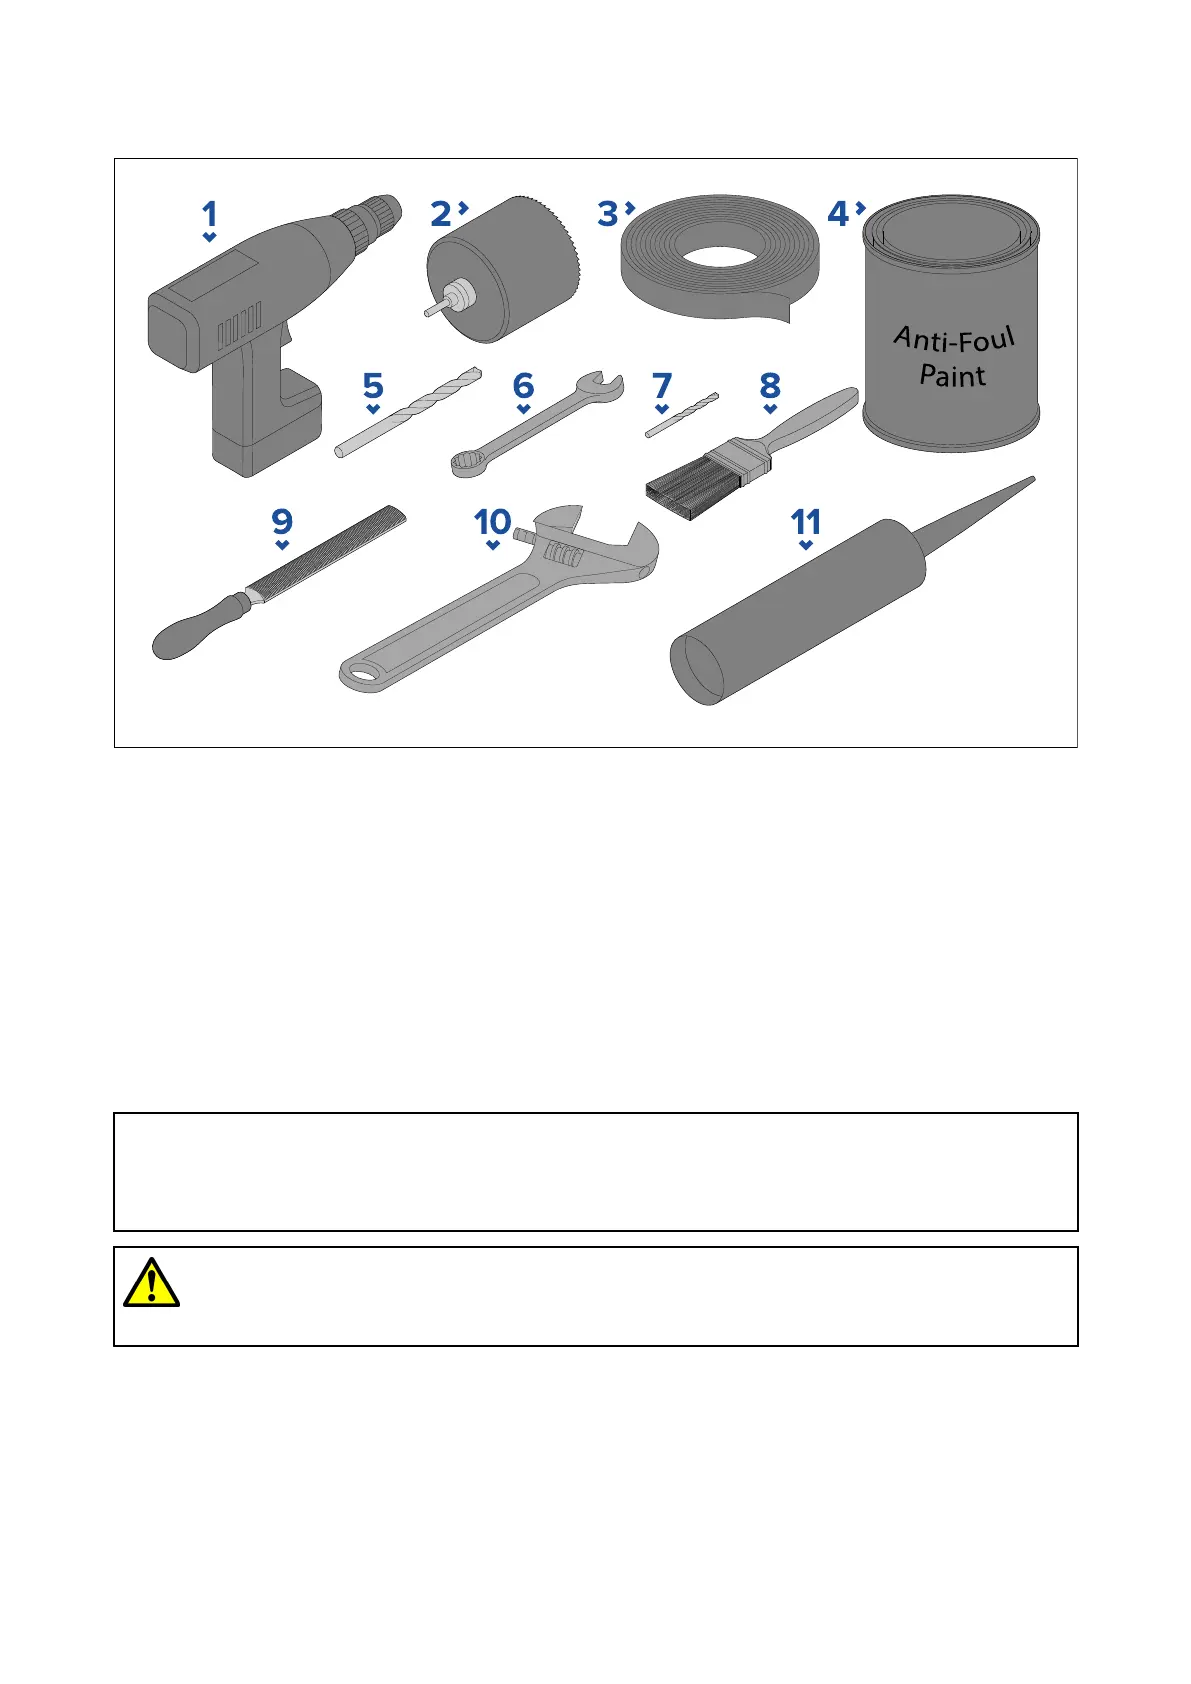
Thefollowingtoolsarerequiredtoinstallanyofthetransducerslistedunder“Applicableproducts”.
1.P owerdrill
2.70mm(2
3
/
4
inch)holecutter
(1)
3.Masking/adhesivetape
4.Waterbasedanti-foulingpaint
5.16mm(
5
/
8
inch)drillbit(fordrillinganti-rotationbolthole)
6.13mm(½inch)wrench(spanner)orsuitablesizeadjustablewrench(spanner)
7.Drillbit(suitableforpilotholes)
8.Paintbrush(forapplicationofanti-foulingpaint)
9.Halfroundfile
10.68mm(2¾inch)wrench(spanner)orsuitablesizeadjustablewrench(spanner)
11.Marinegradesealant(non-acetatebased)
Note:
(1)Ifthespecifiedsizeholecutterisnotavailable ,useaslightlysmallersizeholecutterandthen
carefullyfiletheholetothecorrectsize.Alternativelyyoucoulduseajigsawtocuttheholeand
thencarefullyfiletheedgetocreateacircletherequiredsize.
Warning:Marine-gradesealant
Onlyusemarine-gradeneutralcurepolyurethanesealants.DoNOTusesealants
containingacetateorsilicone,whichcancausedamagetoplasticparts.
3.2Pre-installationtest
T estingthetransducer
Transduceroperationshouldbecheckedbeforeinstallation.
1.ConnectthetransducertothetransducerconnectionofaRealVision™3Dsonar-capabledevice
(e.g.AxiomRVmultifunctiondisplay).
2.Fullysubmergethetransducerinwater.
16

 Loading...