3
ADJUSTING THE SENSITIVITY OF
THE
INPUTS
3.1
General
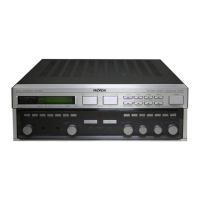
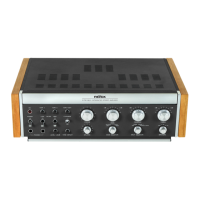
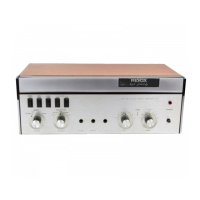
The
input
of the
REVOX 8251 amplifier can be
individually
matched to any audio source.
The factory
adjusts
all inputs to
the
nominal values
(refer
to specification sheet).
lf
pronounced
volume differences occur
when switching from one
input to
another
(compare
with a loud
passage),
the
inputs
should
be
readjusted.
The tape inputs should be
measured first. To ensure maximum
operating safety
when making tape copies, the tape
outputs of
the amplifier
are cross-connected.
The internal measuring
cir-
cuit therefore
measures the sum of both outputs.
This
means
that
only one
input
after the
other should be measured because
an incorrect
value would be obtained
if
both tape units
were si-
multaneously
in
operation. Only
the tape recorder
from which
the signals
are
measured
should
be switched on. After
the tape
inputs
have
been
measured and
matched
to each other,
one of
the two can be used as a
rererence for calibrating the other
in-
puts.
lf no tape
recorder is connected. the most frequently used audio
source
(tuner.
turntable,
etc.) can be used as the
reference and
Section 3.2
can be skipped in its entirety.
The
subsonic
filter which
protects
the speaker systems
from
distortions
occuring from rumble
pulses (SUBSONIC
button
[3]
pressed),
can
be
program
assigned to any
input. lt is especially
useful
for PHONO
inputs. For this reason the
programming
pro-
cedure
is only explained in the section'Adjusting
the sensitivity
of the PHONO
input".
The
subsonic
filter cannot be
used
for
TABE COPY
function.
Buttons
[20]
trough
[22]
activate
functions with
which
settings
can be
reprogrammed.
lf
the settings only
need to be checked
rather than
reprogrammed. the function can be
cancelled by
pressing
the
corresponding
button again.
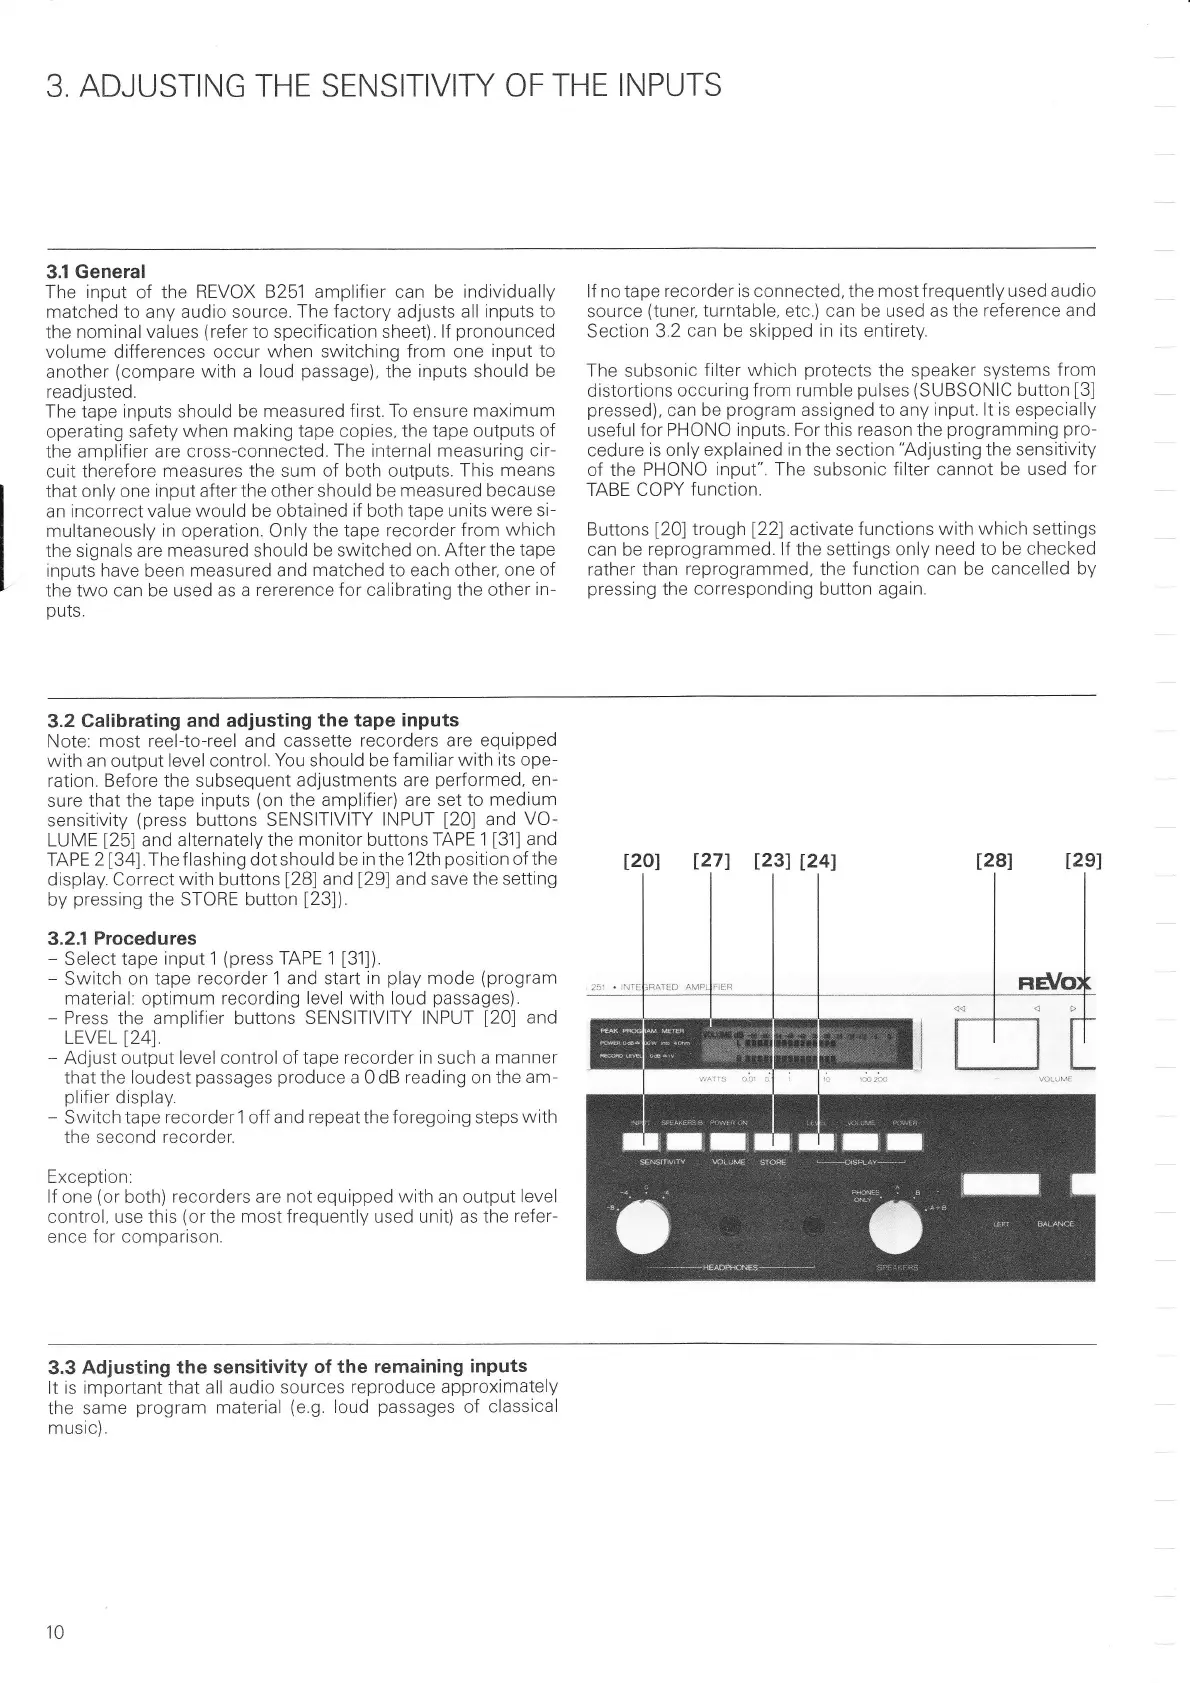
3.2 Calibrating
and adjusting
the tape
inputs
Note:
most reel-to-reel and cassette
recorders are equipped
with an output level
control. You should be
familiar with
its ope-
ration. Before the subsequent
adjustments are
performed.
en-
sure that
the tape inputs
(on
the amplifier) are set to
medium
sensitivity
(press
buttons SENSITIVITY
INPUT
[20]
and
VO-
LUME
[25]
and alternately
the
monitor
buttons
TAPE 1
[31]
and
f APE2[34]. The
f lashing dot should be
in
the 12th
position
of the
display. Correct
with
buttons
[28]
and
[29]
and save the
setting
by
pressing
the STORE button
[23]).
3.2.1
Procedures
-
Select
tape
input
1
(press
TAPE 1
[31]).
-
Switch on
tape recorder 1 and start
in
play
mode
(program
material:
optimum
recording level with loud
passages).
-
Press the amplifier buttons
SENSITIVITY INPUT
[20]
and
LEVEL
[24].
-
Adjust output level control of tape recorder in such a
manner
that
the loudest
passages produce
a 0 dB reading on the
am-
plifier
display.
-
Switch tape recorder 1 off and
repeat
the foregoing steps
with
the second recorder.
Exception:
lf one
(or
both)
recorders
are
not equipped with
an output
level
control, use this
(or
the
most frequently
used unit) as the
refer-
ence
for comparison.
t20l
l27l
l23l
I24l
3.3
Adjusting
the sensitivity
of the remaining
inputs
It
is important that all audio
sources reproduce
approximately
the same
program
material
(e.9.
loud
passages
of
classical
music).
10
 Loading...