23
5.0 SYSTEM START-UP &
REFRIGERANT CHARGING
5.1 System Start-Up Overview
Once the system hardware and wiring has been
properly installed, the next step is to start the system
up, verify indoor air-flow, and adjust the refrigerant
charge. To assure optimum comfort, efficiency,
and reliability, it is extremely important to follow the
procedures in this section to assure the indoor air-flow
and refrigerant charge are correct.
5.2 Initial Power-Up
and EcoNet
™
Communication
Verication
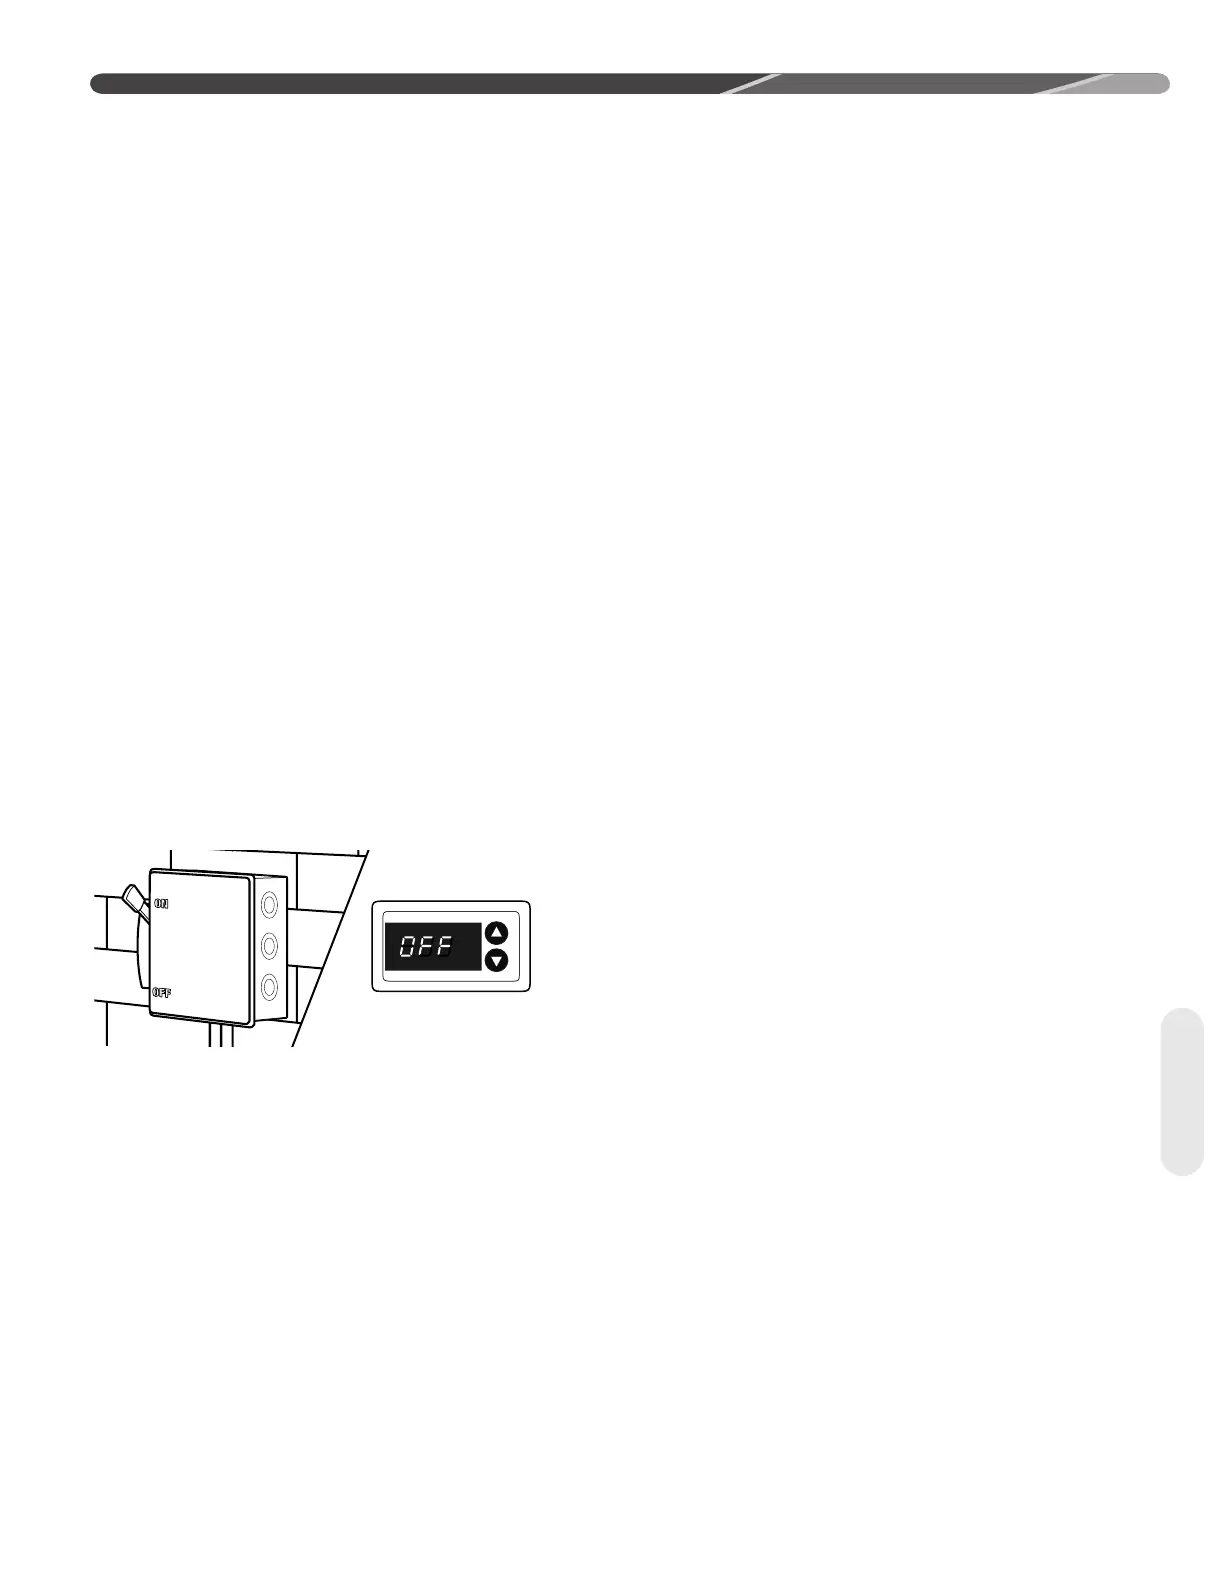
After all installation steps have been completed, apply
electrical power to the indoor and outdoor units. The
EcoNet
TM
Control Center or thermostat should be
switched to the off position initially. Within 45 seconds
of power being applied, the EcoNet
TM
Control Center
should detect the indoor and outdoor units. A “0”
for Standby Mode will be displayed on the Universal
Outdoor Control (UODC).
IMPORTANT: It is recommended to wait at least 12
hours after electrical power is applied to the outdoor
unit before starting the compressor to assure any
liquid refrigerant inside the compressor has been
driven out by the compressor stator heat.
Figure 28: Apply Power with EcoNet
TM
Switched Off
5.3 EcoNet™ Control Center
Set-Up
Follow the set-up instructions included with the
EcoNet
TM
Control Center prior to starting system.
Cooling dehumidification must be disabled for indoor
air-flow verification and refrigerant charging. The
indoor air-flow trim adjustment should be set to 0% for
indoor air-flow verification, but should be adjusted prior
to refrigerant charging should the application require
an adjustment to the indoor air-flow.
5.4 Initial System Start-Up
Using the EcoNet™ Control Center service menu
(See Section 5.5 below) or using the thermostat (See
Section 5.6 below), put the system into the charging
mode which will force it to operate at 100% capacity
and indoor air-flow which is necessary for accurate
indoor air-flow verification and refrigerant charging.
Check to make sure "On-Demand Dehumidification"
is turned off in the EcoNet™ Control Center (or
on the air-handler or gas furnace control board for
conventional 24VAC control applications).
5.5 Entering Charge Mode Using
EcoNet
™
Control Center Service
Menu
1. Set the "Mode" to the "OFF" position.
2. Select "SERVICE" on the EcoNet™ Control Cen-
ter screen.
3. Select "ODU Checkout". If the next screen dis-
plays a flashing "Lock-Out" message, there will
be up to a 5 minute delay before it is possible to
continue.
4. Once the flashing lock-out message disappears,
touch OFF on the screen displayed to the right of
"Var Speed ODU Test".
5. Touch the "UP" arrow repeatedly until the "Heat
Charge" or "Cool Charge" menu item is displayed
depending on which mode the system is to be
charged in.
6. Touch "Start Test".
7. System will now operate at 100% of capacity and
indoor air-flow to allow proper indoor air-flow veri-
fication and refrigerant charging until the Charge
Mode is manually ended. There may be a delay
before the system actually starts. If the system
doesn't start, cycle power to both the indoor and
outdoor units and repeat steps 1-6.
8. Note: When charging in the heating mode, the
system will initiate a defrost cycle every 34 min-
utes if the coil temperature is below 35ºF [1.7ºC]
to assure the coil stays frost free during the
charging process. Allow the system to complete
the defrost cycle and stabilize for at least 10 min-
utes before attempting to evaluate the charge
level.
9. To end Charge Mode, touch the "UP" arrow
repeatedly until "OFF" is displayed on the screen
and then touch "Stop Test". Then touch the left
arrow on the screen to return to the main screen.
10. If the indoor blower continues to run continuously
after exiting the Charge Mode, cycle the power to
the air-handler or furnace.
5.6 Entering Charge Mode When
Using a Conventional 24VAC
Thermostat
1. Set the thermostat to the cool or heat mode
depending on which mode the system is to be
charged in.
Start-Up
 Loading...