11
BASS EQUALIZATION CIRCUITRY:
A narrow “Q” peaking equalization circuit is included in the ampliers. The equalization system is preset at 45Hz. The equalizer control allows you to add up to 12dB of bass boost.
Utilize the bass equalizer to tailor your bass response to your systems needs. Make sure your speakers can handle the extra power output! It would be foolish to add 12dB of gain to
low excursion 8˝ and 10˝ Sub woofers or mid ranges and tweeters. It’s a sure way to blow your speakers.
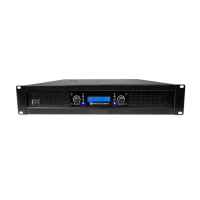
AUDIO OUTPUT SECTION
Unlike other manufacturers who use a host of different type of transistors, not originally designed for audio output, i.e.: power supply transistors, motor control transistors to produce
the audio signal, (You can only imagine what they sound like.) Rockville uses only true audio transistors in the audio section of these ampliers. These transistors were designed and
engineered to produce music. That’s why Rockville ampliers clearly sound better. They are cleaner with lower distortion, higher current capable and more reliable. We challenge you to
test listen a Rockville amplier and hear the difference yourself.
POWER AND PROTECTION CIRCUITRY:
dB Mini Series ampliers feature our unique IC controlled protection circuitry. This sophisticated circuit constantly monitors the heat sink internal temperature and various voltages,
adjusting the amp automatically and protecting it from dangerous conditions. The 2 LED’s located on the main control panel of the amplier provide indication of the amplier status,
the Power LED will light when the amplier is receiving proper power, ground and remote voltages and the IC monitoring sequence indicates the amp is functional. In case the amplier
encounters a diagnostic condition as listed below, the second LED will light indicating a Diagnostic condition. When a diagnostic condition is sensed the amplier will then turn into a
self preservation mode and if the cause of the diagnostic condition is not corrected will eventually shut down. There are certain critical diagnostic conditions which will turn the amplier
off immediately.
Thermal Protection: When the amplier reaches an unsafe operating temperature of 80 degrees Celsius, the amplier will turn off. Once the amplier cools down to a safe temperature,
it will automatically turn on again. If you live in a hot climate, we suggest installing additional cooling fans in your trunk to exhaust the hot air that can build up in the trunk. This will help
keep the ambient temperature in the trunk as low as possible so that your amps work awlessly and without any musical interruption.
Speaker Short Circuit Protection: Should your speakers short circuit due to voice coil burn out, or should the amplier sense an impedance too low to handle, the protection LED will
light, indicating a diagnostic condition. Turn off your system, disconnect one speaker at a time, and try to determine which speaker might be faulty. Correct the condition and restart
the amplier. You must reset the amplier by turning it OFF and then ON again by the Remote power connection after correcting a diagnostic condition. (Turn your radio off and then
on again.)
Input Overload Protection: This circuit will either shut down the amplier completely or make the amplier spurt on and off indicating that it is in a diagnostic condition. Turn the system
off and reduce the gain on the amplier or volume from your head unit. This should result in a corrected condition.
DC Offset Protection: Should any DC voltage try to enter the amplier via the speaker terminals it will cause the amplier to shut down and not operate until this condition is remedied.
This circuit will also protect damaging high DC voltages from reaching your speakers should your amplier ever malfunction.
Clipping occurs when an amplier is not able to generate enough voltage to reproduce the input signal. Continous or long-term clipping can cause serious damage to your amp and
subwoofers. If you are experiencing clipping, it is recommended that you adjust your gain settings and your head unit’s volume levels. Refer to “Adjusting the System” in the Settings
section on page 6 for detailed instructions on how to properly set your amplier’s gain levels. Clipping or total shutdown may also be a result of a bad ground connection or loose
ground. If you nd that your speakers and speaker wires are not shorted, please check your ground and power connections.
PLEASE NOTE: You must reset the amplier by turning it OFF and then ON again after correcting a diagnostic condition (turn your radio off and then on again). If the amplier stays
in protection after a reset, it is most likely faulty.
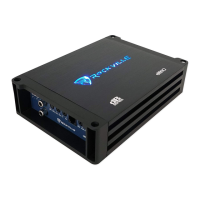
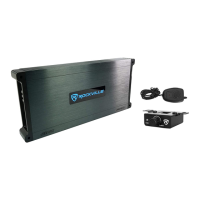
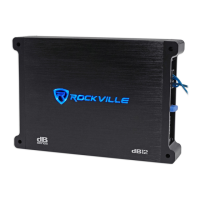
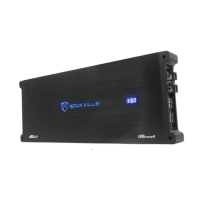
Features
 Loading...