3
Installation Basics
Before you begin your installation, disconnect the NEGATIVE(-) terminal from your vehicle’s battery. This safety precaution will avoid possible short circuits while wiring your amplier.
Rockville ampliers operate on 12-volt negative ground systems only. It is recommended that you lay out your sound system design on paper rst. This will help you during the
installation so that you have a wiring owchart and do not miss-wire any of your components.
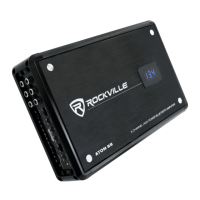
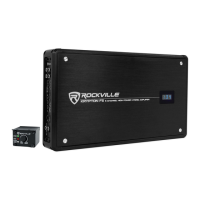
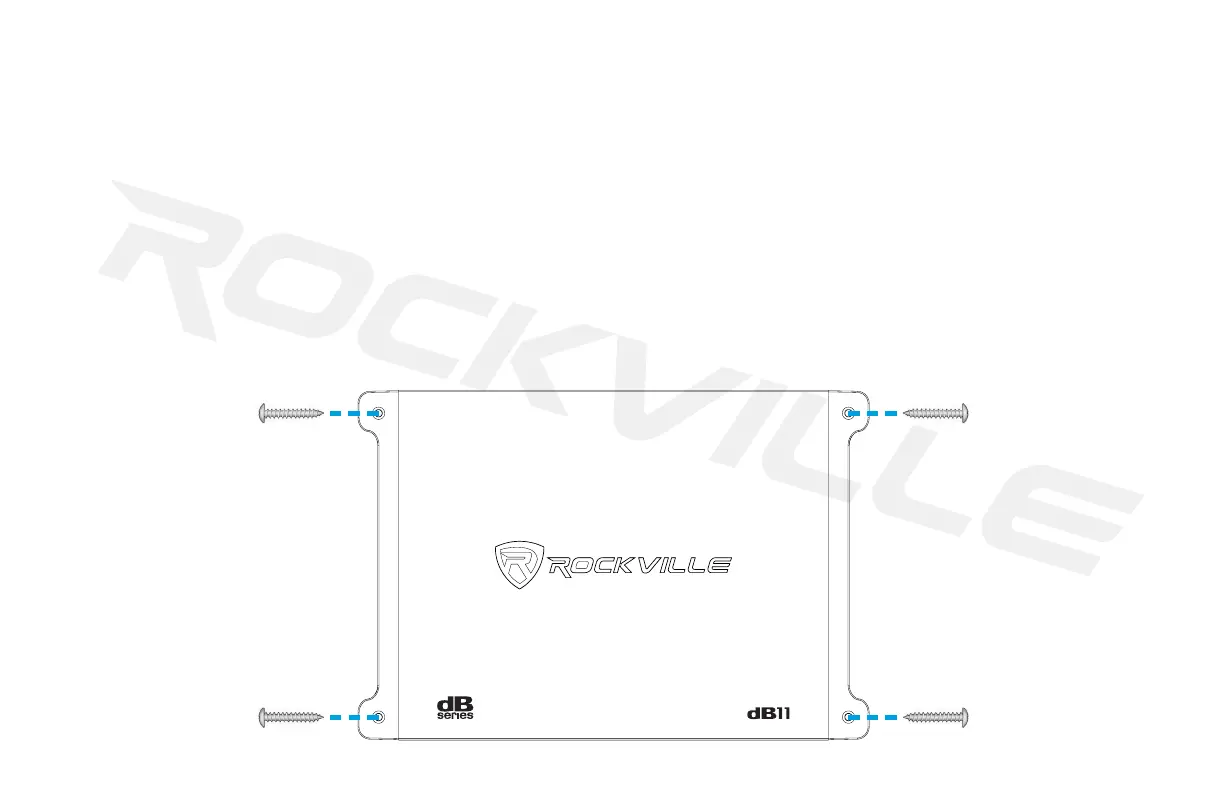
Mounting the Amplifier
dB Mini ampliers feature four mounting holes located at the corners of the end panels (refer to the illustration below). Never install an amplier in the engine compartment or on the
rewall. Lay down the amplier and mark the location of the mounting holes. It can be installed either horizontally or vertically. Remove the amplier and drill pilot holes for the screws.
Be sure to watch for your gas tank, gas lines, and electrical lines. Do not drill or mount any screws where they might penetrate the gas tank. Place the amplier and secure it to the
mounting surface using the supplied screws. Please be sure to leave breathing room around the amplier heat sink so that it can efciantly dissipate the heat it produces.
• AS CONNECTIONS CAN WORK LOOSE DUE TO VEHICLE VIBRATIONS DURING NORMAL OPERATION, WE RECOMMEND
PERIODICALLY TIGHTENING ALL POWER AND GROUND CONNECTIONS.
• DO NOT OVERTIGHTEN THE SCREWS.
Installation
 Loading...