Restoring the Factory Settings (Factory Reset)
Here’s how you can restore this unit’s settings to their factory-set condition (factory reset).
NOTE
When you execute the Factory Reset operation, all data in this unit will be lost. If there is any data that you want to keep, back it up to an SD
card.
1. In the MENU screen, select “Utility” and press the
[ENTER] button.
2. Use the cursor buttons to select “Factory Reset,” and
press the [ENTER] button.
A conrmation message appears.
If you decide to cancel, press the [7] (Cancel) button.
3. To execute, press the [6] (OK) button.
NOTE
• Never turn o the power while the factory reset is in progress.
• Data on the SD card will not return to the factory setting.
Settings
1. Press the [MENU] button.
The MENU screen appears.
2. Use the cursor buttons to select a menu item, and press
the [ENTER] button.
3. Edit the settings of the menu item you selected.
MEMO
For details on the contents of each menu item, refer to
“Reference Manual” (PDF).
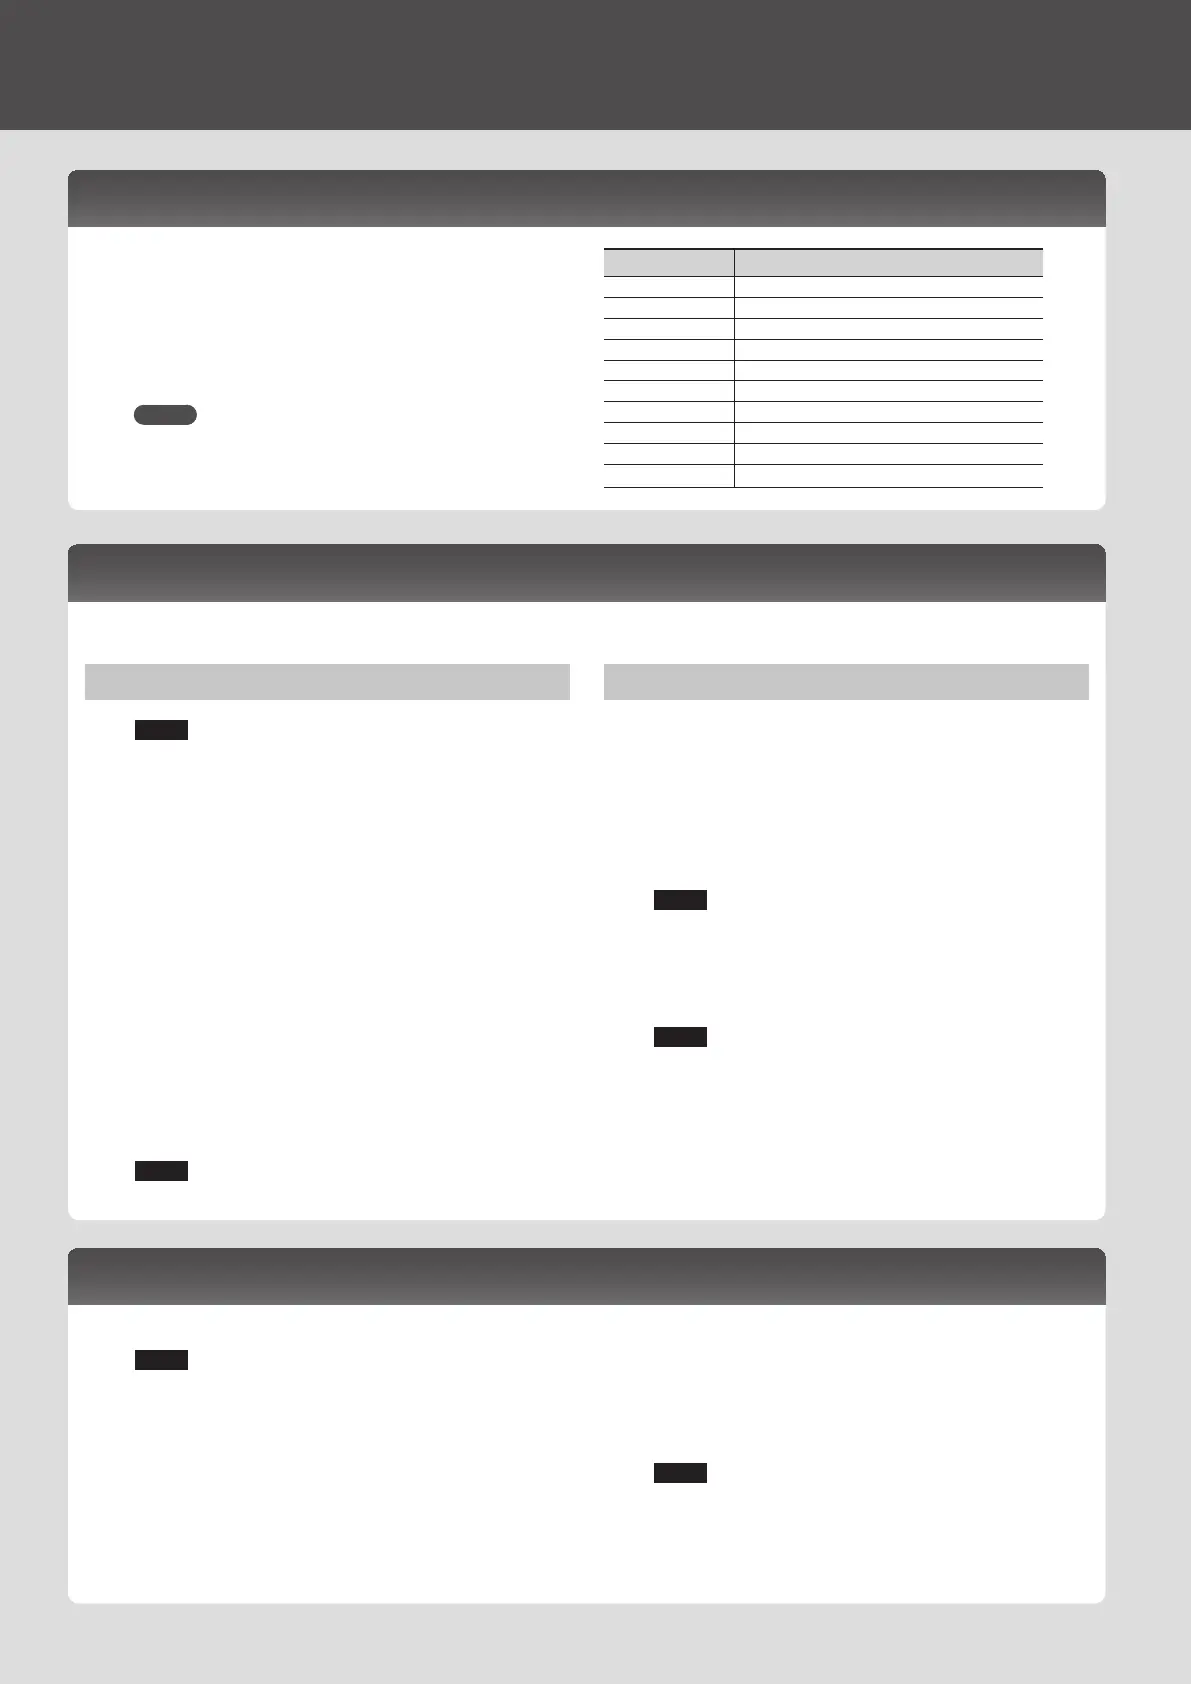
Menu Explanation
Tone Edit Edit a tone (p. 17).
Eect Edit Edit the eects (p. 18).
Part View View a list of part settings (p. 17).
Studio Set Common Make overall settings for the entire studio set (p. 17).
Studio Set Init Initialize a studio set.
Tone List View a list of tones.
Mixer
Adjust the pan and the volume balance.
System Make overall settings for the entire this unit.
Utility Back up data or initialize an SD card.
Wireless Make wireless LAN settings.
Detailed Function Settings (Menu)
Backing Up to SD Card (Backup)
NOTE
If you back up using the same le name as backup data
that already exists on the SD card, the existing data will be
overwritten. Assign a dierent name if you want to make a new
backup.
1. In the MENU screen, select “Utility” and press the
[ENTER] button.
The UTILITY screen appears.
2. Use the cursor buttons to select “Backup,” and press the
[ENTER] button.
3. Press the [2] (Rename) button and assign a name to the
backup le (p. 18).
4. Press the [7] (Backup) button.
A conrmation message appears.
If you decide to cancel, press the [7] (Cancel) button.
5. To execute, press the [6] (OK) button.
NOTE
Never turn o the power while the backup is in progress.
Restoring Backup Data to This Unit (Restore)
1.
In the UTILITY screen, select “Restore” and press the
[ENTER] button.
2. Use the cursor buttons to select the le that you want to
restore, and press the [7] (Restore) button.
A conrmation message appears.
If you decide to cancel, press the [7] (Cancel) button.
NOTE
When you execute the restore operation, all settings currently
saved in this unit will be lost. If you want to keep the current
settings, back them up using a dierent name.
3. To execute, press the [6] (OK) button.
NOTE
Never turn o the power while the restore is in progress.
4. Turn the power o, and then on again (p. 9).
Backing Up User Data (Backup/Restore)
Here’s how all settings stored in this unit’s internal memory can be saved to an SD card (backed up), or written back into internal memory
(restored).
26
 Loading...