19
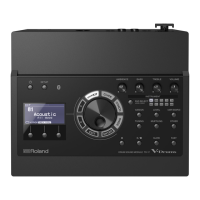
TD-12
TEST MODE
Caution as to USER DATA
The contents of the user memory are deleted upon entering Test mode.
Be sure to have backed up the user memory using the prescribed save
procedures before entering Test mode.
After finishing Test mode, be sure complete the procedures by performing the
“Factory Reset.”
Items Required
• FD-7
• Stereo cable (for FD-7)
• PD-7
• PAD cable (stereo type)
• Drum stick
• MIDI cable
• PCS-31 cable
• Headphones
• Monitor speakers x2
Entering Test Mode
1. Simultaneously hold down the [PATTERN], [PLAY], and [TEMPO]
buttons and turn on the power.
2. When the “Roland” logo appears in the LCD display during startup,
release the pressed buttons and then press the [+] button.
fig.test1.eps
3. Test mode starts up, and the following appears in the LCD display.
fig.test2.eps
Exiting Test Mode
It is possible to quit Test mode at any stage by switching off the power.
However, always complete the procedure by performing the Factory Reset.
Skipping
To skip to the next test category: hold down the [SHIFT] button and press the
[F5] or [+] button
To jump to the previous test category: hold down [SHIFT] button and press the
[F4] or [-] button
To skip to a specific test category: hold down the [SHIFT] button and press the
[EXIT] button to shift to the SELECT screen.
Use the cursor to select the category, then press the [F5 SELECT] button.
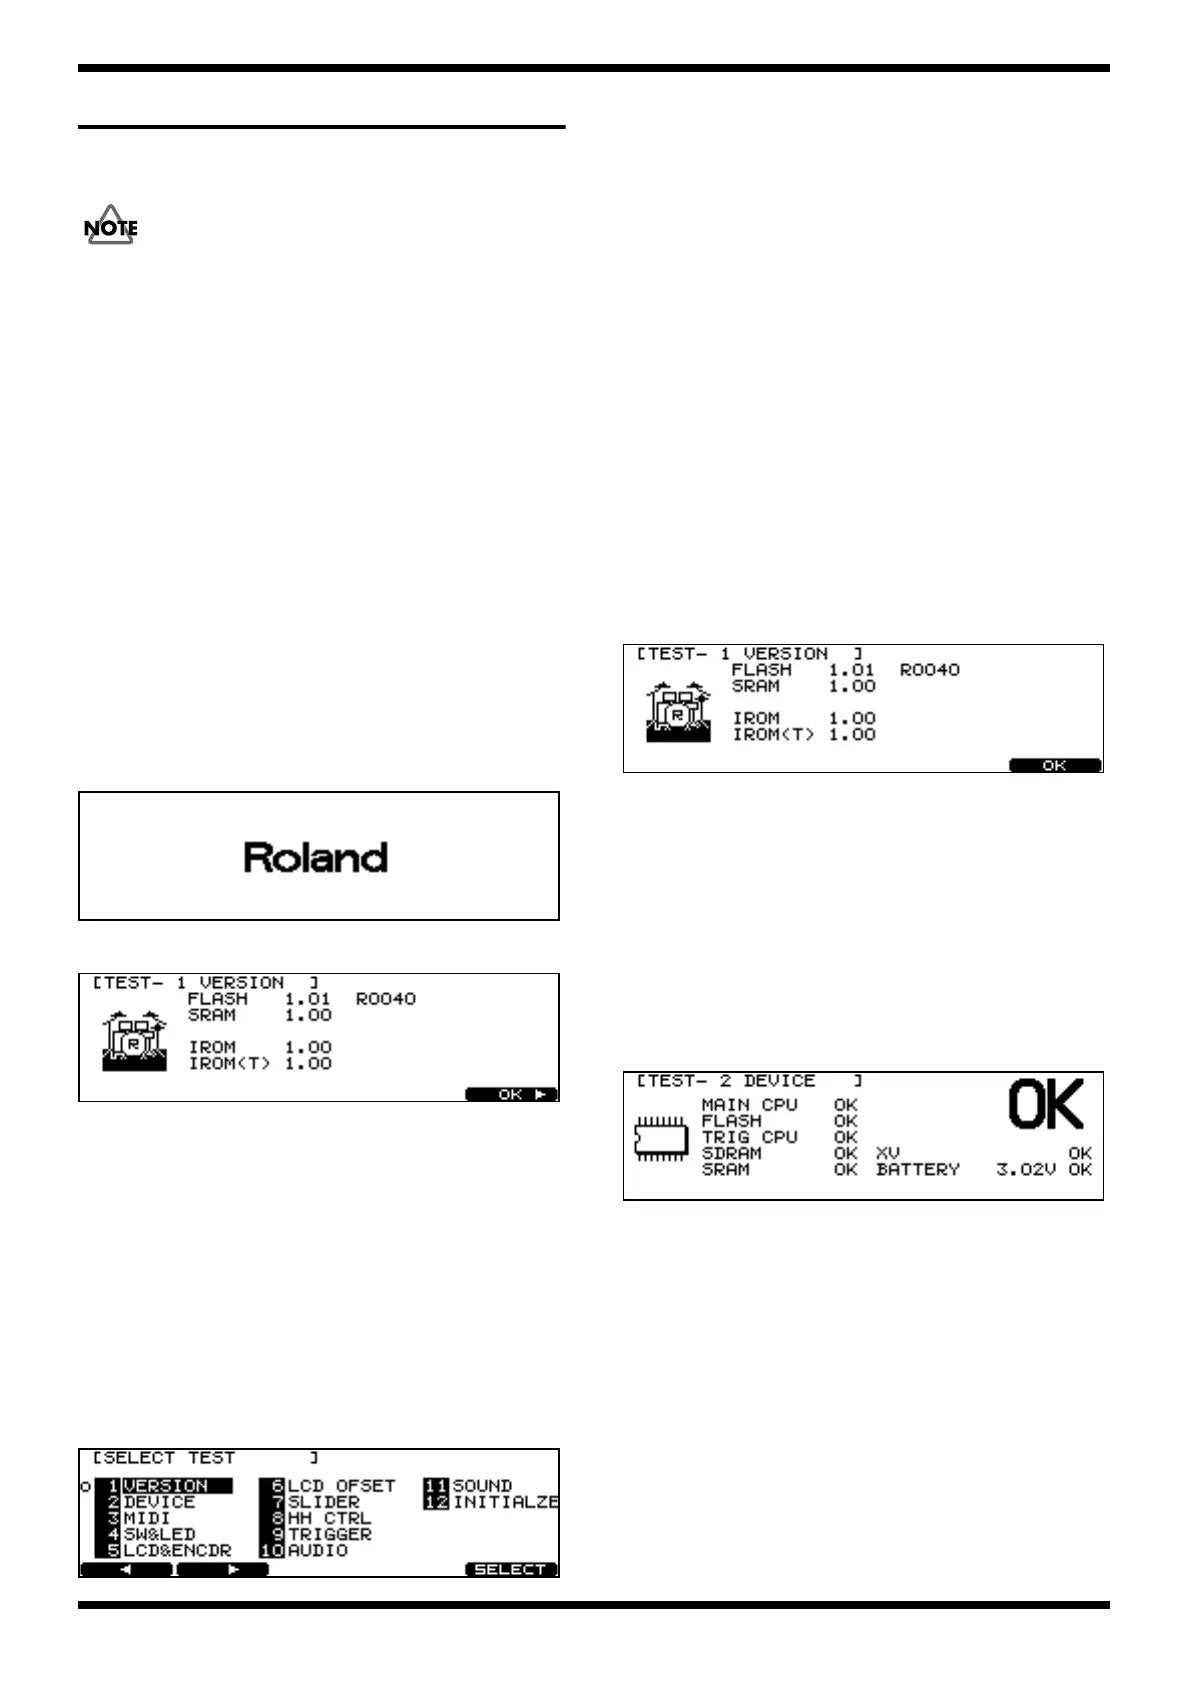
fig.test3.eps
A circle appears to the left of completed test categories.
Test Items
1. Version Display [TEST - 1 VERSION]
2. Device Test [TEST - 2 DEVICE]
3. MIDI Test [TEST - 3 MIDI]
4. SW/LED Test [TEST - 4 SW&LED]
5. LCD/ENCODER Test [TEST - 5 LCD&ENCDR]
6. LCD OFFSET Test [TEST - 6 LCD OFSET]
7. SLIDER Test [TEST - 7 SLIDER]
8. HH CTRL Test [TEST - 8 HH CTRL]
9. TRIGGER Test [TEST - 9 TRIGGER]
10. AUDIO IN/OUT Test [TEST - 10 AUDIO]
11. Sound Test [TEST-11 SOUND]
12. FACTORY RESET [TEST-12 INITIALZE]
Detailed Tests
1. Version Display [TEST - 1 VERSION]
1. This checks the software version
fig.test4.eps
• FLASH: Program version number
• SRAM: Version number for initial SRAM settings values.
• IROM: MAIN CPU version number
• IROM(T): TRIG CPU version number
2. Under normal circumstances, confirm only the program version number.
Press the [F5 (OK)] button to advance to the next test
2. Device Test [TEST - 2 DEVICE]
1. This test is performed automatically.
The determination of “OK” or “NG” (no good, i.e. fail) appears to the
right of each test category; if all checks are OK, the procedure
automatically advances to the next test.
fig.test5.eps
Test Categories
• MAIN CPU: Checksum check
• FLASH: Checksum check
• TRIG CPU: Checksum check
• SDRAM: Confirms reading/writing
• SRAM: Confirms reading/writing
• XV: Confirms reading/writing of WAVE ROM, DSP RAM, DRAM
• BATTERY: Battery voltage check
2. If even one check fails, the procedure does not advance to the next test;
press the [F3 RETRY] button to carry out the test again.
3. MIDI Test [TEST - 3 MIDI]
1. When a MIDI cable is connecting the MIDI IN and MIDI OUT connectors,
signals are detected, and the following appears in the LCD display
(ONLINE OK).
 Loading...