31 / 46
Siemens RDF300… / RDF340... / RDF400… / RDF600… Basic Documentation CE1P3076.en
Smart Infrastructure 2020-02-21
4.13 DIP switches
Use the DIP switches on the inner side of the front panel to commission the basic
controller applications prior to snapping it to the base.
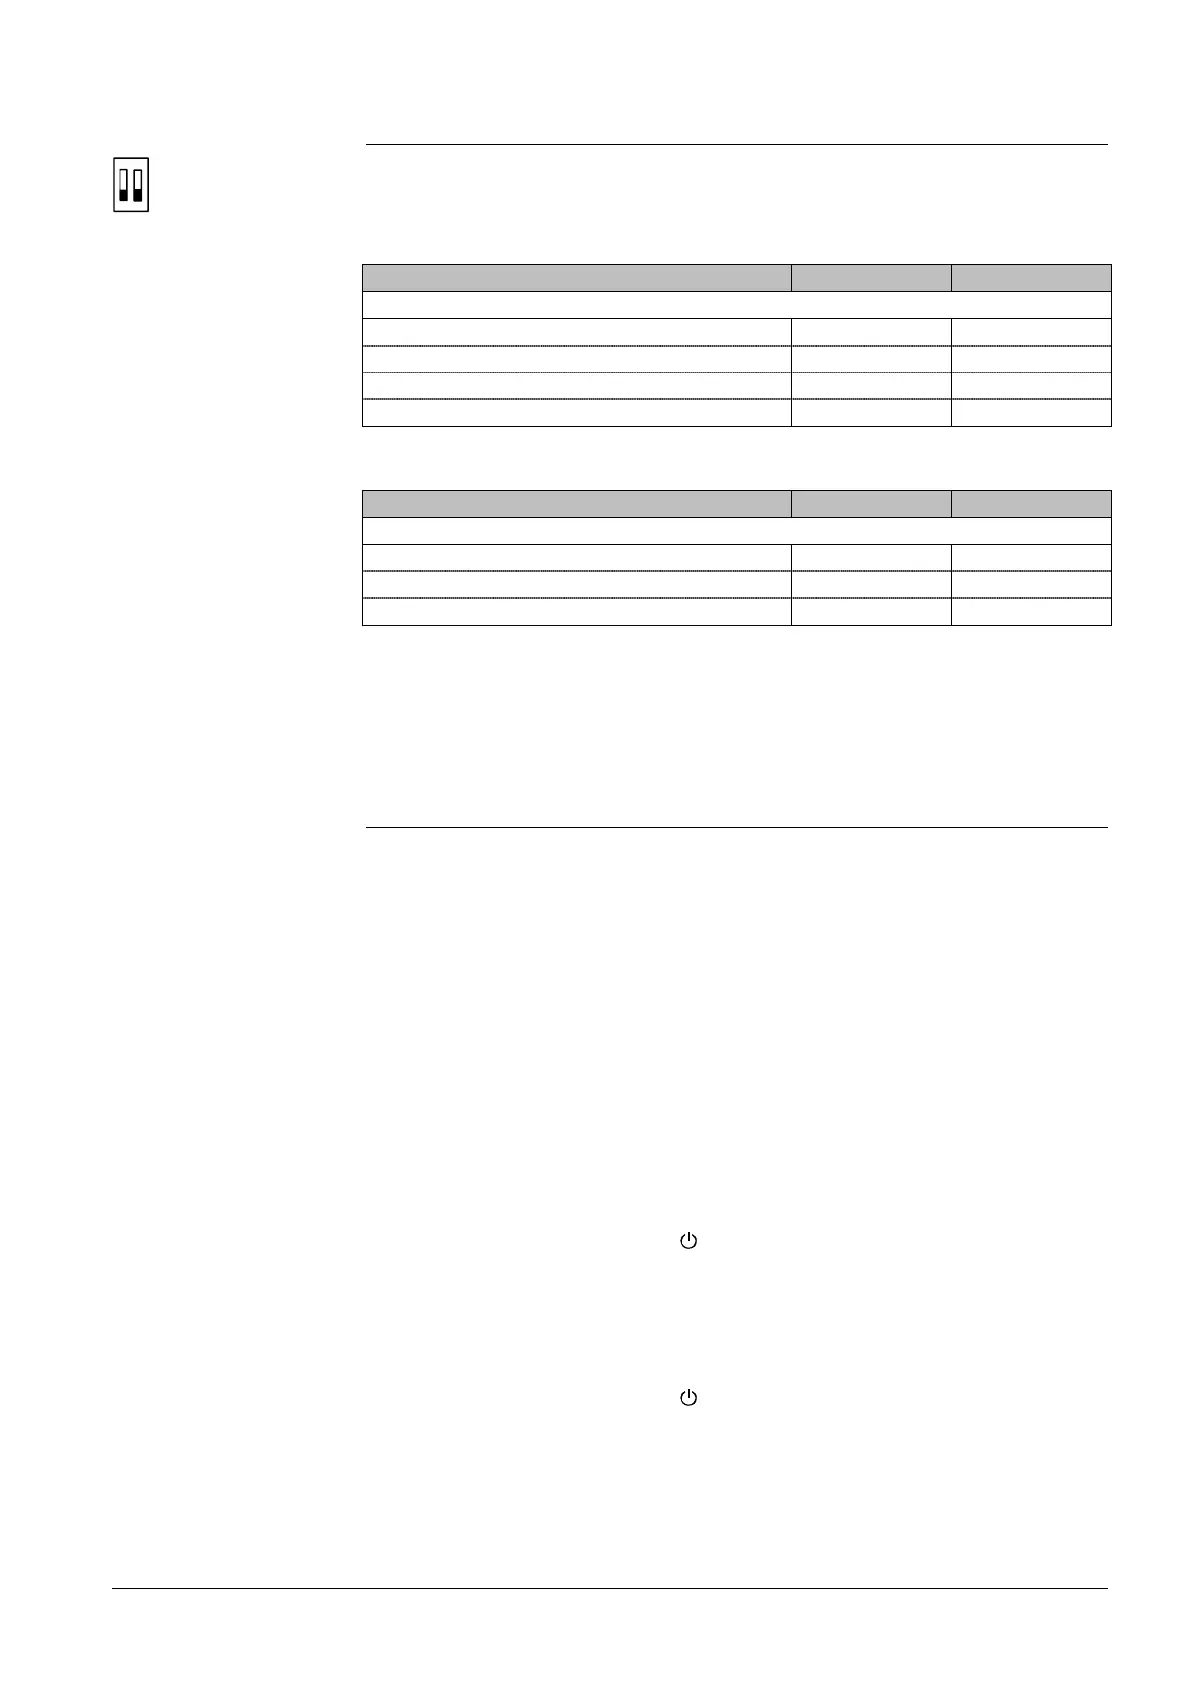
RDF300… / RDF400… / RDF600... have the following DIP switch settings:
Application
2-pipe OFF OFF
2-pipe, 3 position ON OFF
2-pipe & electrical heater OFF ON
4-pipe
1)
RDF340 has the following DIP switch settings:
DIP switch number
1 2
Application
2-pipe OFF OFF
2-pipe & electrical heater OFF ON
4-pipe
1)
ON ON
1) Factory setting
Note: During startup, the controller reloads the control parameter factory settings
after each DIP switch settings change.
4.14 Control parameters
A number of control parameters can be readjusted to optimize control performance.
These parameters can also be set during operation without opening the unit. In the
event of a power failure, all control parameter settings are retained.
The control parameters are divided in two levels:
· “Service” level, and
· “Expert” level, including Diagnostic and Test
The “Service” level contains a small set of parameters to set up the controller for
the HVAC system and to adjust the user interface. These parameters can usually
be adjusted any time.
Change parameters in the “Expert” level only carefully, as they impact control
performance and functionality of the controller.
Change the parameters as follows:
1. Set the controller to Protection *)
2. Press buttons + and - simultaneously for 4 seconds.
Release and press button + again within 2 seconds until the display shows
“P01”.
Continue at Step 3.
1. Set the controller to Protection *)
2. Press buttons + and – simultaneously for 4 seconds.
Release and press button – again within 2 seconds until the display shows
“P01”.
ON
1 2
RDF300… / RDF400… /
RDF600...
Enter only “Service”
level
Enter “Service” and
“Expert” level.
 Loading...