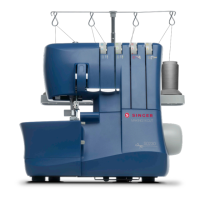
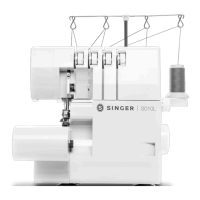
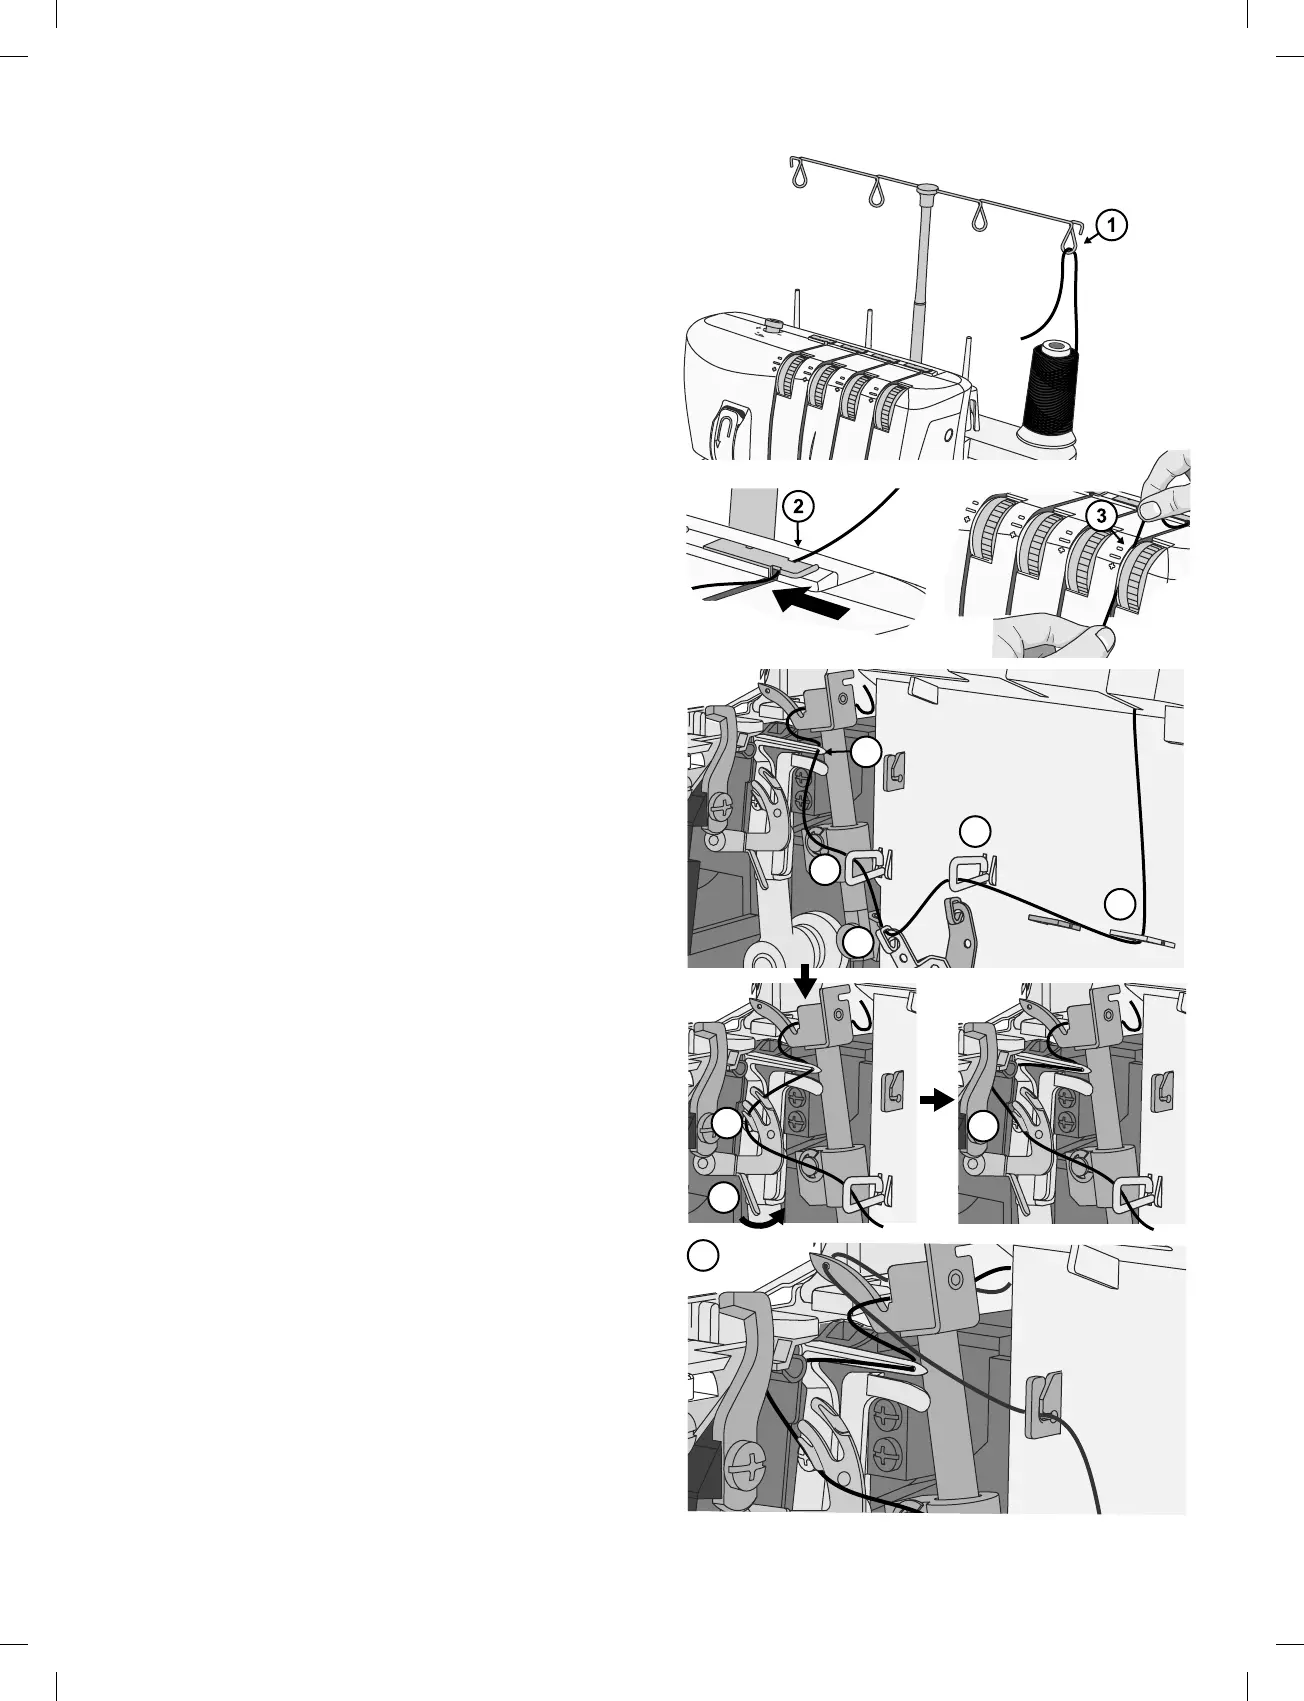
Threading the Lower Looper (Yellow)
When threading the lower looper, follow the thread path
marked with a yellow dot.
• Pass the thread from back to front through the thread guide
on the thread stand (1). Use the tweezers to make the
threading easier.
• Pull the thread from right to left under the upper thread
guide at the back on the top cover (2).
• While holding the thread with both hands, pass it between
the tension discs and pull it down to make certain it is
properly placed between the tension discs (3).
• Turn the hand wheel toward you until the lower looper is at
the far right.
• Thread the looper area of the machine following the yellow
color coded thread guides (4-7). Use the tweezers to make
the threading easier.
• After thread guide 7, pass the thread from front to back
through the hole in the lower looper (8).
• Pull about 10cm (4″) of thread through the looper and place
it over the upper looper and to the back of the stitch plate.
• Hold the thread end with your left hand. Use the tweezers
to place the thread behind the fingers of the lower looper
threader (9).
• Pull the lever on the lower looper threader (10) gently
upwards as far as it will go. Release the lever and the lower
looper becomes fully threaded (11).
Note: When both loopers are threaded, the threads should run
as illustrated to the right (12).
Getting Ready to Sew – 9
English
 Loading...