EasyManua.ls Logo

Sony A6100 User Manual

Sony A6100
580 pages
To Next Page IconTo Next Page
To Previous Page IconTo Previous Page
Page #159 background imageLoading...
Page #159 background image
Help Guide
Interchangeable Lens Digital Camera
ILCE-6100 α6100
Exposure Comp.
Normally, exposure is set automatically (auto exposure). Based on the exposure value set by auto exposure, you can
make the entire image brighter or darker if you adjust [Exposure Comp.] to the plus side or minus side, respectively
(exposure compensation).
Note
You cannot perform the exposure compensation in the following shooting modes:
[Intelligent Auto]
[Superior Auto]
[Scene Selection]
When using [Manual Exposure], you can perform the exposure compensation only when [ISO] is set to [ISO AUTO].
(Exposure Comp.) on the control wheel → press the left/right side of the control wheel or turn the
control wheel, and select the desired setting.
+ (over) side:
Images become brighter.
- (under) side:
Images become darker.
You can also select MENU →
(Camera Settings1) → [Exposure Comp.].
You can adjust the exposure compensation value within the range of -5.0 EV to +5.0 EV.
You can confirm the exposure compensation value that you set on the shooting screen.
Monitor
Viewfinder
1
159

Table of Contents

Other manuals for Sony A6100

Question and Answer IconNeed help?

Do you have a question about the Sony A6100 and is the answer not in the manual?

Sony A6100 Specifications

General IconGeneral
Sensor TypeAPS-C CMOS
Effective Pixels24.2 MP
Continuous Shooting SpeedUp to 11 fps
Image ProcessorBIONZ X
BatteryNP-FW50
ISO SensitivityISO 100-32000 (expandable to 51200)
Autofocus Points425
Video Recording4K at 30p, Full HD at 120p
Viewfinder TypeElectronic
Screen Type3.0-inch Tilting
ConnectivityWi-Fi, Bluetooth
Battery LifeApprox. 420 shots
Weight396 g
Dimensions120.0 x 66.9 x 59.4 mm

Summary

Basic operations

Using the control wheel

Learn how to select settings by turning or pressing the control wheel and its center.

Using MENU items

Change camera settings and execute functions using the MENU screen.

Assigning frequently used functions to buttons (Custom Key)

Assign desired functions to operable keys for quicker access and prevention of accidental operation.

Using Fn (Function) button (Function menu)

Access 12 functions displayed at the bottom of the screen by pressing the Fn button.

Shooting

Focusing

Select focus methods to suit the movement of the subject.

Auto focus

Explore various auto focus features like Phase detection AF and AF/MF control.

Manual focus

Adjust focus manually when autofocus is difficult, including MF Assist.

Selecting a drive mode (Continuous shooting/Self-timer)

Interval shooting

Set shooting interval and number of shots for automatic image capture.

Selecting a shooting mode

List of mode dial function

Switch shooting modes based on subject or purpose, including Auto, P, A, S, M, Movie, S&Q, Sweep Panorama, SCN.

Controlling exposure/metering

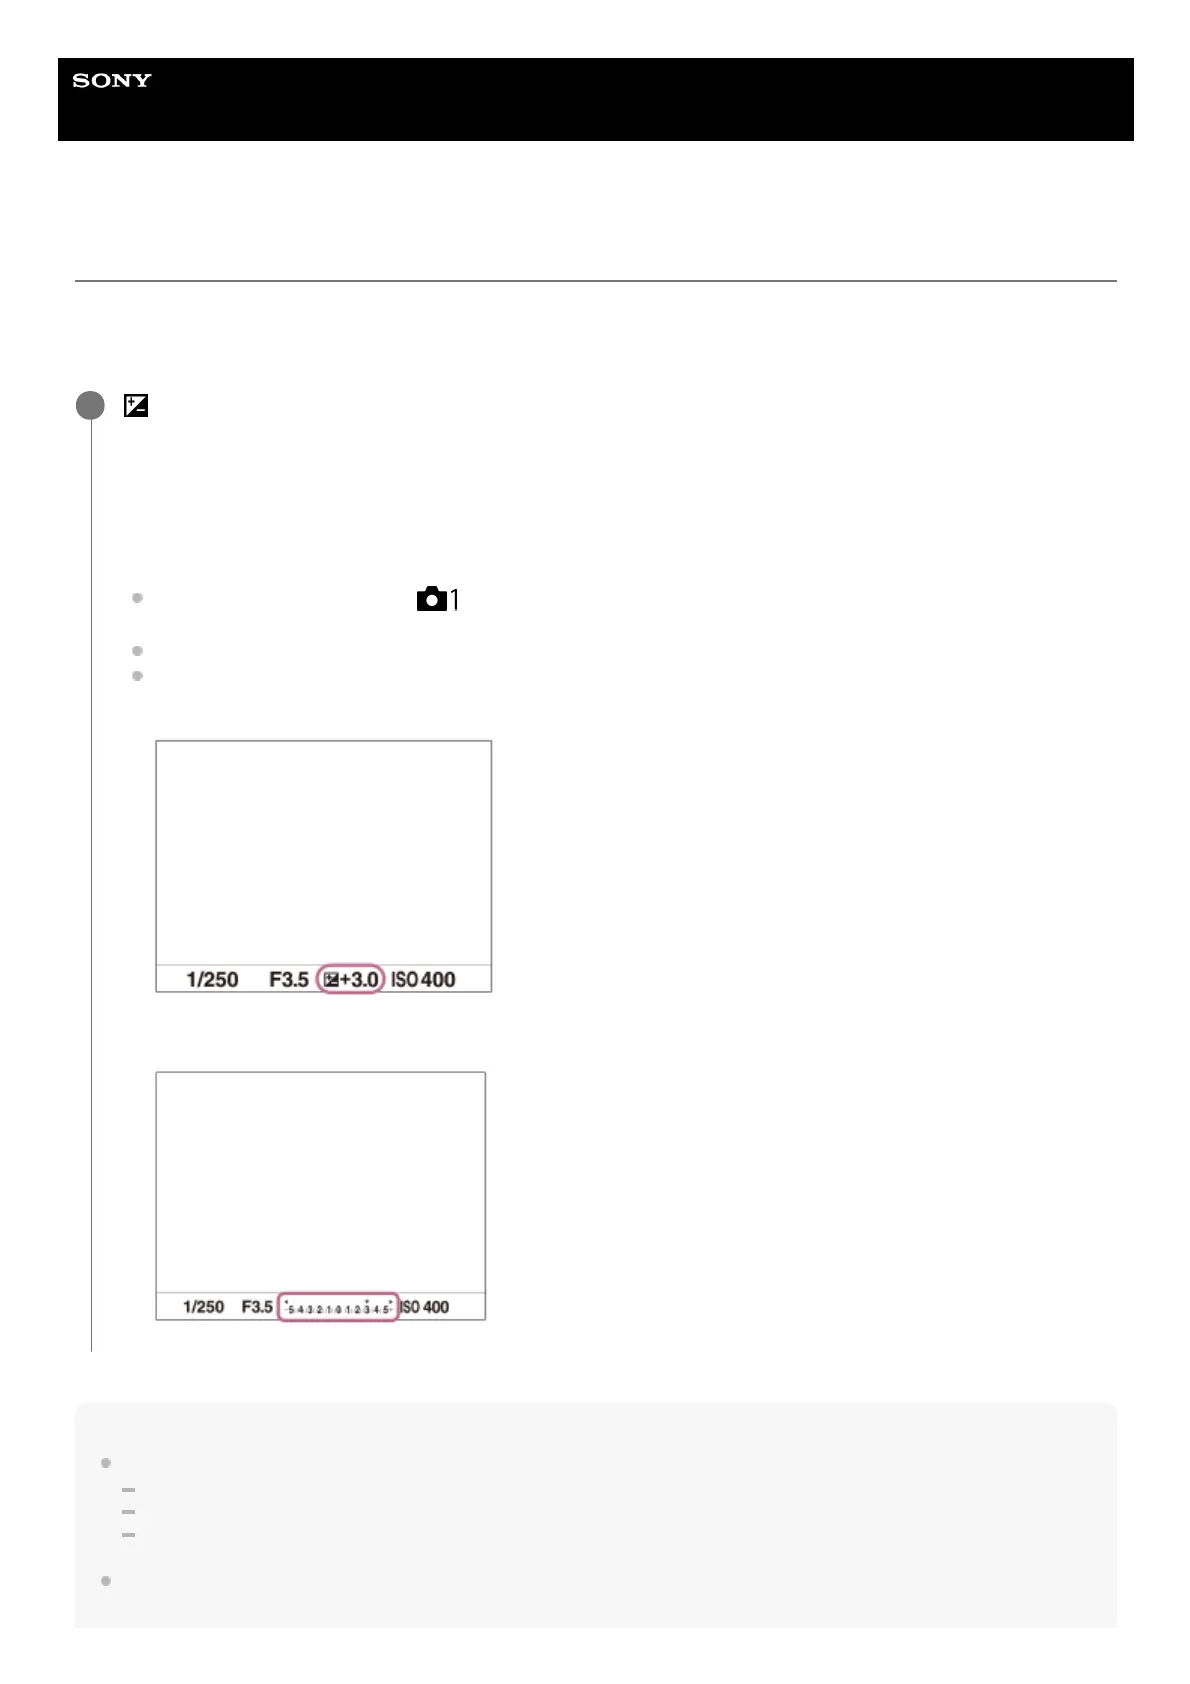
Adjust exposure compensation, metering mode, AE lock, and flash settings.

Image Processing and Settings

Selecting the ISO sensitivity

Select ISO sensitivity manually or automatically for optimal exposure.

White balance

Correct tone effect of ambient light for neutral white subjects.

Advanced Shooting Features

Recording movies

Configure settings for movie recording, including formats and recording settings.

Camera Customization and Settings

Network and Smartphone Connectivity

Computer Connectivity and Software

Identifying Parts

Using the control wheel

Related product manuals