EasyManua.ls Logo

Sony CCD-TRV98 Operating Instructions (primary manual) User Manual

Sony CCD-TRV98 Operating Instructions  (primary manual)
80 pages
To Next Page IconTo Next Page
To Previous Page IconTo Previous Page
Page #25 background image
25
Recording – Basics
Note on the remaining battery time indicator
The remaining battery time indicator roughly indicates the recording time. The
indicator may not be correct, depending on the conditions in which you are recording.
When you close the LCD panel and open it again, it takes about 1 minute for the correct
remaining battery time in minutes to be displayed.
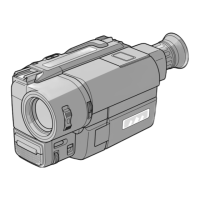
Shooting backlit subjects – BACK LIGHT
When you shoot a subject with the light source behind the subject or a subject with a
light background, use the backlight function.
Press BACK LIGHT in CAMERA mode.
The . indicator appears on the screen.
To cancel, press BACK LIGHT again.
If you press EXPOSURE when shooting backlit subjects
The backlight function will be canceled.
Recording a picture
BACK LIGHT
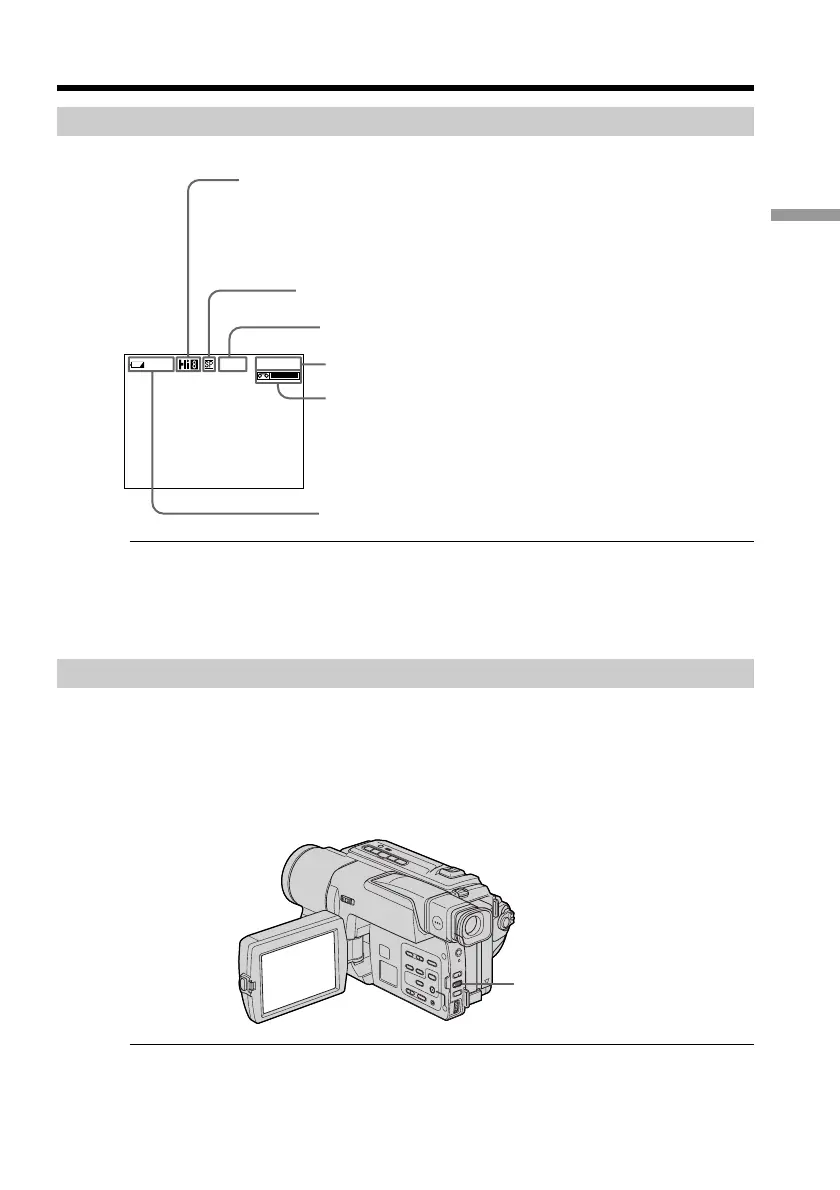
Indicators displayed in the recording mode
The indicators are not recorded on tape.
0:00:01
40min
REC
Recording mode indicator
STBY/REC indicator
Tape counter indicator
Remaining tape indicator
This appears after you insert a cassette and record
or play back for a while.
Remaining battery time indicator
Hi8 format indicator
This appears while playing back or recording in Hi8 format.

Questions and Answers:

Sony CCD-TRV98 Operating Instructions (primary manual) Specifications

General IconGeneral
BrandSony
ModelCCD-TRV98 Operating Instructions (primary manual)
CategoryCamcorder
LanguageEnglish

Summary

WARNING

Safety Precautions

General warnings about handling the camcorder, including fire and shock hazards.

Main Features

Recording Functions

Features for adjusting exposure, image impact, and natural appearance during recording.

Quick Start Guide

Getting Started

Overview of initial setup steps including power, date/time, and cassette insertion.

Connecting the Power Cord

Instructions for connecting the AC power adapter and battery pack.

Inserting a Cassette

Step-by-step guide to correctly insert a video cassette.

Recording a Picture

Basic Recording Procedure

How to remove the lens cap, set power, and start/stop recording.

Step 1 Preparing the Power Supply

Installing the Battery Pack

Procedure for inserting and removing the battery pack for portable use.

Charging the Battery Pack

Instructions on how to charge the InfoLITHIUM battery pack using the AC adapter.

Connecting to a Wall Outlet

Guidance on powering the camcorder via AC adapter for extended use.

Step 2 Setting the Date and Time

Setting Clock and Date

Procedure for setting the camcorder's internal clock and date.

Step 3 Inserting a Cassette

Cassette Insertion Procedure

Detailed steps for inserting a Hi8 video cassette into the compartment.

Playback – Basics

Advanced Recording Operations

Editing

Customizing Your Camcorder

Troubleshooting

Types of Trouble and Solutions

Common problems and their corrective actions for recording and playback modes.

Self-Diagnosis Display

Interpreting Error Codes

How to read and understand the camcorder's self-diagnosis codes.

Additional Information

Specifications

Quick Reference

Related product manuals