EasyManua.ls Logo

Sony CCD-TRV98 Operating Instructions (primary manual) User Manual

Sony CCD-TRV98 Operating Instructions  (primary manual)
80 pages
To Next Page IconTo Next Page
To Previous Page IconTo Previous Page
Page #41 background image
41
Advanced Recording Operations
You can manually adjust and set the exposure.
Adjust the exposure manually in the following cases:
The subject is backlit
Bright subject and dark background
To record dark pictures (e.g. night scenes) faithfully
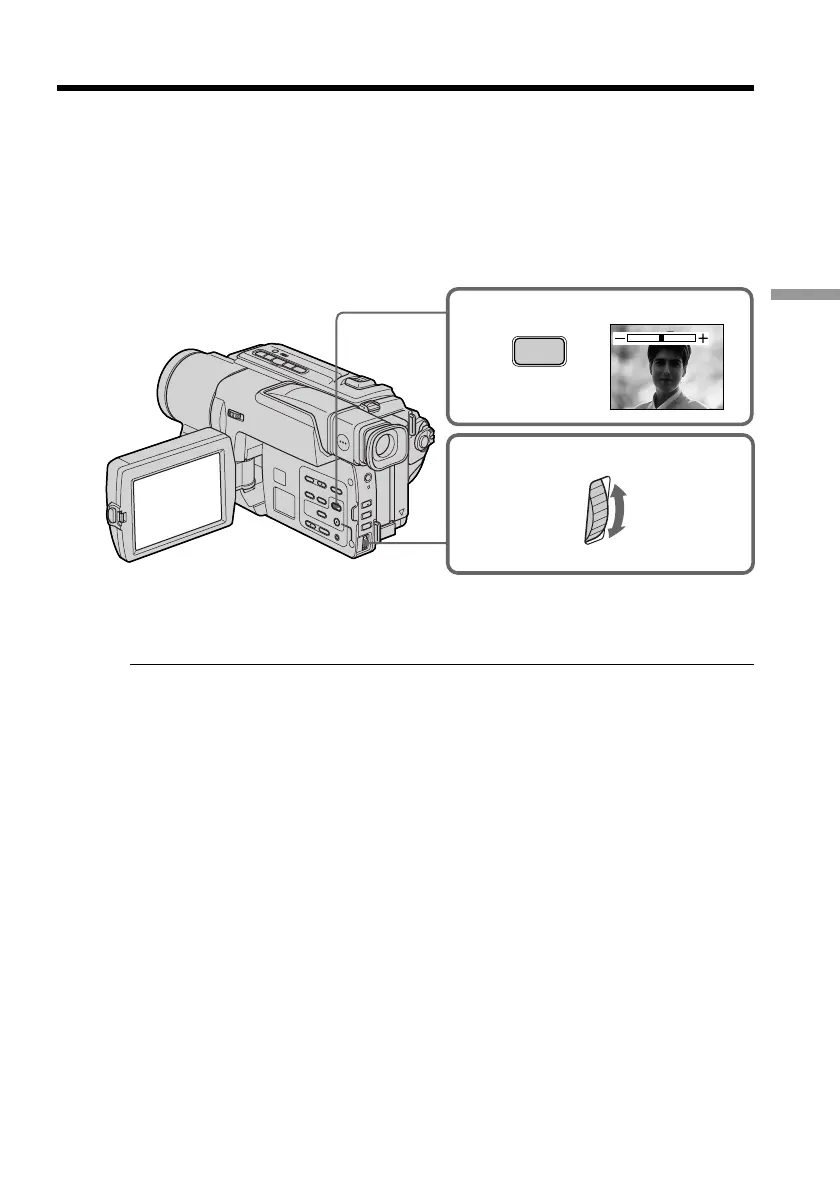
(1) In CAMERA mode, press EXPOSURE.
(2) Turn the SEL/PUSH EXEC dial to adjust the brightness.
To return to the automatic exposure mode
Press EXPOSURE again.
Note
When you adjust the exposure manually, the backlight function does not work.
Your camcorder automatically returns to the automatic exposure mode:
if you change the PROGRAM AE mode
if you slide NIGHTSHOT to ON
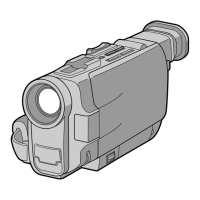
Adjusting the exposure manually
1
2
EXPOSURE

Questions and Answers:

Sony CCD-TRV98 Operating Instructions (primary manual) Specifications

General IconGeneral
BrandSony
ModelCCD-TRV98 Operating Instructions (primary manual)
CategoryCamcorder
LanguageEnglish

Summary

WARNING

Safety Precautions

General warnings about handling the camcorder, including fire and shock hazards.

Main Features

Recording Functions

Features for adjusting exposure, image impact, and natural appearance during recording.

Quick Start Guide

Getting Started

Overview of initial setup steps including power, date/time, and cassette insertion.

Connecting the Power Cord

Instructions for connecting the AC power adapter and battery pack.

Inserting a Cassette

Step-by-step guide to correctly insert a video cassette.

Recording a Picture

Basic Recording Procedure

How to remove the lens cap, set power, and start/stop recording.

Step 1 Preparing the Power Supply

Installing the Battery Pack

Procedure for inserting and removing the battery pack for portable use.

Charging the Battery Pack

Instructions on how to charge the InfoLITHIUM battery pack using the AC adapter.

Connecting to a Wall Outlet

Guidance on powering the camcorder via AC adapter for extended use.

Step 2 Setting the Date and Time

Setting Clock and Date

Procedure for setting the camcorder's internal clock and date.

Step 3 Inserting a Cassette

Cassette Insertion Procedure

Detailed steps for inserting a Hi8 video cassette into the compartment.

Playback – Basics

Advanced Recording Operations

Editing

Customizing Your Camcorder

Troubleshooting

Types of Trouble and Solutions

Common problems and their corrective actions for recording and playback modes.

Self-Diagnosis Display

Interpreting Error Codes

How to read and understand the camcorder's self-diagnosis codes.

Additional Information

Specifications

Quick Reference

Related product manuals