When
the installation
is
completed,
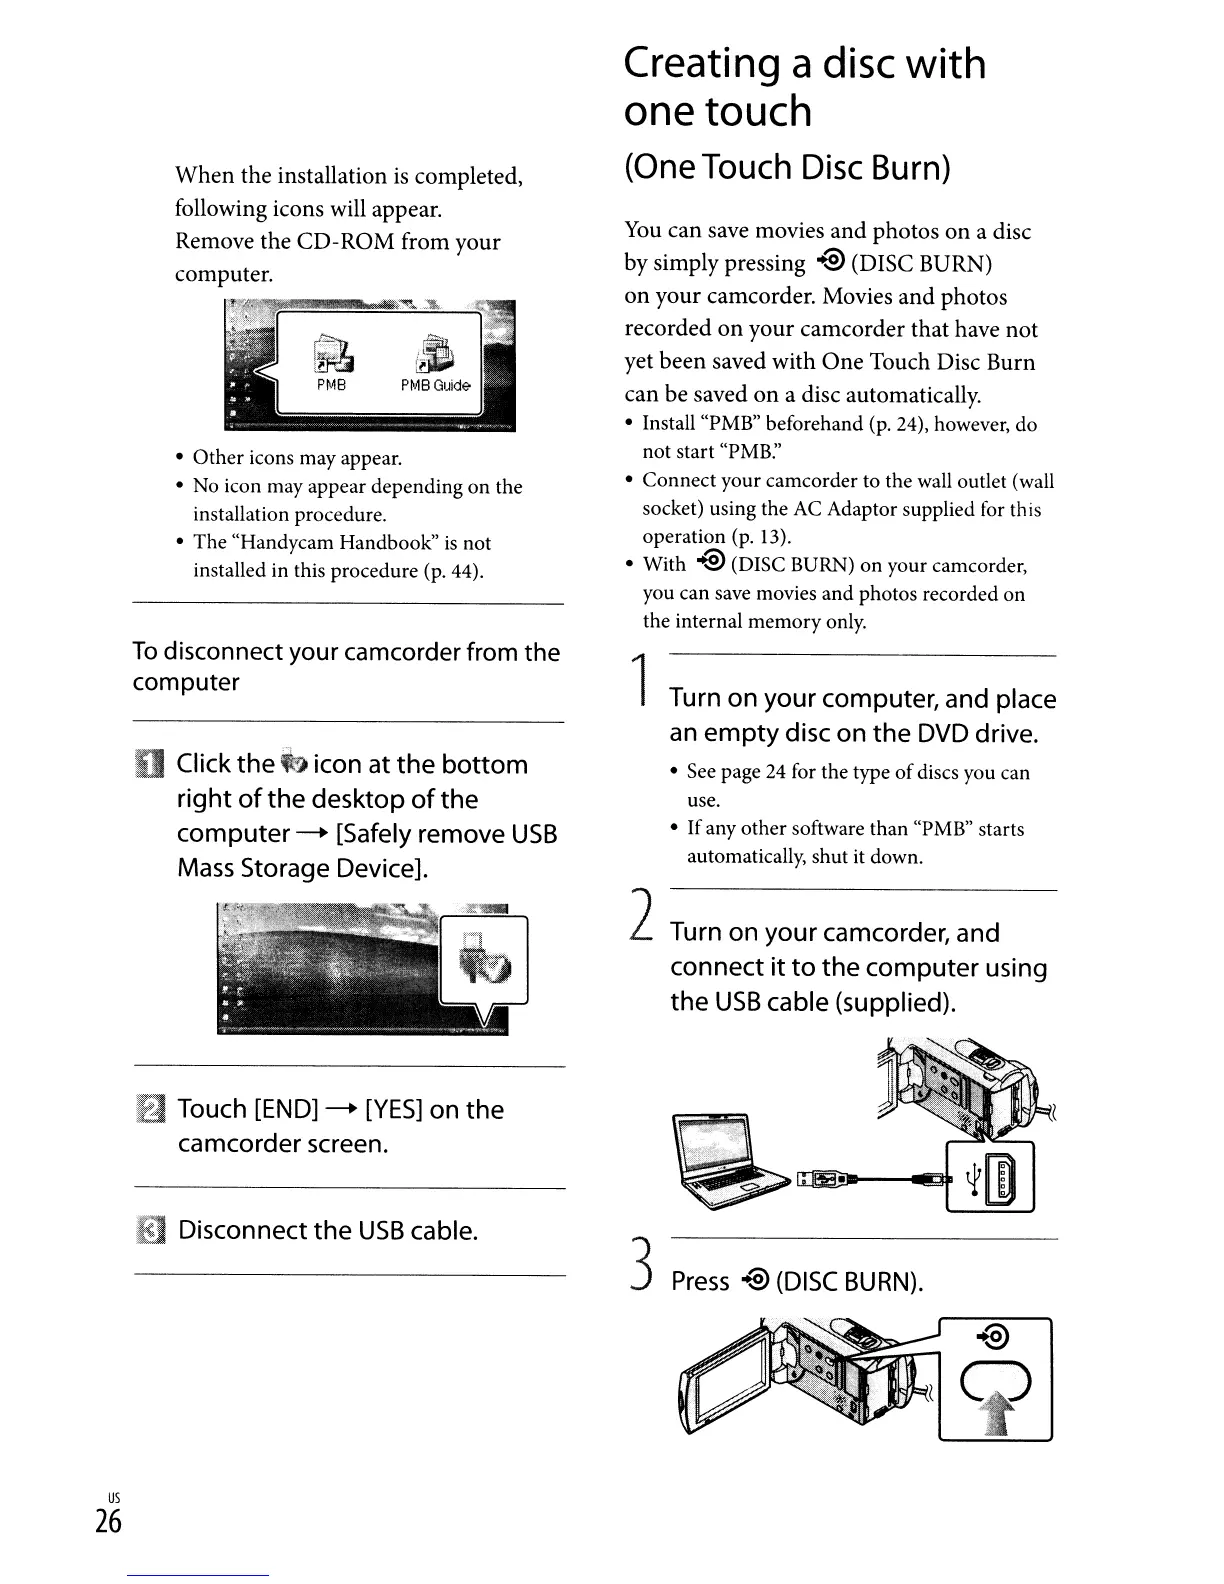
following icons will appear.
Remove the CD-ROM from your
computer.
• Other icons may appear.
• No icon may appear depending on the
installation procedure.
• The "Handycam Handbook"
is
not
installed in this procedure (p. 44).
You
can save movies and photos
on
a disc
by simply pressing
.~
(DISC BURN)
on your camcorder. Movies and photos
recorded
on
your camcorder that have not
yet been saved with
One
Touch Disc Burn
can be saved
on
a disc automatically.
• Install "PMB" beforehand (p. 24), however, do
not start "PMB:'
• Connect your camcorder to the wall outlet (wall
socket) using the
AC
Adaptor supplied for this
operation
(p.
13).
• With
-@
(DISC BURN) on your camcorder,
you can save movies and photos recorded on
the internal memory only.
Creating
a
disc
with
one touch
(One
Touch
Disc
Burn)
6
PMB
GUid~
~
PMB
To
disconnect your camcorder from the
computer
o Click
the
~
icon at
the
bottom
right
of
the
desktop
of
the
computer
-.
[Safely remove
USB
Mass
Storage Device].
f)
Touch
[END]
-.
[YES]
on
the
camcorder screen.
iii
Disconnect
the
USB
cable.
1Turn on
your
computer, and place
an
empty
disc
on
the
DVD drive.
• See page
24
for the type ofdiscs you can
use.
•
If
any other software than "PMB" starts
automatically, shut it down.
2Turn on
your
camcorder, and
connect
it
to
the
computer
using
the
USB
cable (supplied).
•
3
Press
-@
(DISC
BURN).
us
26
 Loading...