2-15
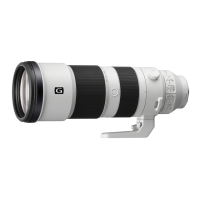
SEL200600G
rear (mount) side
front (lens) side
9 rear tube block
7 Lift up the rear tube block.
5 five screws (2.0 u 6.0)
6
Move the ZMR flexible board
wires to the outer side.
4 4 group flexible
board
3
hook
1 ZMR flexible board
2
Peel off the ZMR
flexible board.
8 Draw the 4 group flexible
board out of the hole.
2-2-19. REAR TUBE BLOCK
6 group block
G24 metal mask
1 three screws (2.0 u 6.0)
rear (mount) side
front (lens) side
three tapping screws (1.4 u 4.5)
2 6 group assy
7KHJURXSDVV\FDQEHGLVDVVHPEOHG
DVVKRZQLQWKHILJXUHEHORZ
3 three M2 washers
Note:
Take note of the amount
of washers.
2-2-18. 6 GROUP ASSY
SYSSET
2019/06/2822:04:56(GMT+09:00)

 Loading...