2-46
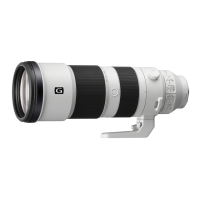
SEL200600G
B-40
B-40
B-40
B-40
FT410
G-62
G-48
4 tripod ring assy
7 screw (tripod sliding piece)
1P
Note:
Apply the adhesive bond to
the tip of screws.
6 tripod sliding piece
5 Align the holes with the screw holes
while turning the tripod ring assy.
UHDUPRXQWVLGH
front (lens) side
7 screw (tripod sliding piece)
1P
Note:
Apply the adhesive bond to
the tip of screws.
6 tripod sliding
piece
7 screw (tripod sliding piece)
1P
Note:
Apply the adhesive bond to
the tip of screws.
6 tripod sliding
piece
6 tripod sliding piece
screw hole
7 screw (tripod sliding piece)
1P
Note:
Apply the adhesive bond to
the tip of screws.
1
Apply grease all around.
2
Apply grease all around.
3
Apply grease all around.
2-3-22. TRIPOD RING ASSY
SYSSET
2019/06/2822:04:56(GMT+09:00)

 Loading...