14
DCR-HC17E/HC19E/HC21E/HC22E 2-586-501-11(1)
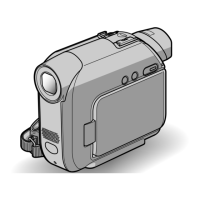
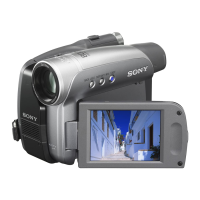
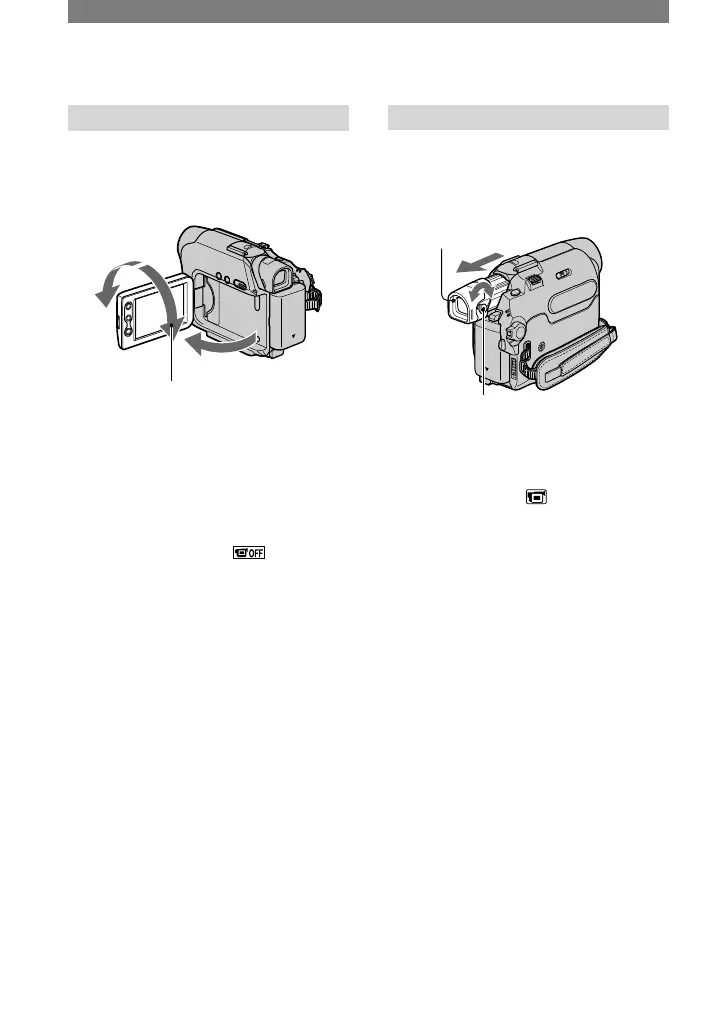
Step 4: Adjusting the LCD panel and viewfinder
The LCD panel
Open the LCD panel 90 degrees to the
camcorder (), then rotate it to the best
angle to record or play ().
180 degrees
(max.)
90 degrees to
the camcorder
90 degrees (max.)
• Do not press the buttons on the LCD frame
accidentally when you open or adjust the LCD
panel.
• If you rotate the LCD panel 180 degrees to the
lens side, you can close the LCD panel with
the LCD screen facing out. This is convenient
during playback operations. When the POWER
switch is set to CAMERA, appears on
the LCD screen.
• If you rotate the LCD panel 180 degrees to
the lens side, you can see the image in the
viewfinder.
• See [LCD BRT] (p. 35) to adjust the brightness
of the LCD screen.
The viewfinder
You can view images using the viewfinder
when you close the LCD panel to avoid
wearing down the battery, etc.
Viewfinder
Viewfinder lens adjustment lever
Move it until the picture is clear.
• You can adjust the brightness of the viewfinder
backlight by selecting (LCD/VF SET)
- [LCD B.L.] (p. 44).
 Loading...