MEX-GS810BH/N6000BH
19
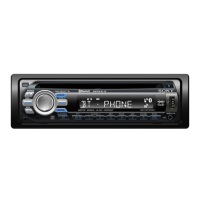
3-3. SUB PANEL ASSY
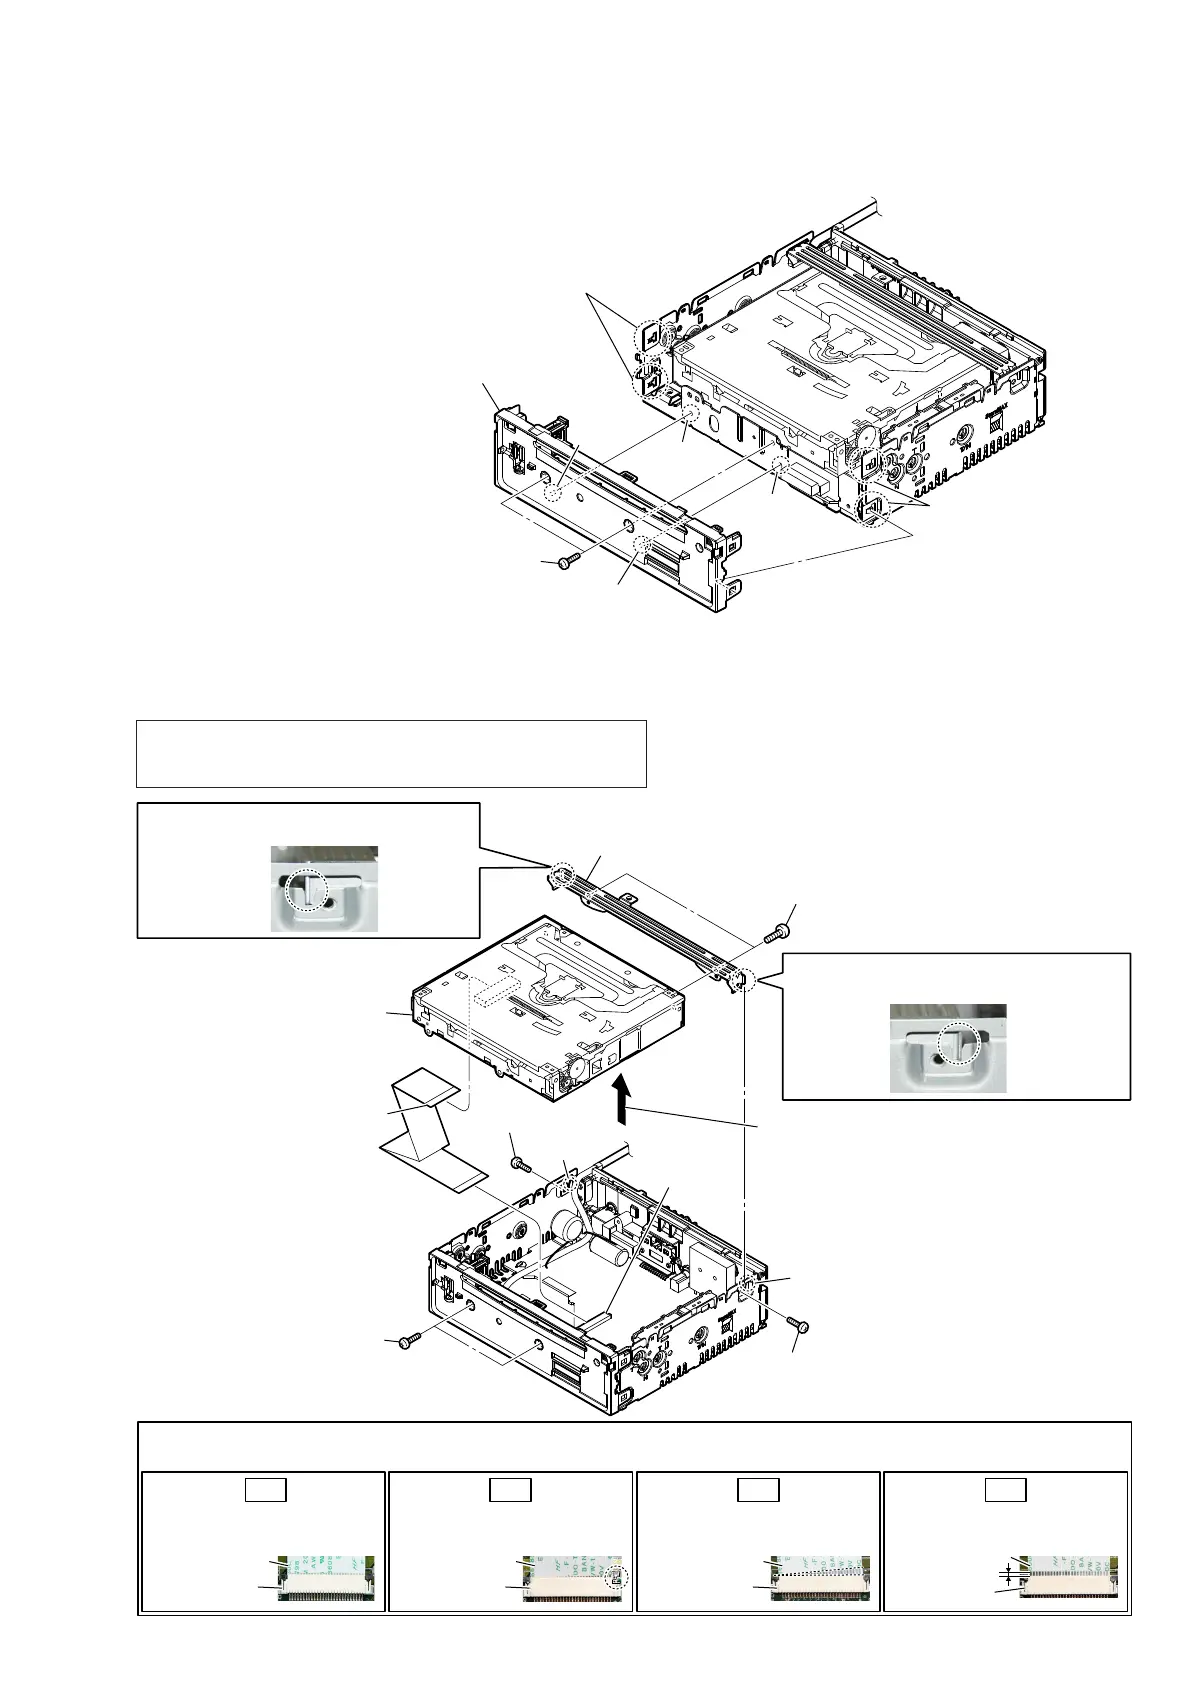
3-4. CD MECHANISM DECK (MG-101CF-188)
2 two claws
2 two claws
rib
hole
1
two screws
(PTT2.6
u
6)
3 sub panel assy
Note:
When installing the sub panel assy,
align two ribs and two holes.
hole
rib
3
connector
(
CN701
)
4 cable flexible flat (27 core)
(FFC1) (
CN401
)
cable flexible flat
(27 core)
(FFC1)
2
Lift up the
CD mechanism block
in the direction of the arrow.
7 CD mechanism deck
(MG-101CF-188)
6 bracket (CD)
1
screw
(PTT2.6
u
6)
5
two screws
(PTT2.6
u
4)
Insert is straight to the interior.
OK
connector
cable flexible flat
(27 core)
(FFC1)
Connector is unlock.
NG
connector
cable flexible flat
(27 core)
(FFC1)
Insert is incline
NG
connector
cable flexible flat
(27 core)
(FFC1)
Insert is shallow
NG
connector
slot
slot
Note 3:
When installing the cable flexible flat (27 core) (FFC1),
insert straight to the connector and lock a connector completely.
No slanting after insertion.
Note 2:
When installing the CD mechanism block,
align the rib and the slot.
Note 2:
When installing the CD mechanism block,
align the rib and the slot.
1
screw
(PTT2.6
u
6)
1
two screws
(PTT2.6
u
6)
Note 1: The service manual of the mechanism deck, used in this model has
been issued in a separate volume. Please refer to the service manual
of the MG-101 series for the mechanism deck information.
 Loading...