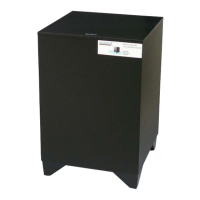
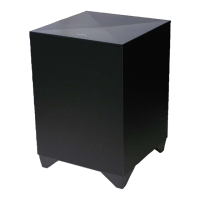
SA-WCT180
SA-WCT180
1111
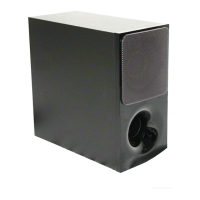
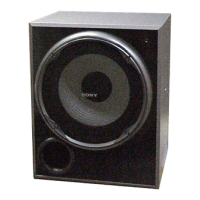
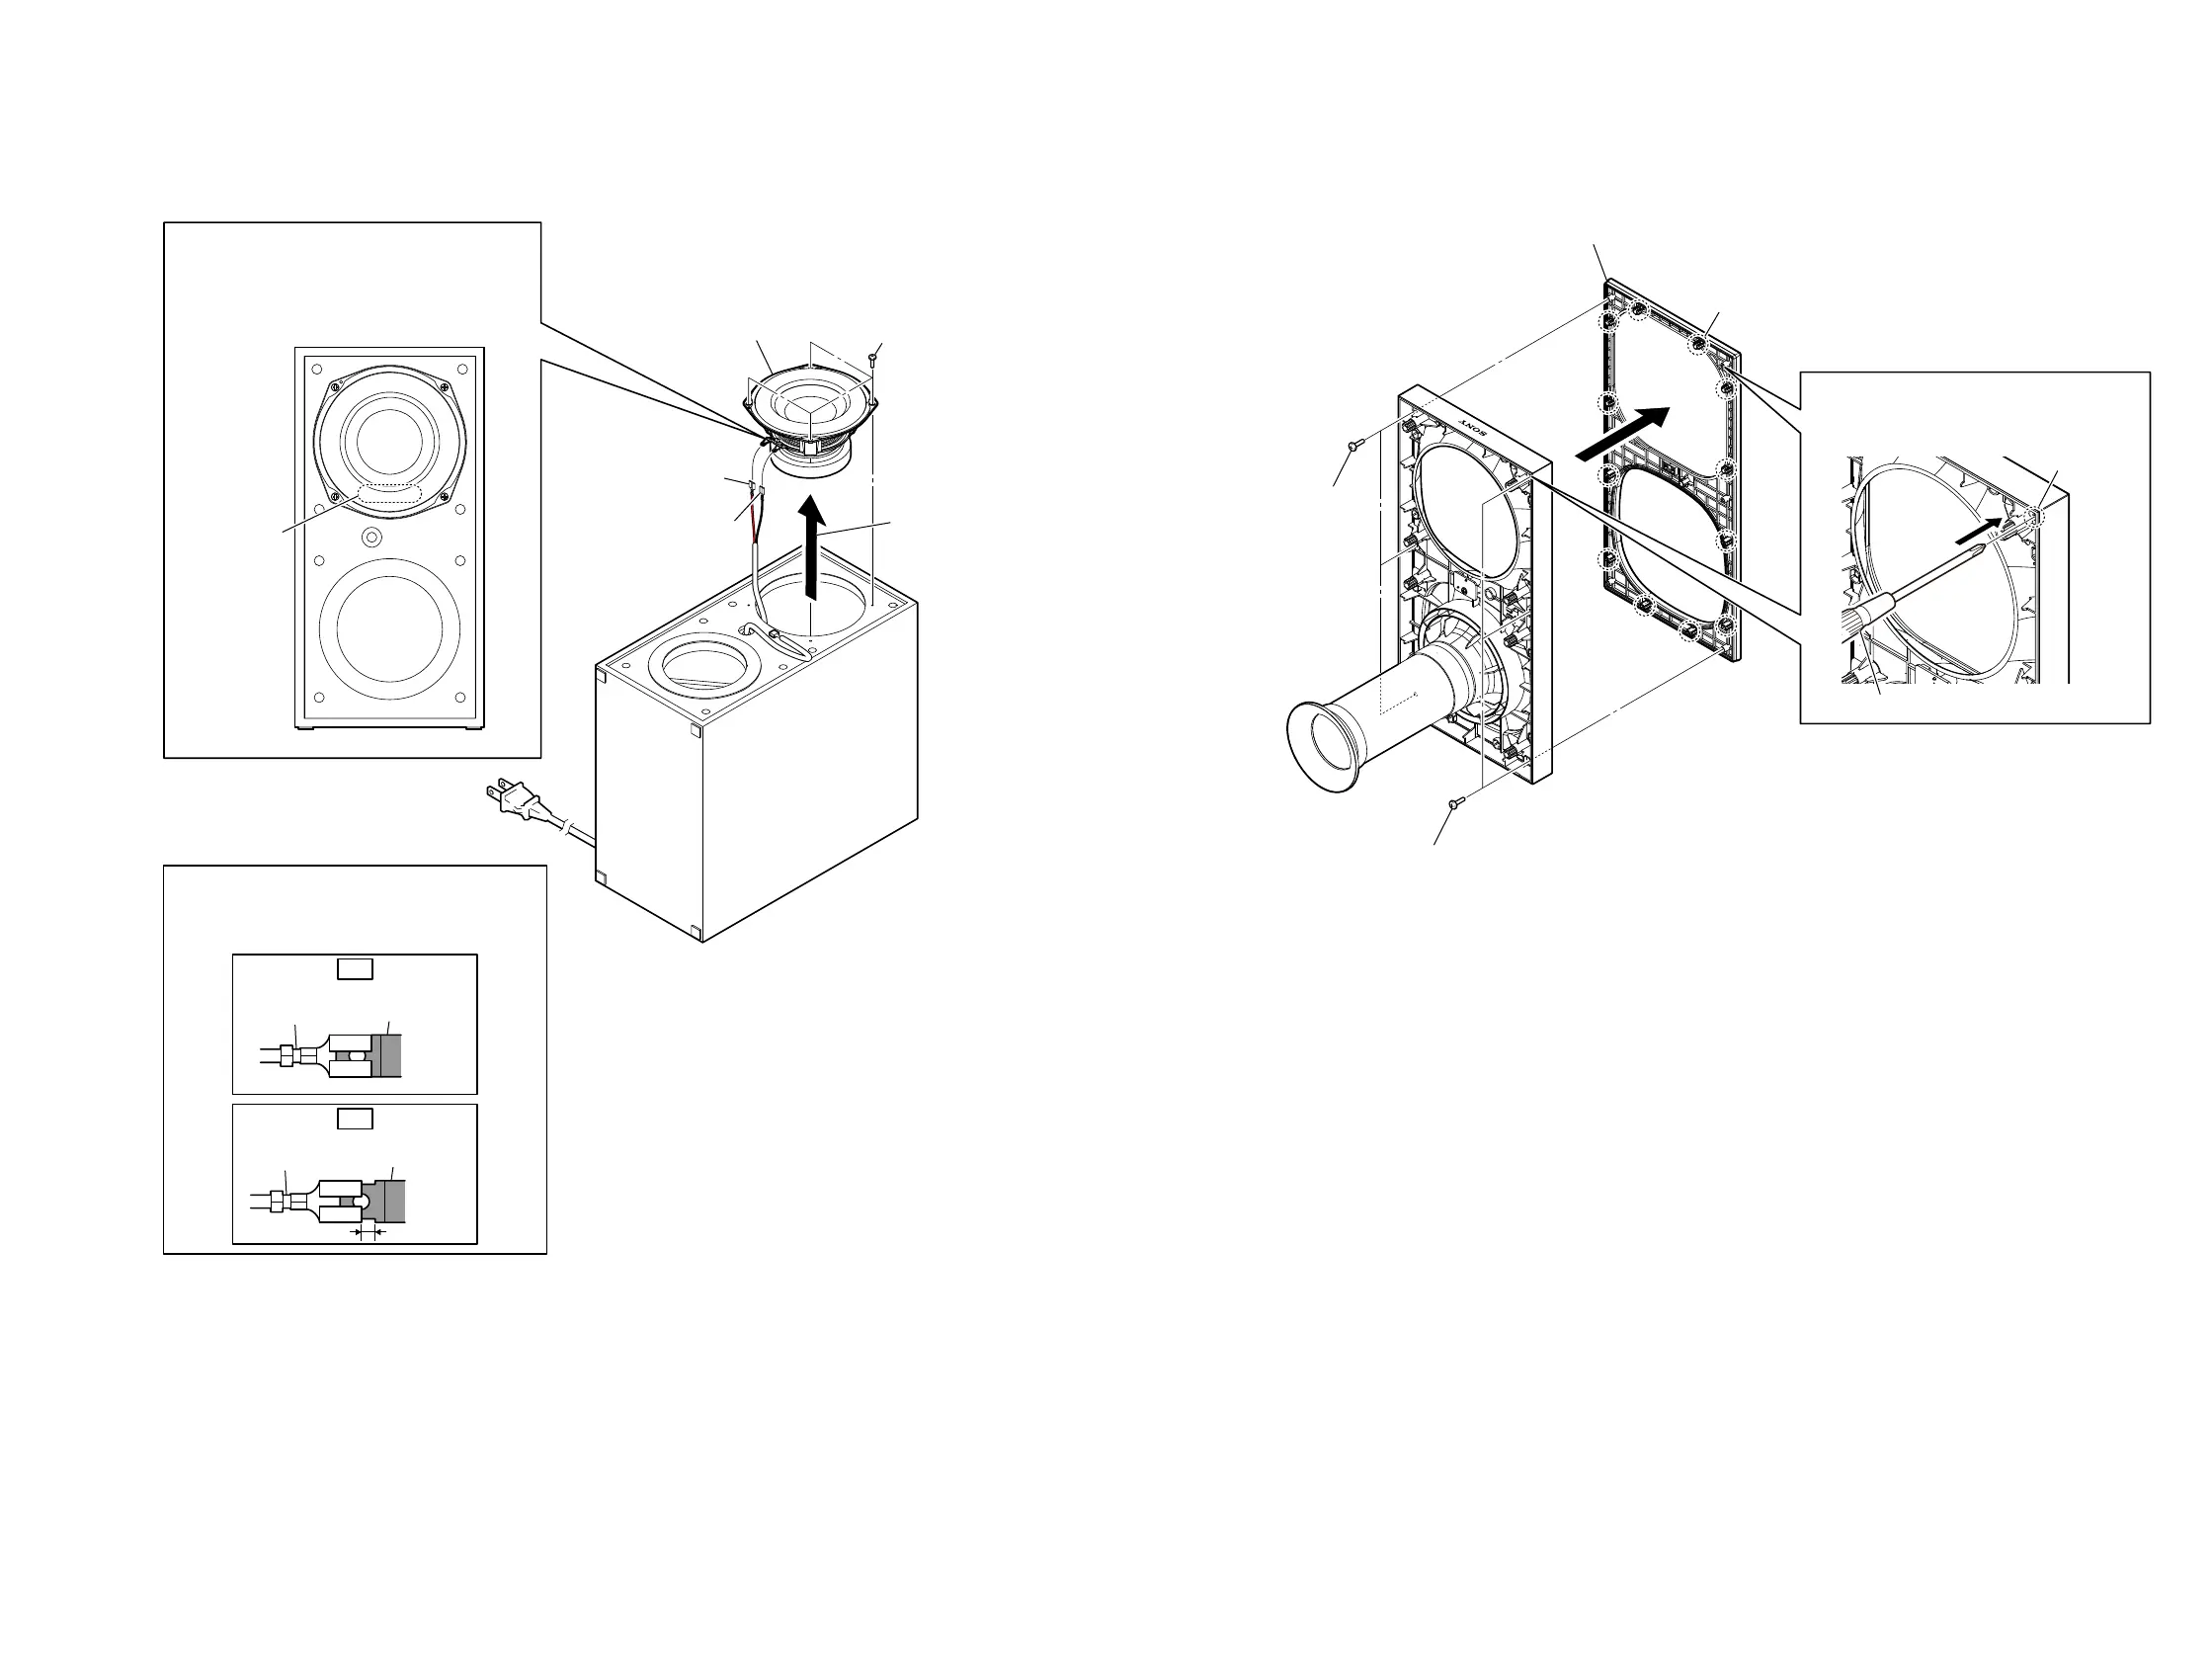
2-7. LOUDSPEAKER (13 cm) (SP1)
– Front bottom view –
2 Lift up the loudspeaker
(13 cm) (SP1) in the
direction of the arrow.
4 loudspeaker (13 cm)
(SP1)
3 terminal (wide side)
[red]
3 terminal (narrow side)
[black]
– Front view –
Note:
When installing the loudspeaker (13 cm) (SP1),
make sure that there is a position of the speaker
terminal to the position shown in the figure
below.
terminals
position
speaker cord speaker terminal
OK
How to install the speaker terminal
Insert the speaker terminal straight into the interior.
There is a possibility that using this unit without the
speaker terminal correctly installed will damage it.
Insert straight into the interior.
speaker cord speaker terminal
NG
nsert only part way.
1 four screws
(3.5 u 14 B)
+RZWRLQVWDOOWKHORXGVSHDNHUFP63
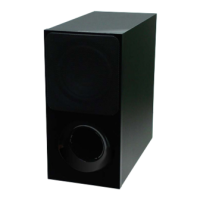
2-8. GRILLE (SW) ASSY
– Front panel block rear view –
3 grille (SW) assy
1 three screws
(3 u 8 B)
total twelve bosses
1 three screws
(3 u 8 B)
2 Insert the screwdriver into the screw hole,
and push the grille in the direction of the
arrow to remove the boss.
screwdriver
screw hole
 Loading...