17Step 3: Adjusting the Picture Size and Position
Connections and Preparations
Step 3: Adjusting the Picture Size and
Position
Project an image on the screen and then adjust the picture position.
Tip
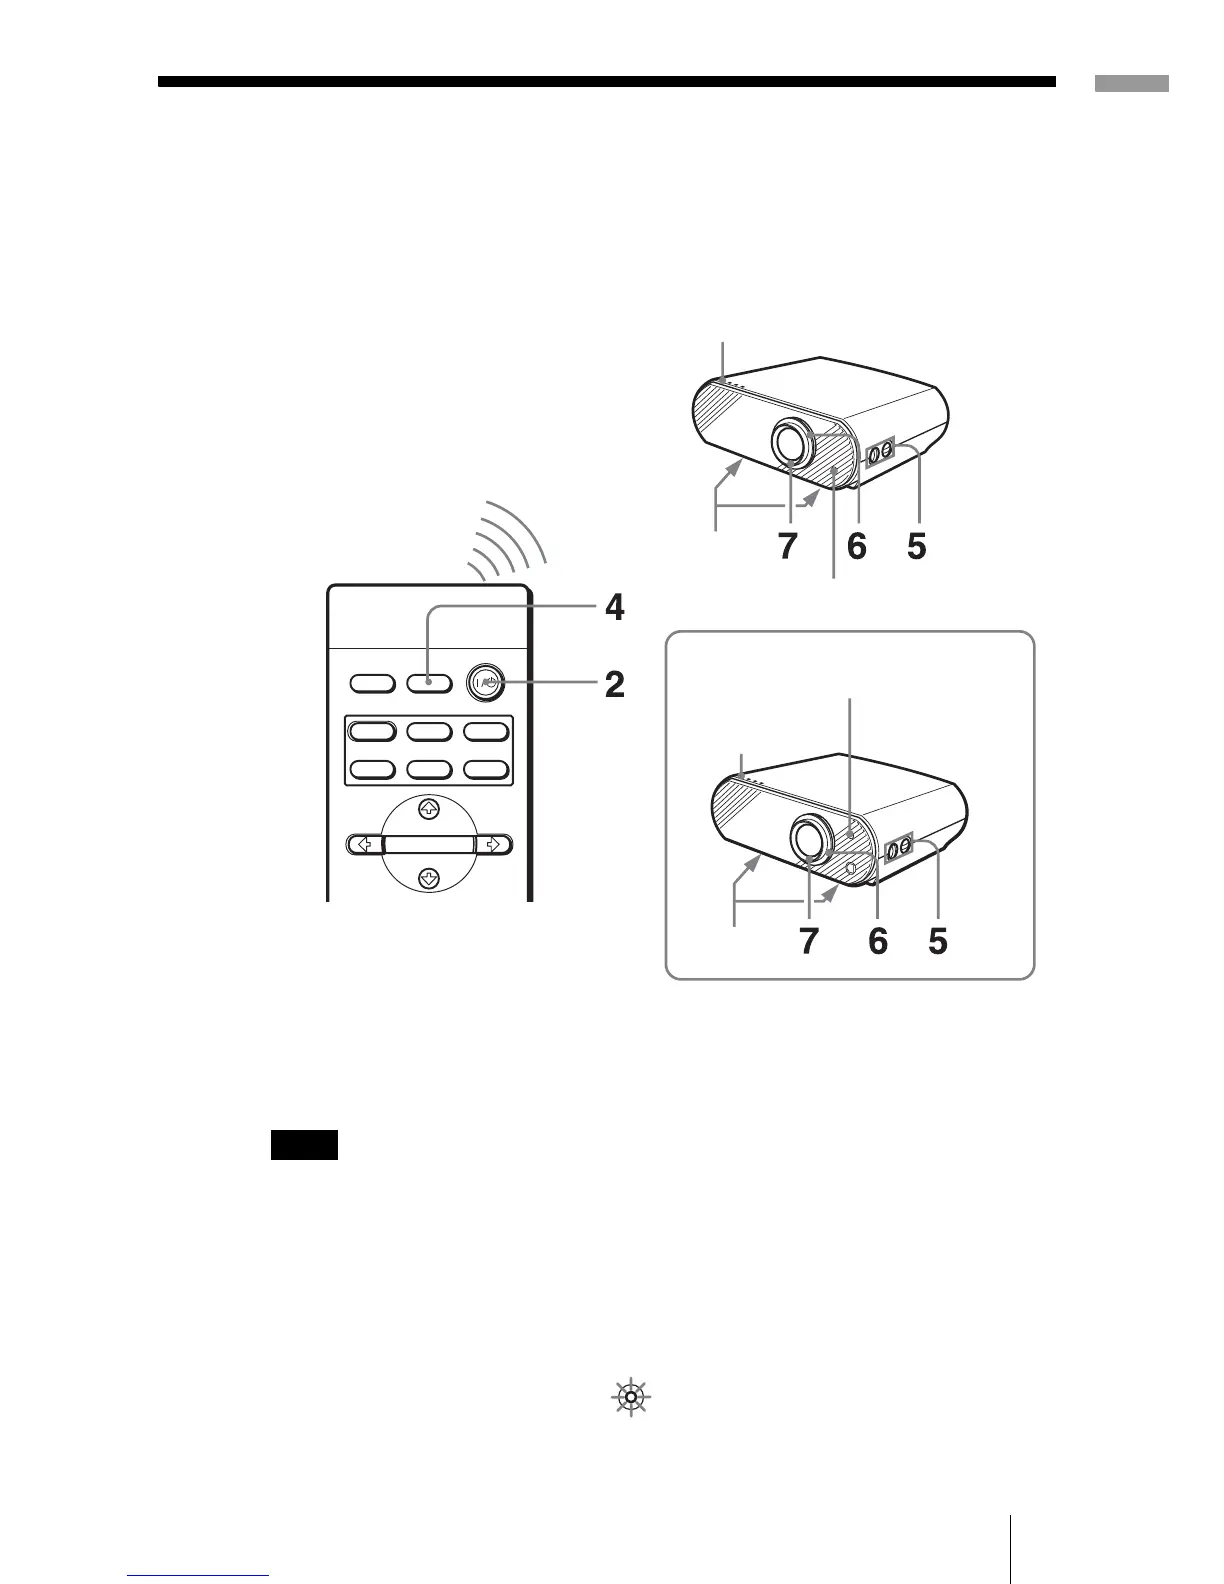
The I/1 (on/standby), INPUT, MENU, and M/m/</,/ENTER (joystick) buttons on
the side panel of the projector function the same as those on the remote control.
Depending on the installation location of the projector, you may not control it with the
remote control. In this case, point the remote control to the screen instead of the
projector.
1 Plug the AC power cord into a wall outlet.
The ON/STANDBY indicator lights in red and the projector goes into
standby mode.
Note
INPUTLIGHT
STANDARD
CINEMA
DYNAMIC
USER 2
PICTURE MODE
USER 3USER 1
ENTER
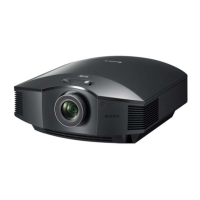
ON/STANDBY indicator
Adjusters
Remote control detector
Adjusters
Remote control detector
ON/STANDBY
indicator
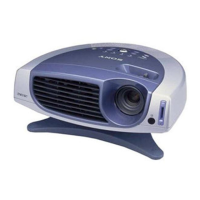
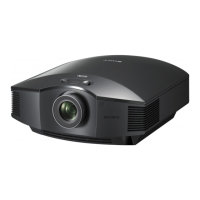
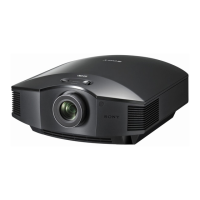
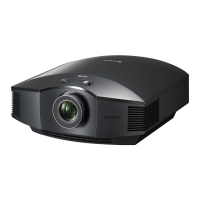
VPL-HS50
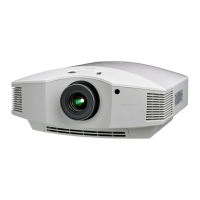
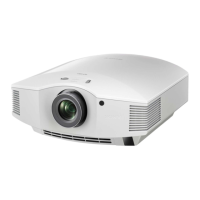
VPL-HS51
ON/
STANDB
 Loading...