facilities for handling and recycling.
• Adhere strictly to local regulations governing the
disposal of cuttings.
• When the machine is withdrawn from service,
do not dump it in the environment, but take it to
a waste disposal facility in accordance with the
local regulations in force.
4 INSURING YOUR LAWNMOWER
Check the insurance on your lawnmower.
Contact your insurance company.
You ought to have fully comprehensive insurance
for trac, re, damage and theft.
5 ASSEMBLY
The battery must be fully charged befo-
Do not use the machine until all the in-
dications provided in the “ASSEMBLY”
section have been carried out.
Unpacking and completing the assem-
surface, with enough space for machi-
ne handling and its packaging, always
making use of suitable equipment.
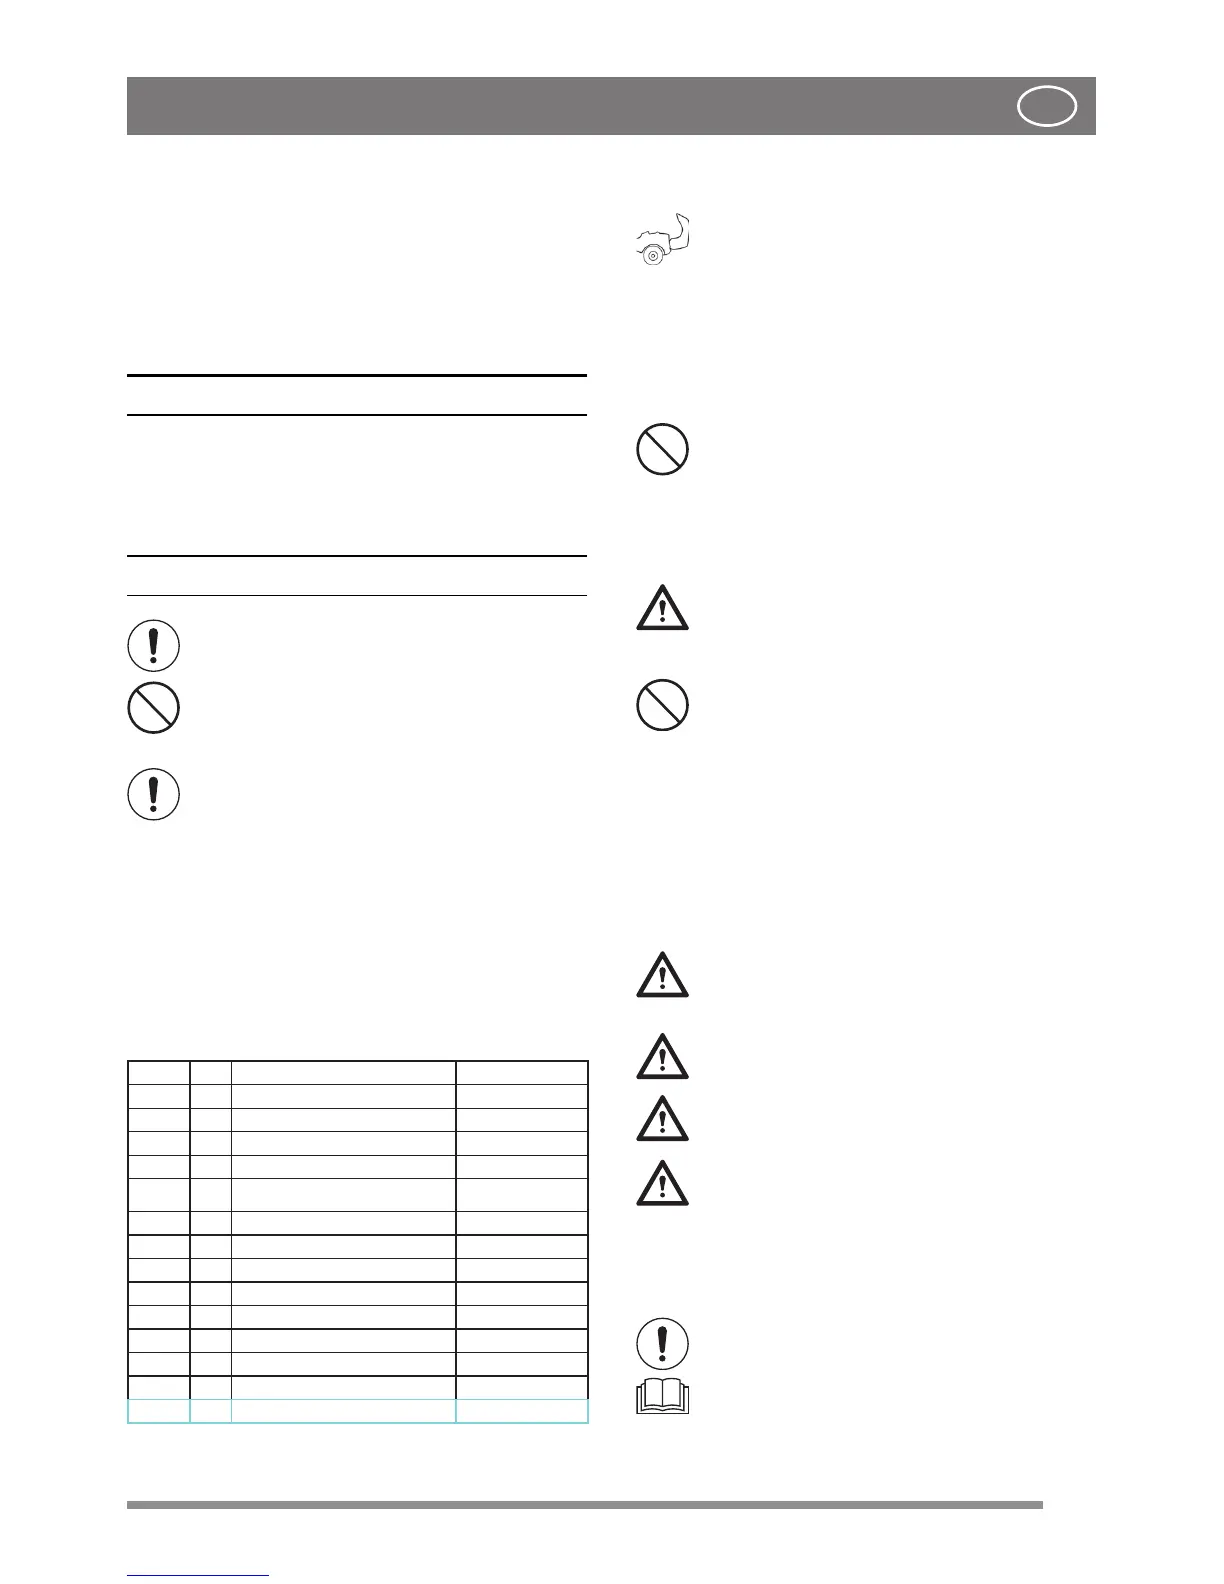
5.1 ASSEMBLY COMPONENTS (3)
The machine is delivered with the seat and stee-
ring wheel dismantled. The batteries are in their
housing but are not connected.
The packaging holds the components needed for
assembly (3) as listed in the table below:
Pos. No. Description Dimensions
A 2 Pin 6 x 36 mm
B 1 Shim 16 x 38 x 0.5 mm
C 1 Shim 16 x 38 x 1.0 mm
D 2 Ignition key /
E 2 Screw for battery /
F 2 Nut for battery /
G 2 Nut M8
H 1 Tow bar /
J 2 Screw M8 x 20
K 4 Screws for seat M8 x 20
L 4 Shoulder washer 8 x 20 0 6,7 mm
M 3 Screws for armrests /
N 3 Plate with threaded hole /
R 4 Split lock washer 14 x 8,2 x 2
5.2 BONNET(5:A)
Open the bonnet to access the fuel
supply circuit, fuel tank, oil tank and
To open the bonnet:
1. Undo the rubber strap (5:B) on the front edge
of the bonnet.
2. Lift the bonnet with care. To close the bonnet
lower it and do up the strap to secure it.
It is prohibited to start the engine when
the bonnet is open.
5.3 BATTERY
For the type of battery installed on the machine,
please refer to “0 TECHNICAL DATA TABLE”
WARNING! Battery acid is corrosive
and contact with it is harmful. Handle
the battery with care taking care not to
let acid leak out.
5.3.1 Battery connection (6)
Connect the battery to the machine’s electrical sy-
stem using the relative screws and nuts (6:E, 6:F).
1. Connect the red lead to the battery’s positive
terminal (+).
2. Connect the black lead to the battery’s nega-
tive terminal (-).
If battery leads are connected in rever-
se order, the battery could short circuit
and be damaged as a result.
Inverting the lead connections will da-
mage the alternator and the battery.
Tighten the leads securely. Loose leads
Never start the engine with the battery
disconnected. There is a risk of serious
damage to the alternator and the elec-
trical system.
5.3.2 Battery charging
The battery must be fully charged befo-
Please refer to 9.12 for the battery char-
ging procedure.
 Loading...