Edition Manual Chapter Page
2008-05-19 Workshop Manual, Stiga Villa/Ready 1 General 5
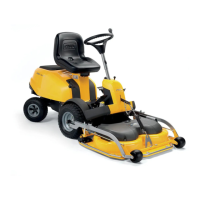
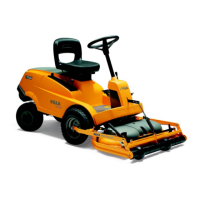
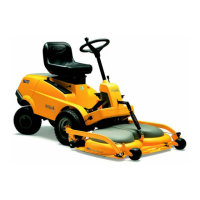
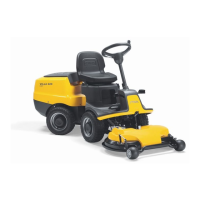
1.4 Unpacking and assembly
Every Stiga machine has undergone an
extensive control programme before delivery.
The machines are delivered as completely
assembled as possible.
Thanks to this the assembly on delivery is rapid
and easy.
The correct and careful assembly of the
machine on delivery is a simple way of ensuring
satisfied customers!
Note!
The machine shall remain placed on the
pallet during the unpacking and
assembly.
1.4.1 Unpacking
Open up the crate and release the part as
follows:
1. Check the air pressure in the tyres. The
pressure is designated on the floor mat.
The air pressure in the tyres is of critical
importance for the performance and
handling of the machine. The correct air
pressure for mowing is:
Front: 0,4 bar (6 psi)
Rear: 1,2 bar (17 psi)
When using some accessories it may be
necessary to increase the pressure
somewhat. However, the maximum
permitted pressure is always
1.2 bar (17 psi).
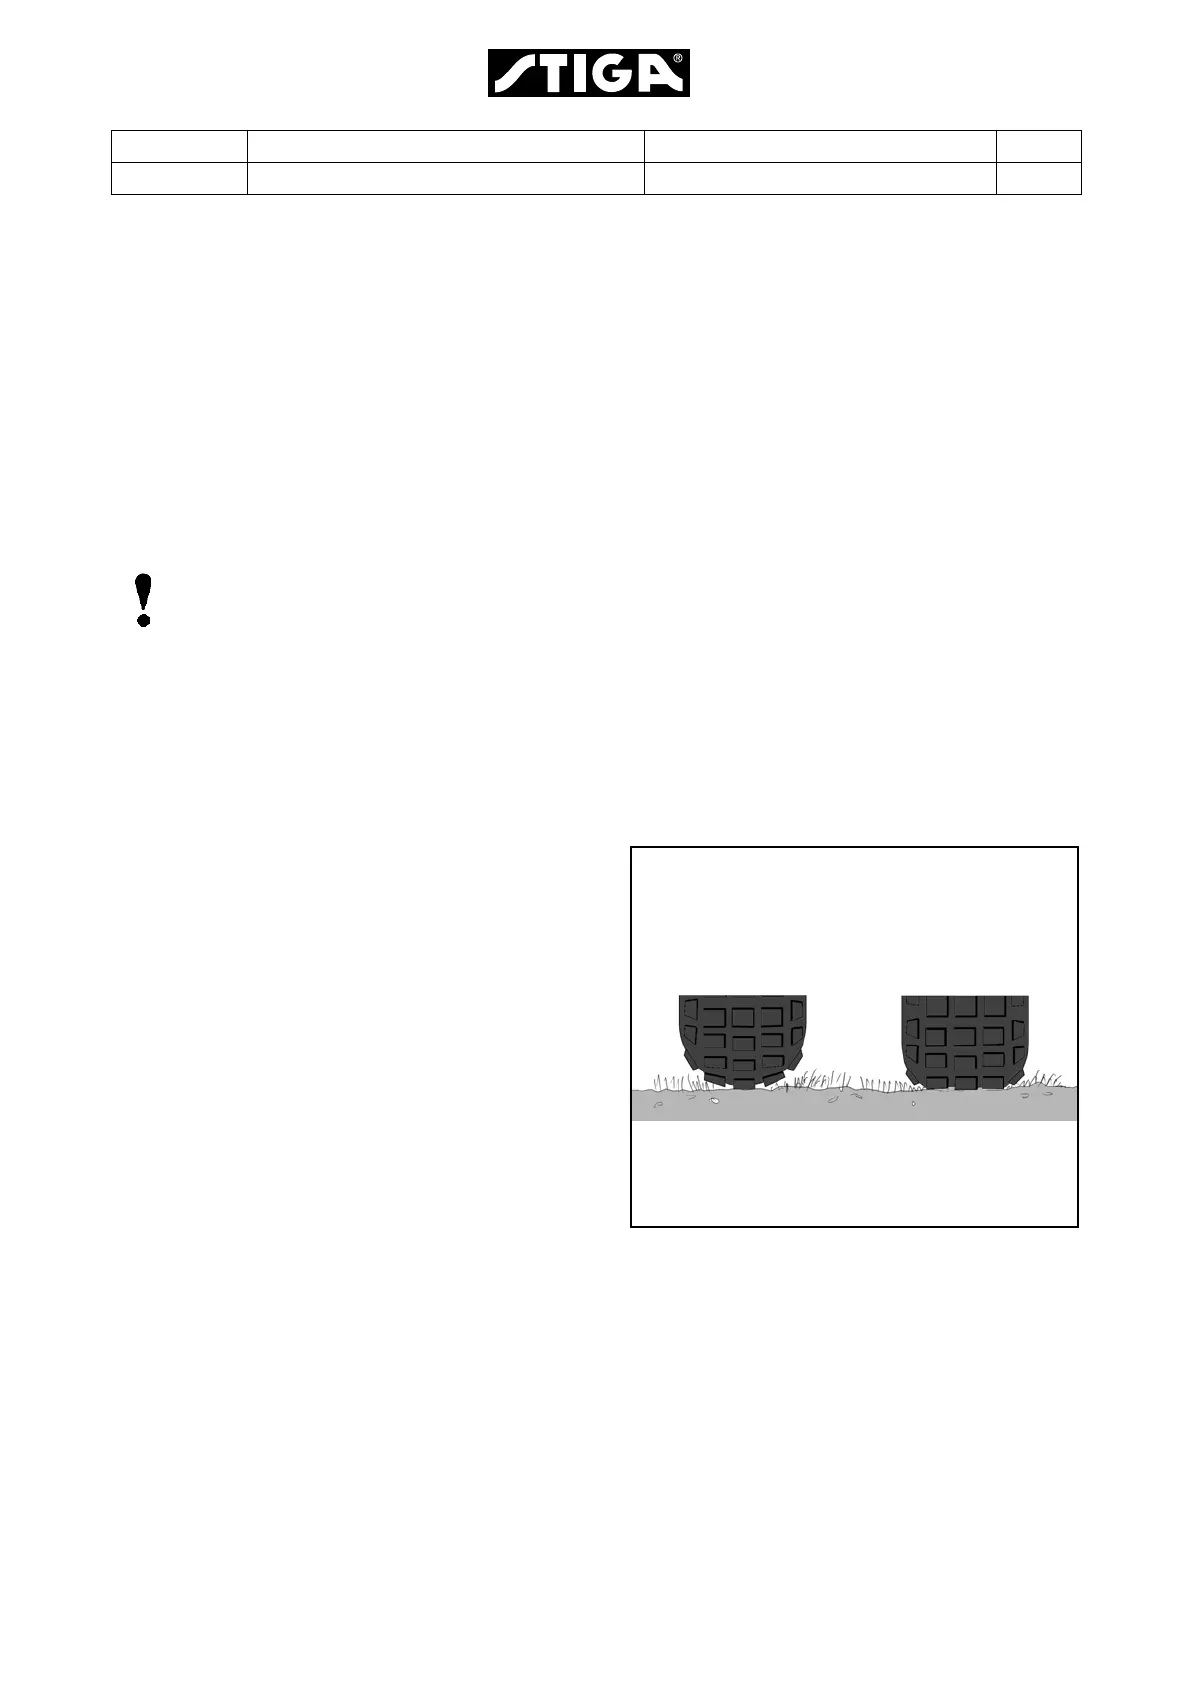
Too high pressure in the tyres leads to that
the machine drives poor due to:
• A small surface in contact to the ground.
• Hard tyre = less flexibility = self cleaning char-
acteristic deteriorate.
2. Remove the following parts from the
package and put them on the floor.
• The battery (some models).
• The steering wheel.
• The plastic bag, containing owners manuals,
and assembly screws.
Too high pressure Correct pressure
 Loading...