58 MS 192 T
– Troubleshooting, b 4.4
The replacement spring is supplied
ready for installation and secured in
a frame.
Wear a face shield and protective
gloves.
– Remove the fan housing,
b 10.2
– Relieve the rewind spring if
necessary and remove the rope
rotor, b 10.4
– Remove any fragments of the old
spring.
– Lubricate the spring with a few
drops of STIHL special lubricant
before installation, b 16
: Position the replacement spring
with frame – the anchor loop
must be located over the
fixture (1).
1
217RA359 TG
: Apply suitable tools (screwdriver,
drift, etc.) to the recesses and
push the spring into its seat in the
housing – the spring slides out of
the frame.
– Remove the frame.
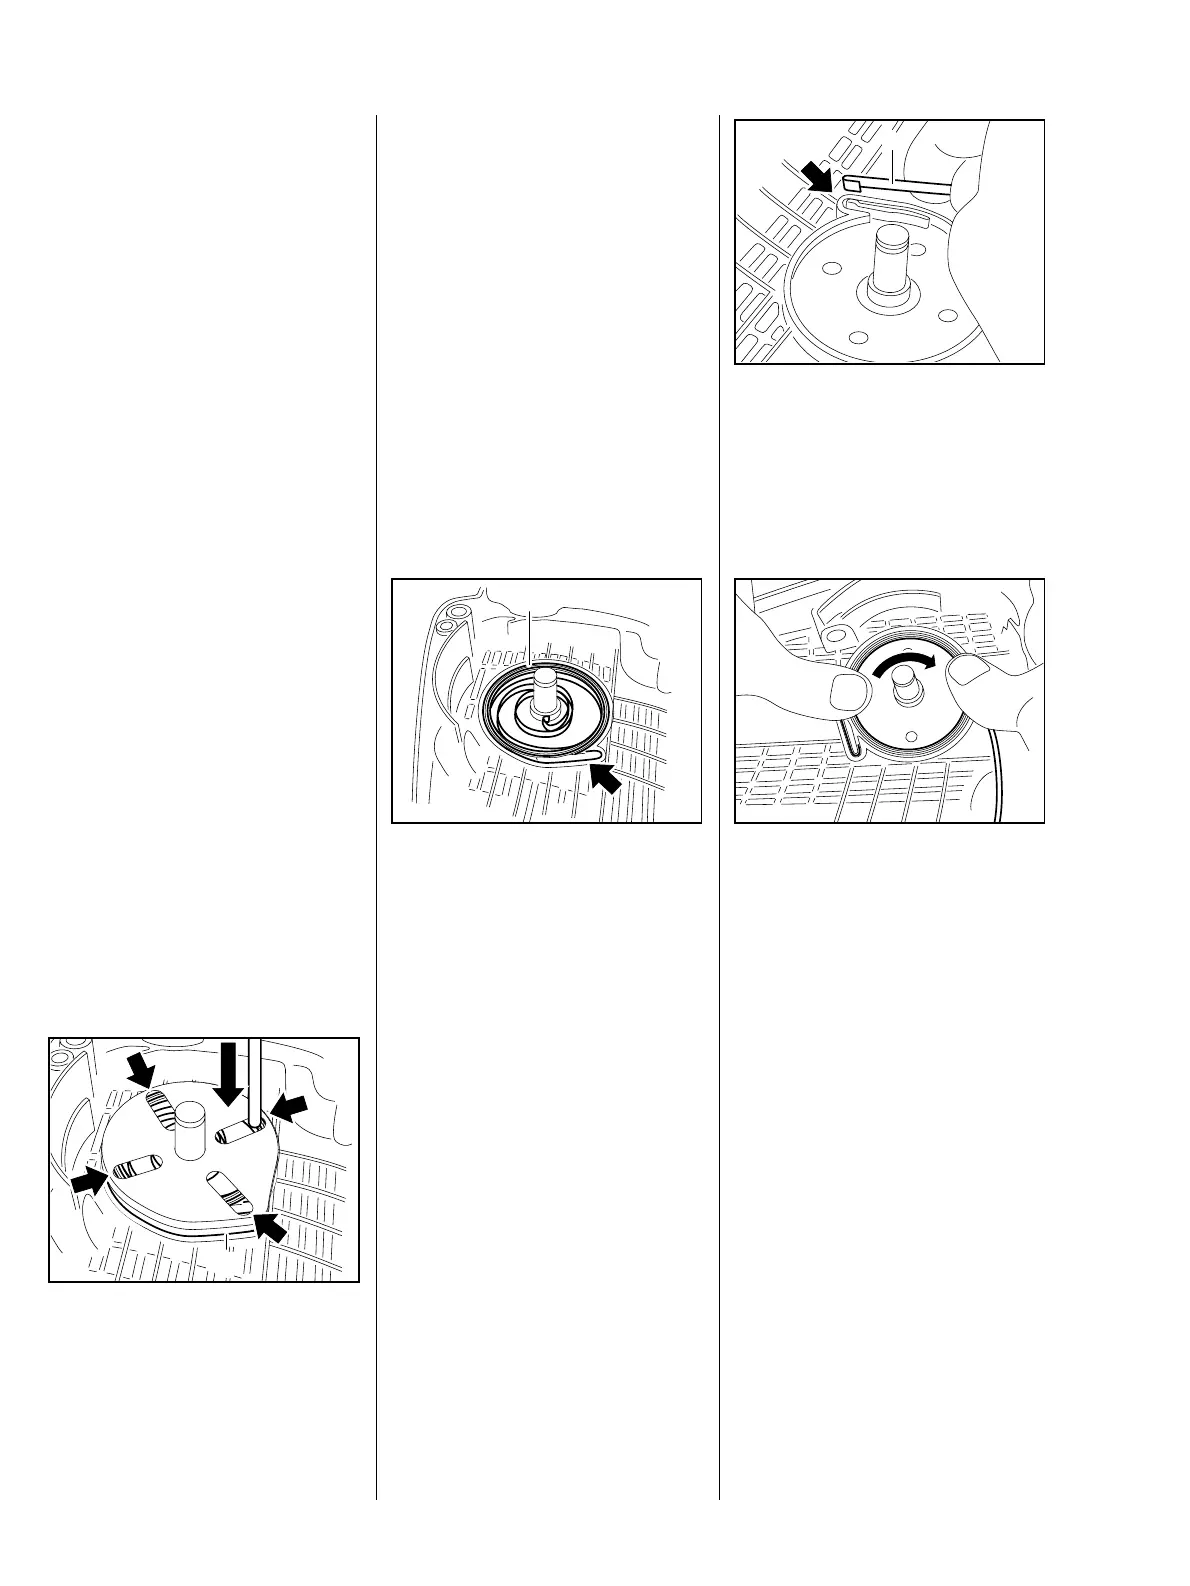
The rewind spring may pop out.
Ensure that the new rewind spring
(1) is fitted completely and the
anchor loop is positioned in the
fixture (arrow).
If the rewind spring pops out during
installation, fit it in the fan housing
as follows:
1
217RA284 TG
– Arrange the spring (1) as shown
in the illustration.
: Position the anchor loop in the
fixture (arrow).
217RA275 TG
1
: Fit the rewind spring (1) in a
circular fashion, working in
clockwise direction.
: Hold the inserted loops securely
to prevent them slipping out
again.
217RA276 TG
10.7 Replacing the Rewind
Spring
 Loading...