Radio installation 29
English
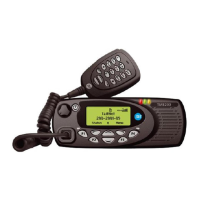
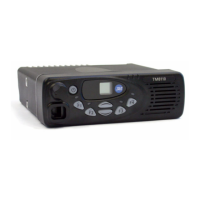
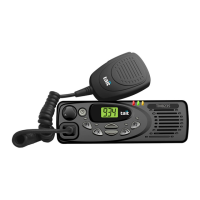
Radio installation
The following topics are covered in this section:
■ installing and removing the control head
■ installing the microphone
■ installing the antenna
■ installing the power cable
■ mounting the U-bracket
■ installing the radio in the U-bracket
■ TM8105 programming connector
■ checking the installation
■ other installation options.
Installing and removing the control head
Caution: The control head contains devices which can be
damaged by static discharges. Always install or
remove the control head in a static-
safe environment.
Website: For information on antistatic precautions,
go to the Electrostatic Discharge Association (ESD)
website, http://www.esda.org.
Installing the control head on the radio body
Note: The way in which the U-bracket is mounted deter-
mines which way up the control head is mounted on
the radio body.
The numbers in the diagram on the following page refer to
the numbered steps below.
1 Plug the control head loom onto the control
head connector.
2 Insert the bottom edge of the control head onto the
two clips in the front of the radio chassis, then snap
into place.
 Loading...