Radio installation 35
English
4
Cut the negative and the positive wires where the in-line fuse
holders will be placed (as close to the battery as possible).
Caution: Do not install the fuses until the installation is
ready to be checked.
5 Insert each end of the negative wire into one of the in-
line fuse holders and crimp them to force the metal
contacts onto the wires.
6 Connect the negative wire to the battery ground.
7 Repeat step 5 for the positive wire and connect it to the
positive terminal of the battery.
Mounting the U-bracket
The U-bracket can be used to install the radio on the dash-
board or on any sufficiently flat surface, using the self-drilling
screws and washers provided in the installation kit.
Caution: When mounting the radio, check whether the
mounting surface needs to be reinforced.
Caution: The U-bracket must be installed using at least
four screws.
1 If the U-bracket is being mounted over a curved surface,
bend the U-bracket tabs slightly, to match the
surface shape.
2 Drill any holes required for cables and install suitable
grommets or bushings in the holes.
Caution: Check that the U-bracket is not distorted when the
screws are tightened.
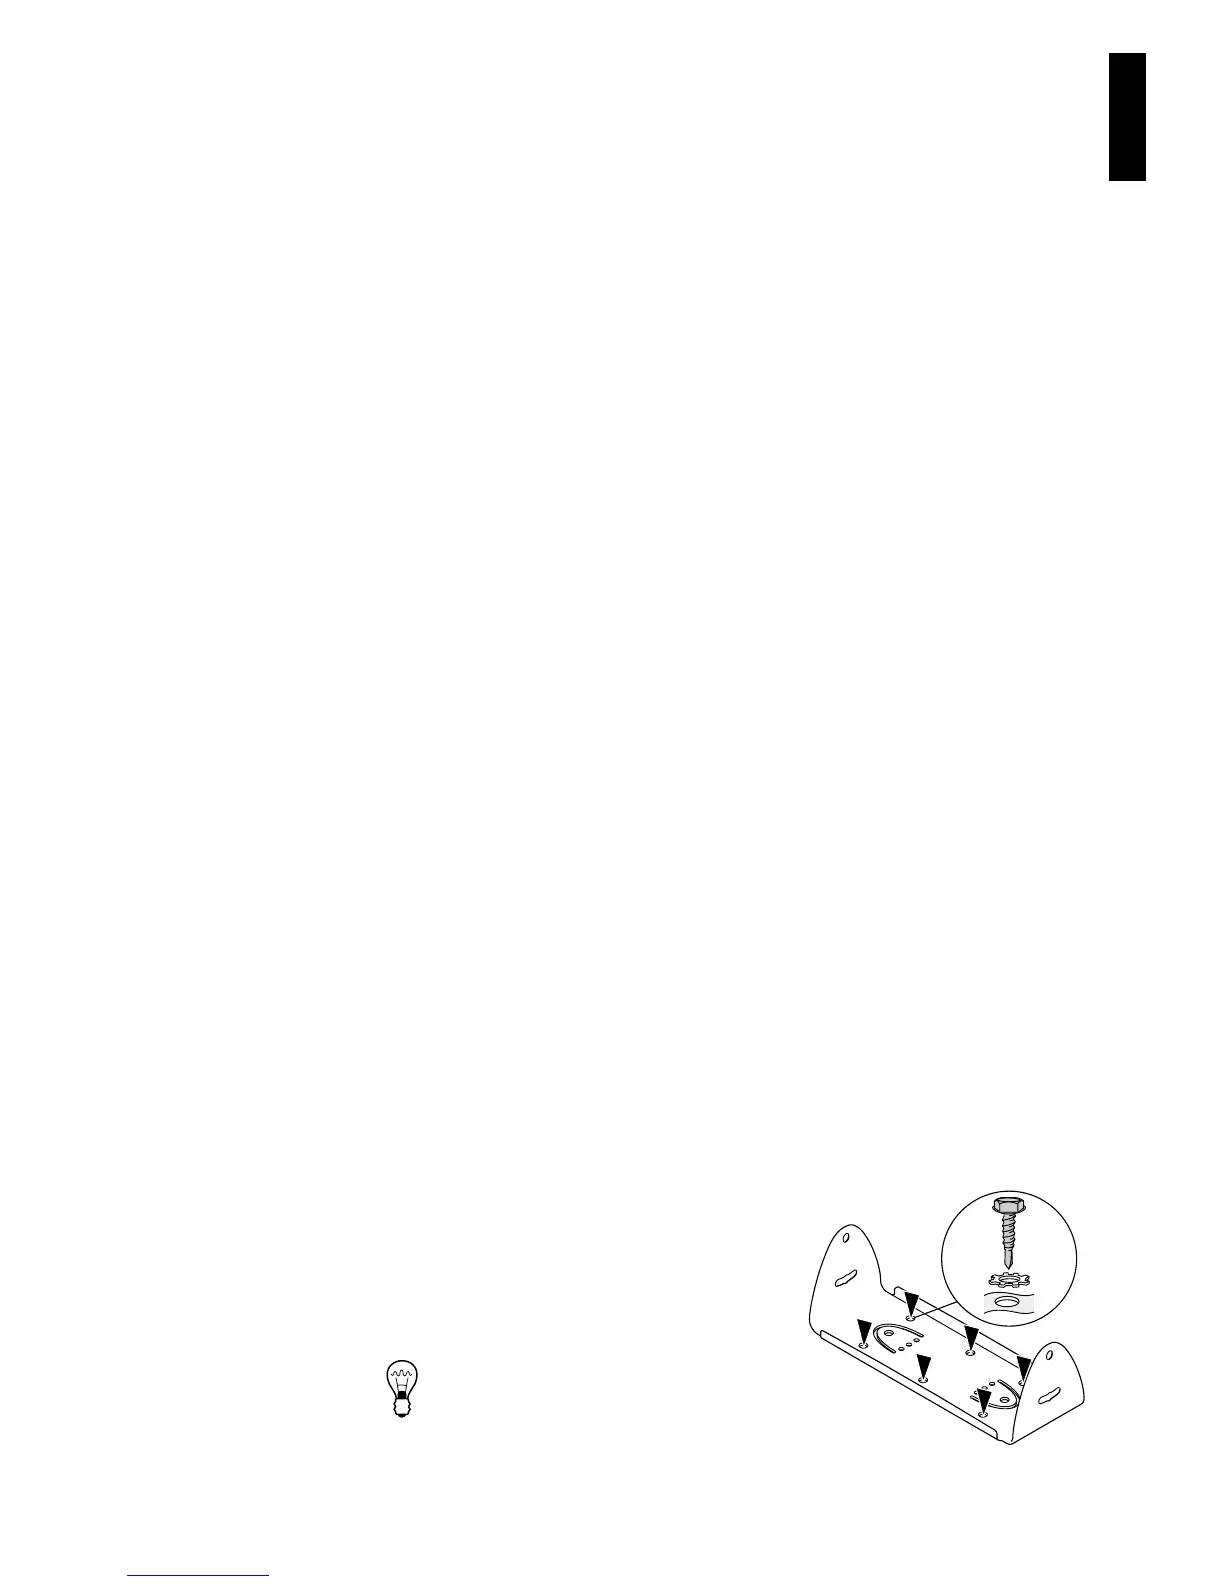
3 Screw the U-bracket in the
chosen mounting position using
the self-drilling screws and
washers provided.
Tip: For more precise
positioning, predrill
3 mm (1/8 inch) pilot holes for
 Loading...