Super easy IP Camera
53
Enter the Wireless LAN Setting, click the “Scan” button, it will show you all the wireless
networks detected in the Wireless Network list column. Select one of them and tick “Using
Wireless LAN”, then the relevant data of the selected wireless network will be shown in the
following blanks. Input the password and click “Submit”, then the WIFI setting is finished.
Unplug the cable, then you can connect to router by WiFi.
Note: When the device is connected both WiFi and wired, it will firstly connect to the wired
network.
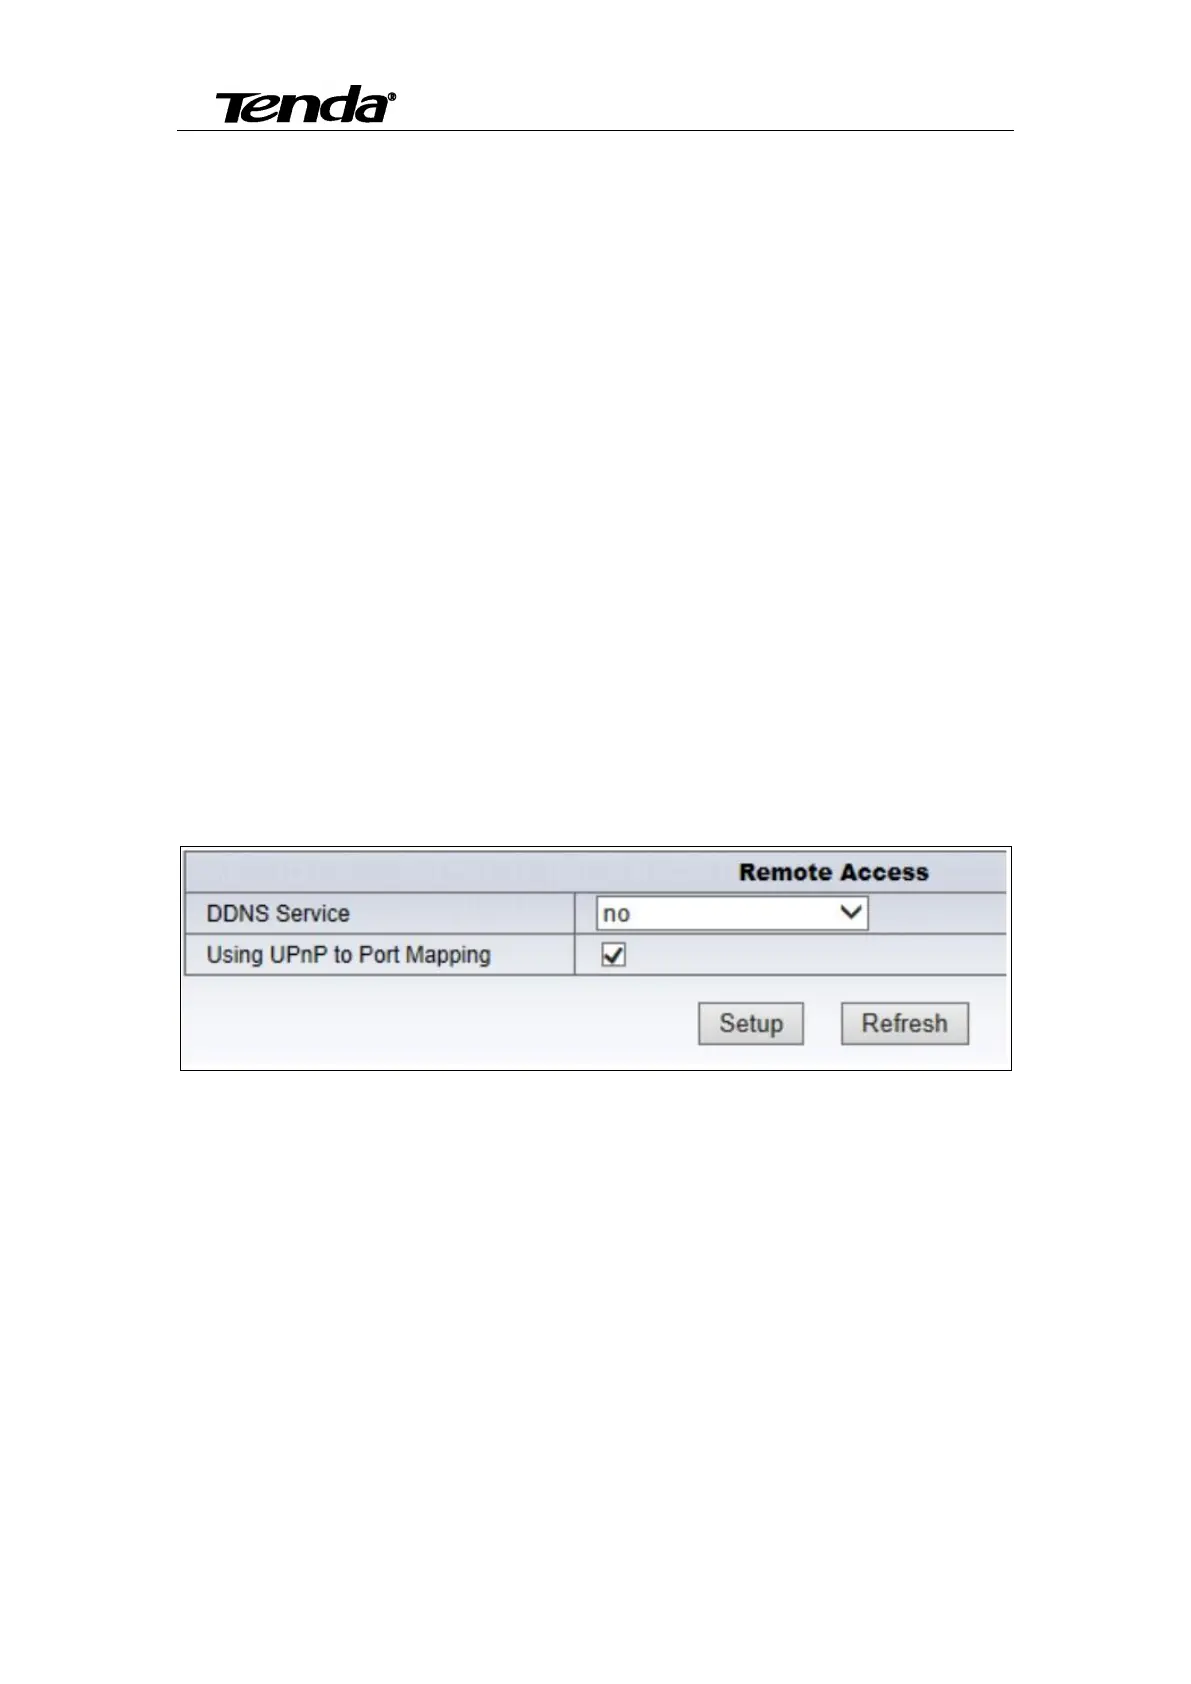
5.3.4.3 Remote access setting
User can also use third party DDNS, such as www.3322.org, User must apply a free domain
name from this website and fill the info into the below blanks and save the settings, and then in the
router to do port mapping, can remote access to the network camera (note: IP should be set to
manual IP network camera, does not automatically get, otherwise unable to set the port
mapping).
If you enable UPnP, once the IP camera is connected into the LAN, it will communicate with
the router in the LAN and do the port-forwarding with open port of router automatically, so the
user don’t need to login the router for doing the port-forwarding, only tick “Using UPnP to Port
Mapping” to finish the setting.
Note: If there is any question about remote access setting, pls see Addendum 1 for
reference.
 Loading...