4
InstallingtheEdgeGuard
Partsneededforthisprocedure:
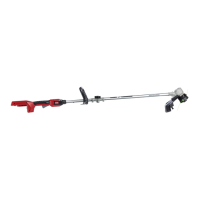
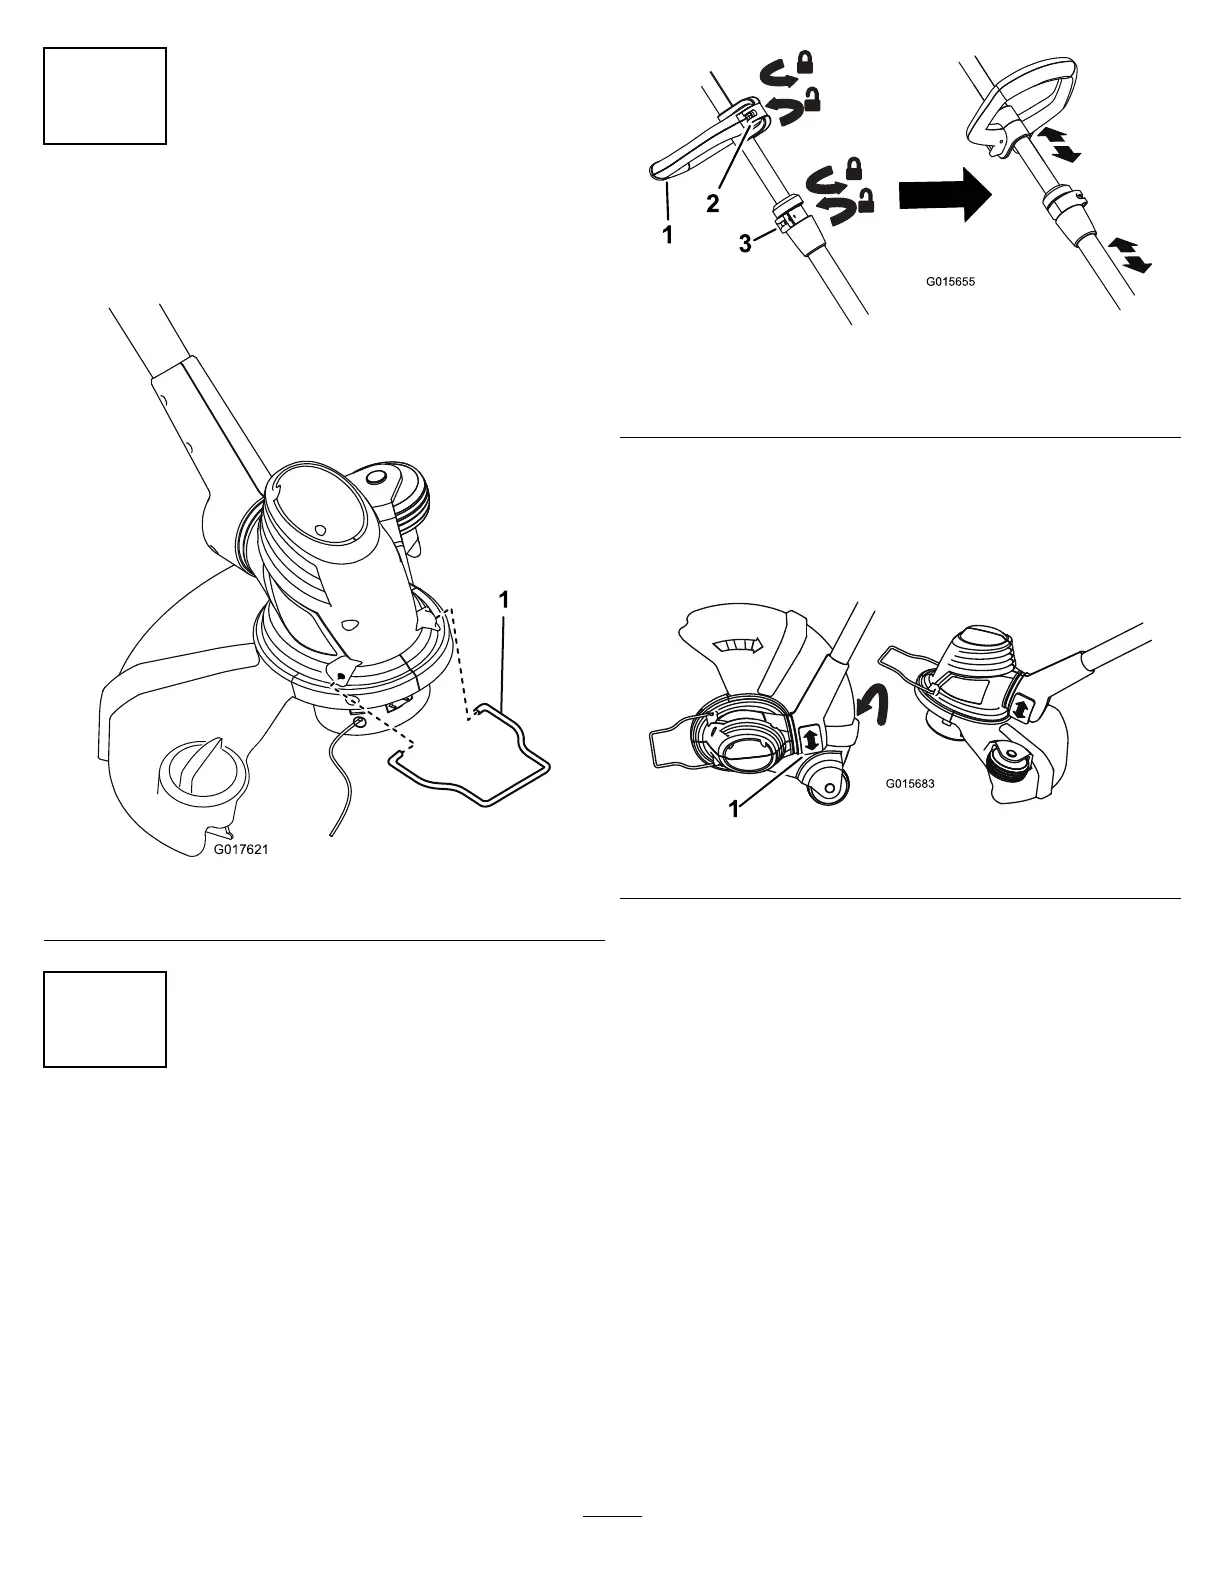
Inserttheendsofthewireedgeguardintotheholesinthetrimmer
housing,asshowninFigure4.
Figure4
1.Wireedgeguard
5
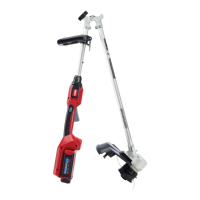
AdjustingtheTrimmerHeightandBase
Orientation
NoPartsRequired
•T oadjusthandleheight,iptheauxiliaryhandlelatch,slideitup
ordowntothedesiredheight,thensecureitinplacebyclosing
thelatch(
Figure5).
Figure5
1.Auxiliaryhandle3.Heightadjustmentlatch
2.Auxiliaryhandlelatch
•T oadjustthetrimmerheight,opentheheightadjustmentlatch,
thenslidetheshaftupordowntodesiredheight,securingitin
placewiththelatch(Figure5).
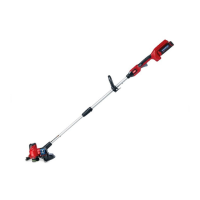
•T oadjusttheorientationofthebase,pressdownontherotator
buttonlocatedatthebaseoftheshaft,thenmovethebasetoface
thedesireddirection(Figure6).
Figure6
1.Rotatorbutton
Operation
NOTICE!Thebatterypackisnotfullychargedwhenitis
purchased.Beforeusingthetrimmerforthersttime,placethe
batterypackinthechargerandchargeuntiltheLEDindicators
turngreen.Makesuretoreadallsafetyprecautions.Withregular
use,itwillneedshorterchargingtime.Ifstoringforaprolonged
periodoftime,removethebattery.Whenreadytouseagain,
chargethebatterypackuntiltheLEDindicatorsturngreen.
StartingtheTrimmer
1.Alignthetongueofthebatterypackwiththecavityinthehandle
housing(
Figure7).
5
 Loading...