1 PREPARATION
28 Preparation 1 - Turning Power ON
Saving energy when not in use - Energy saving mode -
To reduce power consumption, the equipment automatically enters into the energy saving mode
when a specified period of time has passed since its last use. You can also turn the equipment
into this mode manually.
Types of energy saving mode
There are two types of the energy saving mode as follows.
Sleep mode: The power consumption is 18 W. “SLP” appears on the LED display, and only the
[ENERGY SAVER] lamp is lit.
Super sleep mode: The power consumption is 4 W. The LED display is blank, and only the
[ENERGY SAVER] lamp is lit.
y Either the sleep mode or the super sleep mode is enabled. The enabled mode and the time
until the mode is entered (Auto sleep time) can be changed.
P.70 “Changing of the Enabled Energy Saving Mode”
y There is another one called the low power mode. Since the time until the low power mode is
entered (Auto low power time) and the time until the energy saving mode is entered (Auto
sleep time) work simultaneously, if auto sleep time is set shorter than auto low power time,
the equipment enters into the energy saving mode, but not into the low power mode.
P.18 “Energy saving features”
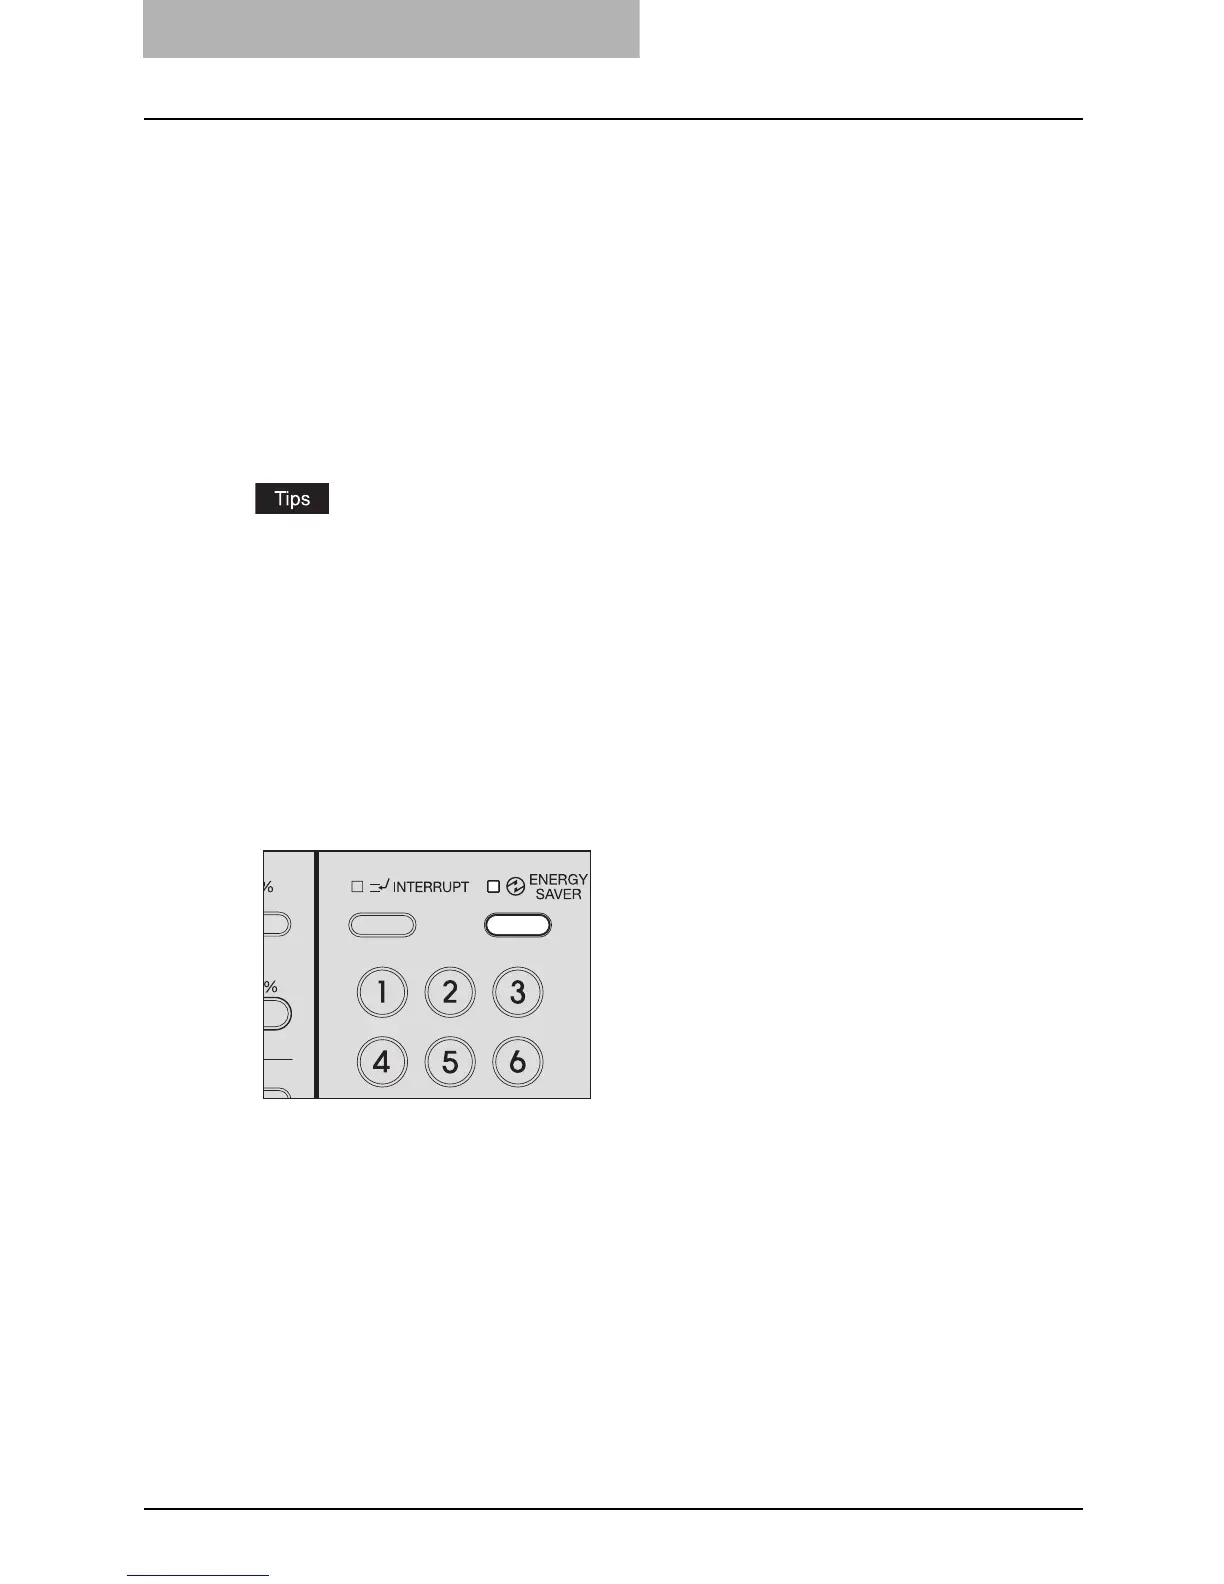
To turn the equipment into the energy saving mode manually
Check that the equipment is in the ready status, and press the [ENERGY SAVER] button.
The equipment is now in the energy saving mode. The [ENERGY SAVER] lamp is lit.
Canceling conditions for energy saving mode
The energy saving mode is canceled under the following conditions. After the warm-up has been
completed, the equipment goes into the ready status.
Sleep mode
y When any of the buttons on the control panel is pressed
y When this equipment is connected to a PC with a USB cable
y When printing is performed from a PC connected with this equipment
y When the Platen Cover (optional) or the Automatic Document Feeder (optional) is raised
y When originals are placed on the Automatic Document Feeder (optional)

 Loading...